Hello Ladies!
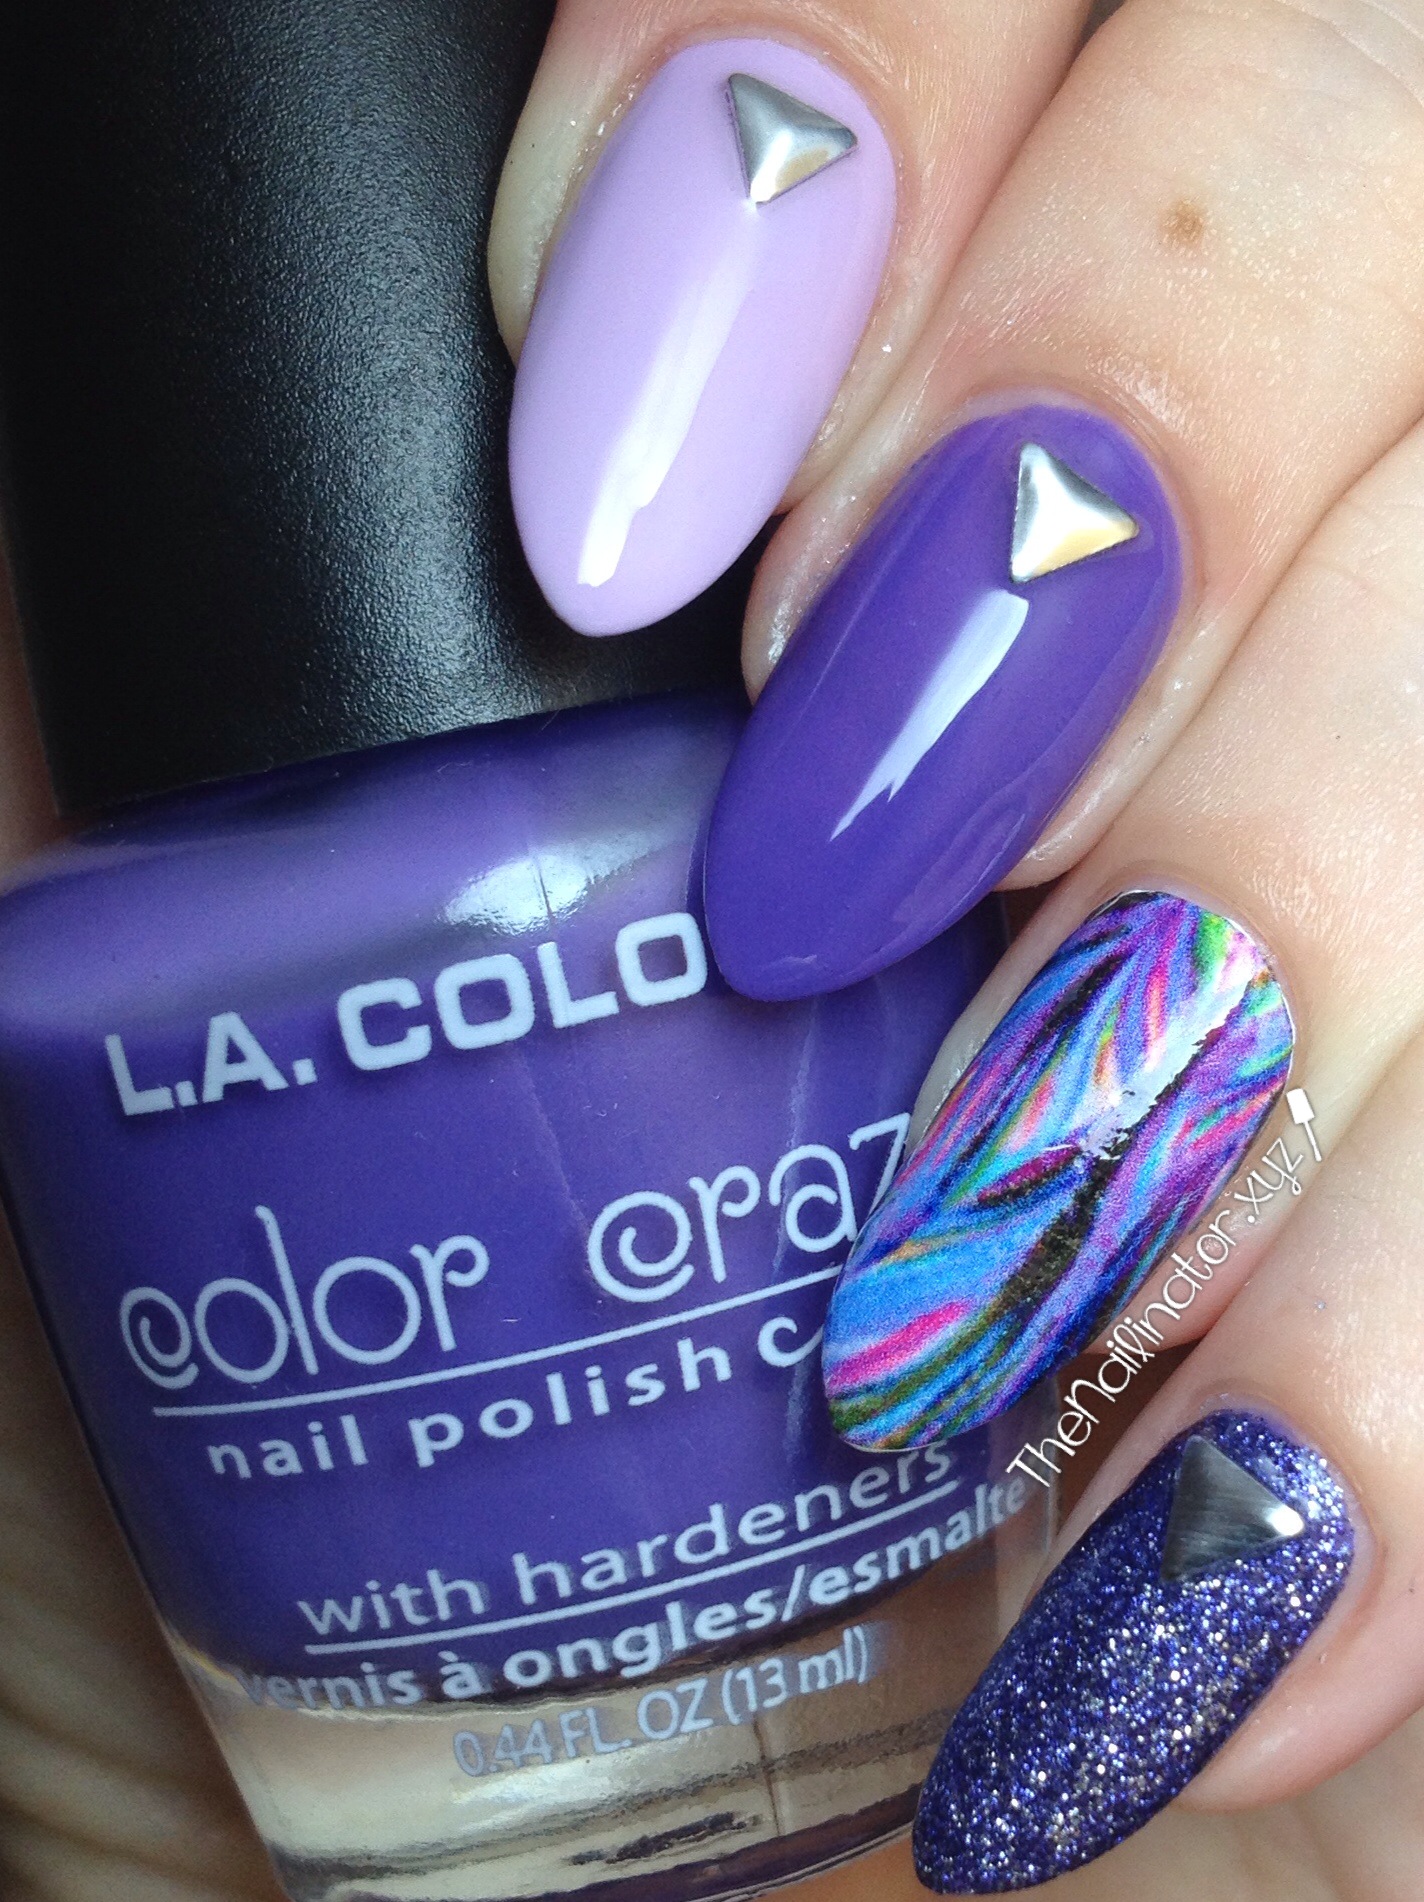
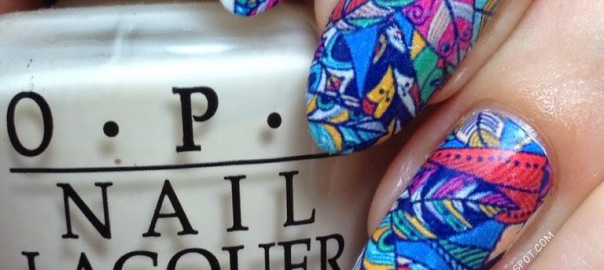
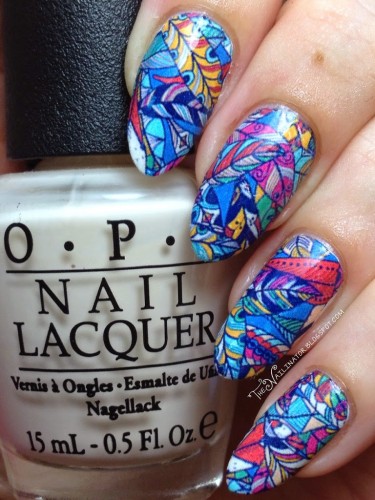
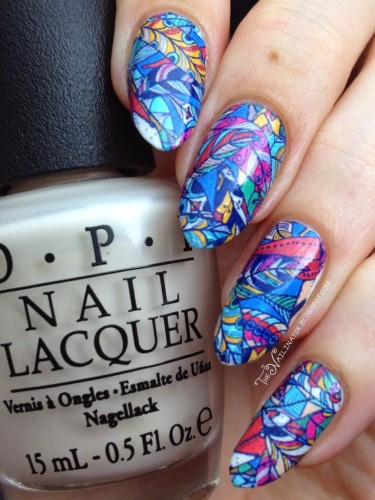
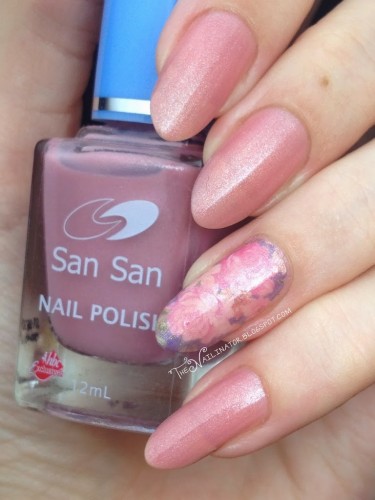
I’ve got something super cool to share with you today! If you don’t have a very steady hand for nail art or don’t have much time to spare but want some awesome looking nails, then full-nail water decals are a must try for you. Pretty Nifty Thrifty contacted me asking if I would like to try some of their nail decals. Of course, I said yes! They have so many gorgeous designs to choose from. Just look at how awesome these are! I’ve received a ton of compliments on them.
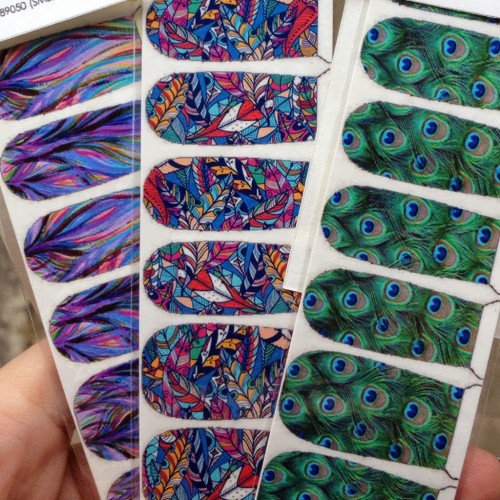
I chose these 3 designs to try: (L to R) “Streaks”, “Hippie Feathers”, and “Peacock 1”. Keep an eye out for the other two designs in the near future.
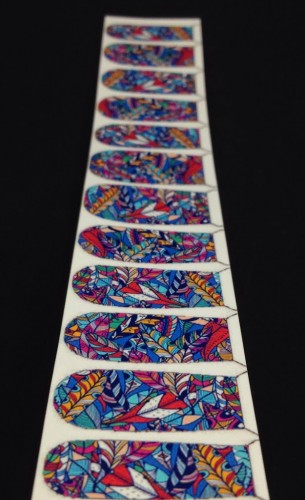
Pretty Nifty Thrifty sells each sheet of 12 nail decals for Php80 (about $2) and have a “Buy 6 get 1 free promo”. Twelve decals per sheet means you can get a full manicure from one sheet plus 2 extras to use as accent nails on another manicure. They will even do customizable decals (Php120 or $3), too, which means you could get practically any design you wanted made.
The decals come with instructions but here’s the gist with a few tips from me.
Base coat: The instructions say to start with a white base coat to keep the colors vibrant. The decals are not completely opaque so this is a must if you want the colors right.
Prepping your decals: There are 3 sizes of decals. Use scissors to cut along the thin black outline and check the size against your nail. The smallest size fit my pinky nail perfectly, the middle size fit my middle fingernail and the biggest fit my thumb nail. For my index and ring finger, I used scissors to trim a little bit off the sides of the middle sized strips and that worked just fine.
Getting those pretty decals on your nails: Each decal needs to be dipped in a bowl of water for a few seconds. This allows the decal to slide off the paper. They should not be hard to slide off. If it gives you trouble, soak a bit longer. These decals are thin so handle with care. Before placing the decal on your nail, wipe off any excess water to prevent bubbling under the design Then place the decal on your nail and line it up along the cuticle line. Press down along the length of nail to keep it in place. The decals are not sticky but will cling to your base coat. If one gets put on crooked, just get it wet again to pull off and reposition.
Finishing up: The instructions say to use nippers to clip any excess hanging over the free edge of your nail. I highly recommend doing this if you have pair of sharpened nippers. If you use nippers that aren’t sharp, you may end up tearing your decals. If you don’t have nippers, you can just cut it close to the edge with scissors and apply your top coat. The top coat will melt the design to the base color and any part of the decal hanging over the edge will melt enough to use an orange wood stick to pull off any excess. Or you can wait for the top coat to dry and file off any excess and touch up the clear coat on the tips to make sure your decals don’t try to peel up.
Wear time: I’ve been wearing these for 5 full (and very busy) days now and they wear about the same as my regular nail art. Add another coat of top coat after 2 or 3 days to make it last longer.
Over all, I am very impressed!
The selection is great and this design looks amazing on my nails.
Check out Pretty Nifty Thrifty on Facebook or on their Instagram account to see all they have to offer. It’s not just decals. I saw just the other day that they also sell nail foil glue which I haven’t been able to find anywhere! Must. Buy. Some. Soon!
Have you tried these decals before? Let me know if you have any questions about this product.
Have a fantastic day!
Hugs,
Rach
Like this:
Like Loading...
