10 Nov

Born Pretty Store Hexagonal Glitter Review

Hi there!

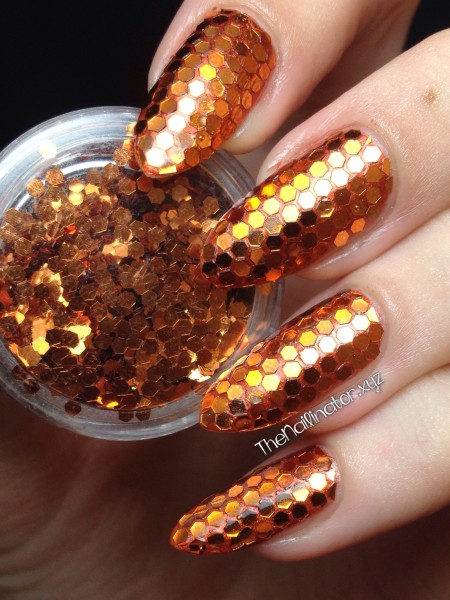
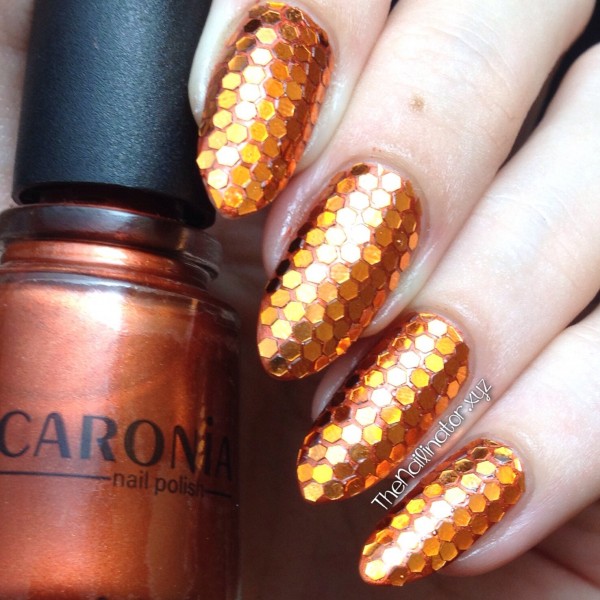
I’ve got another product review to share with you. When Born Pretty Store contacted me a while back asking me to review some of their products, I knew immediately that I wanted to get my hands on their 12-Color Hexagon Glitter Set I’ve heard so much about. When I received the package, I immediately set about putting tons of glitter all over my nails! I was thinking of doing something pumpkin related with these. But after I finished with the orange glitter, I realized that they looked more like koi fish scales. They were so fantastically glittery, I decided to leave them as is. Aren’t they pretty?

Orange Hexagonal Glitter Placement mani

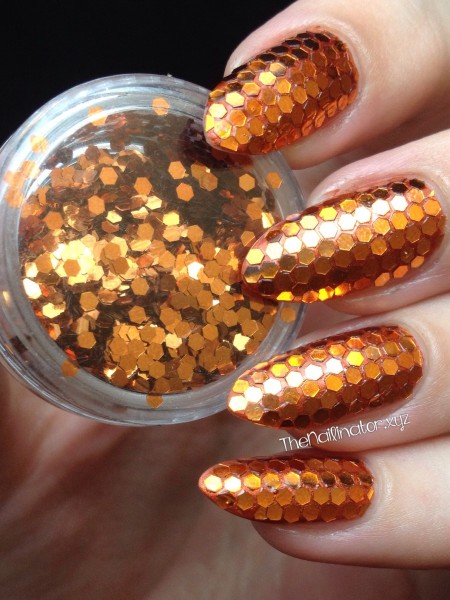
To achieve this flashy look, I started with two thin coats of a similar base color (Caronia Bourrée in this case). After my base color was dry, I applied a bit of clear polish down the center of my nail and, using a damp orange wood stick to pick them up, carefully placed the glitter piece by piece in a straight line down the middle of my nail. Then I worked out towards the sides of the nail, applying clear coat column by column to get the glitter to stick. Using my cuticle nippers, I cut some glitter in half for the edges of my nails. After the nail was covered to my liking, I applied a generous layer of clear coat to seal it all in.

Orange Hexagonal Glitter Placement mani 2

I can’t believe that it has been a year since I did a full glitter placement mani! They are so pretty and fun to wear.

Hexagonal Glitter Review

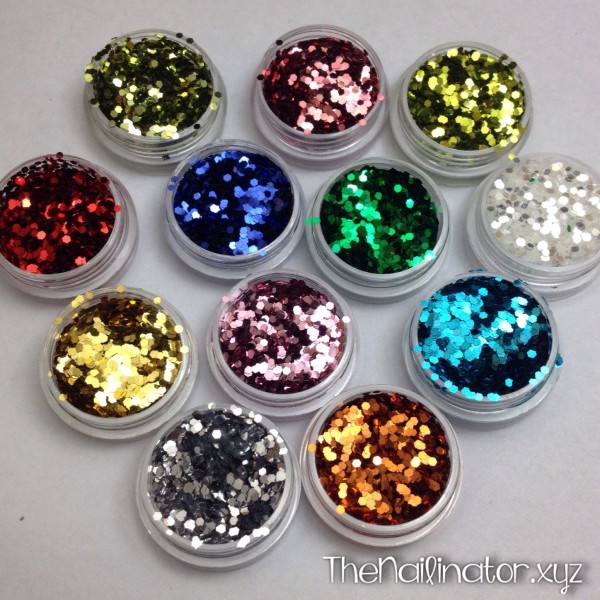
Let me tell you more about the 12-Color Hexagonal Glitter Set from BPS.  The pack comes with 12 different colors each packed nicely in a clear pot with a screw top lid. There is a ton of glitter in each pot and the colors are very pretty.

Born Pretty Store 12 Color Hexagonal Glitter set

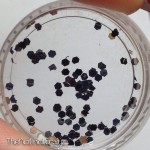
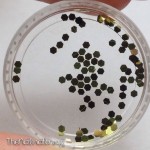
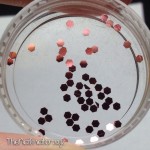
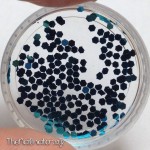
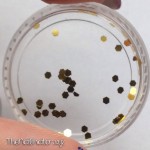
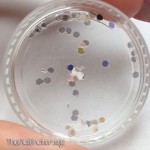
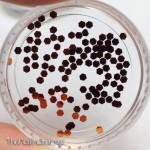
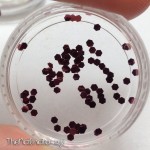
I have to say that some of the hexes are cut very well , like these orange ones for instance. There may have been one or two oddly cut pieces that I found while I was placing these bits, but most of them were just right. The silver ones that I used for another look, on the other hand, were not so perfect. I had wonky hexes, half hexes, and wonky half hexes (you get the picture). If you plan to use these on a matching base then the wonky shapes won’t be such a concern. But if you look closely at my other mani, you can tell clearly that they are shaped a bit off—a contrasting color makes it a little more obvious. In reality though, I wore that design for several days and had many compliments on it with no one noticing anything amiss. Maybe it’s just my OC self making note of the shape issue, but the silver hexes are the oddest of the bunch. The rest are significantly better.

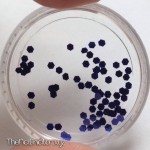
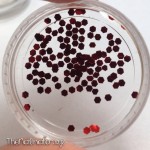
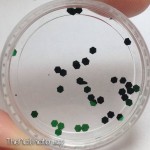
I decided to include a little gallery with a sample from each pot of glitter so that you can see for yourself the general quality of the glitter. The color is hard to make out on some of these, but the silhouettes show just how well-cut (or not) each color is. Just click/tap an image to enlarge it and then flip through them one-by-one.

Overall, I think this is a great product. This 12-color hexagon glitter set usually goes for $6.85 on Born Pretty Store. They are having a sale at the moment, and you can get this set for $5.48, but the sale ends in just a few hours. If you live in the Philippines, I want to remind you again that, though there are no shipping costs from Born Pretty Store, you WILL have to pay customs fees (about 150 pesos) on any package coming from outside the Philippines. Delivery is also slow if you choose their free shipping option. So don’t expect your package soon. If you plan on ordering something from Born Pretty Store, you can use the coupon code below to get 10% off your entire order.

Coupon

Glitter placement manis are sooo eye-catching and versatile. I need to try a gradient type one soon or try different colors on each nail.

Orange Hexagonal Glitter over Caronia Bourrée

Have you done any glitter placement nail art? I would love to see! Please feel free to share a  link below in the comments if you feel like it. 🙂

I’m off to play some video games with my boy! Have a lovely day and keep smiling!

Hugs,

Rach

24 Oct

Eeeek! Inspired Glitter Placement Nail Art

Hello!

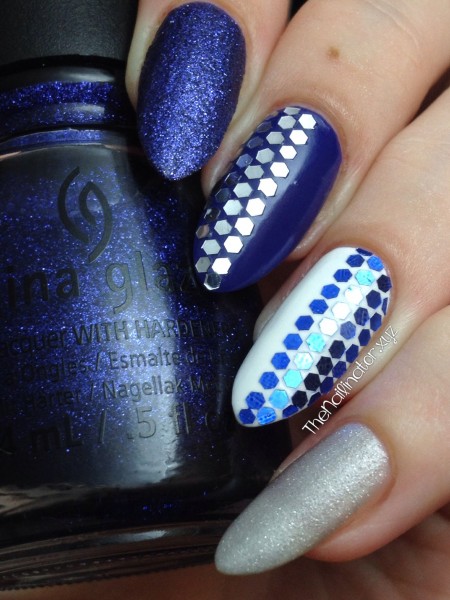
It’s a great day! It’s Friday and it just so happens to be the birthday of one of my all time favorite bloggers EVAR! Jemma of Eeeek! Nail Polish! has just completed another trip around the sun. To celebrate the occasion, several of us got together to honor her by recreating some of her fabulous nail art. I chose this glitter placement mani that she did recently. Check it out. Isn’t it just lovely? If you love nail art you NEED to follow her because she is a never-ending source of amazing inspiration!

Eeeek! Nail Polish tribute Glitter Placement mani

Happy birthday Jem! Thanks for being such a darling and an inspiration. I hope that you get spoiled and have a great day. Here is wishing you a great year ahead and many more fabulous manicures to come!

Hugs!
Rach

PS. Thanks Brijit for being a sweetheart and organizing all this.


06 Oct

Girlstuff Masquerade Swatch and Review

Hi gals!

Do you own any textured polishes? I’ve noticed that the types of textured finishes you end up with vary significantly depending on the brand. Some are only slightly textured while others feel like you could use one nail to file down another. Ha! One of my favorite things about textured polishes is that you usually get two stunning looks in one bottle! I have several textured polishes by Girlstuff and I love every one of them.

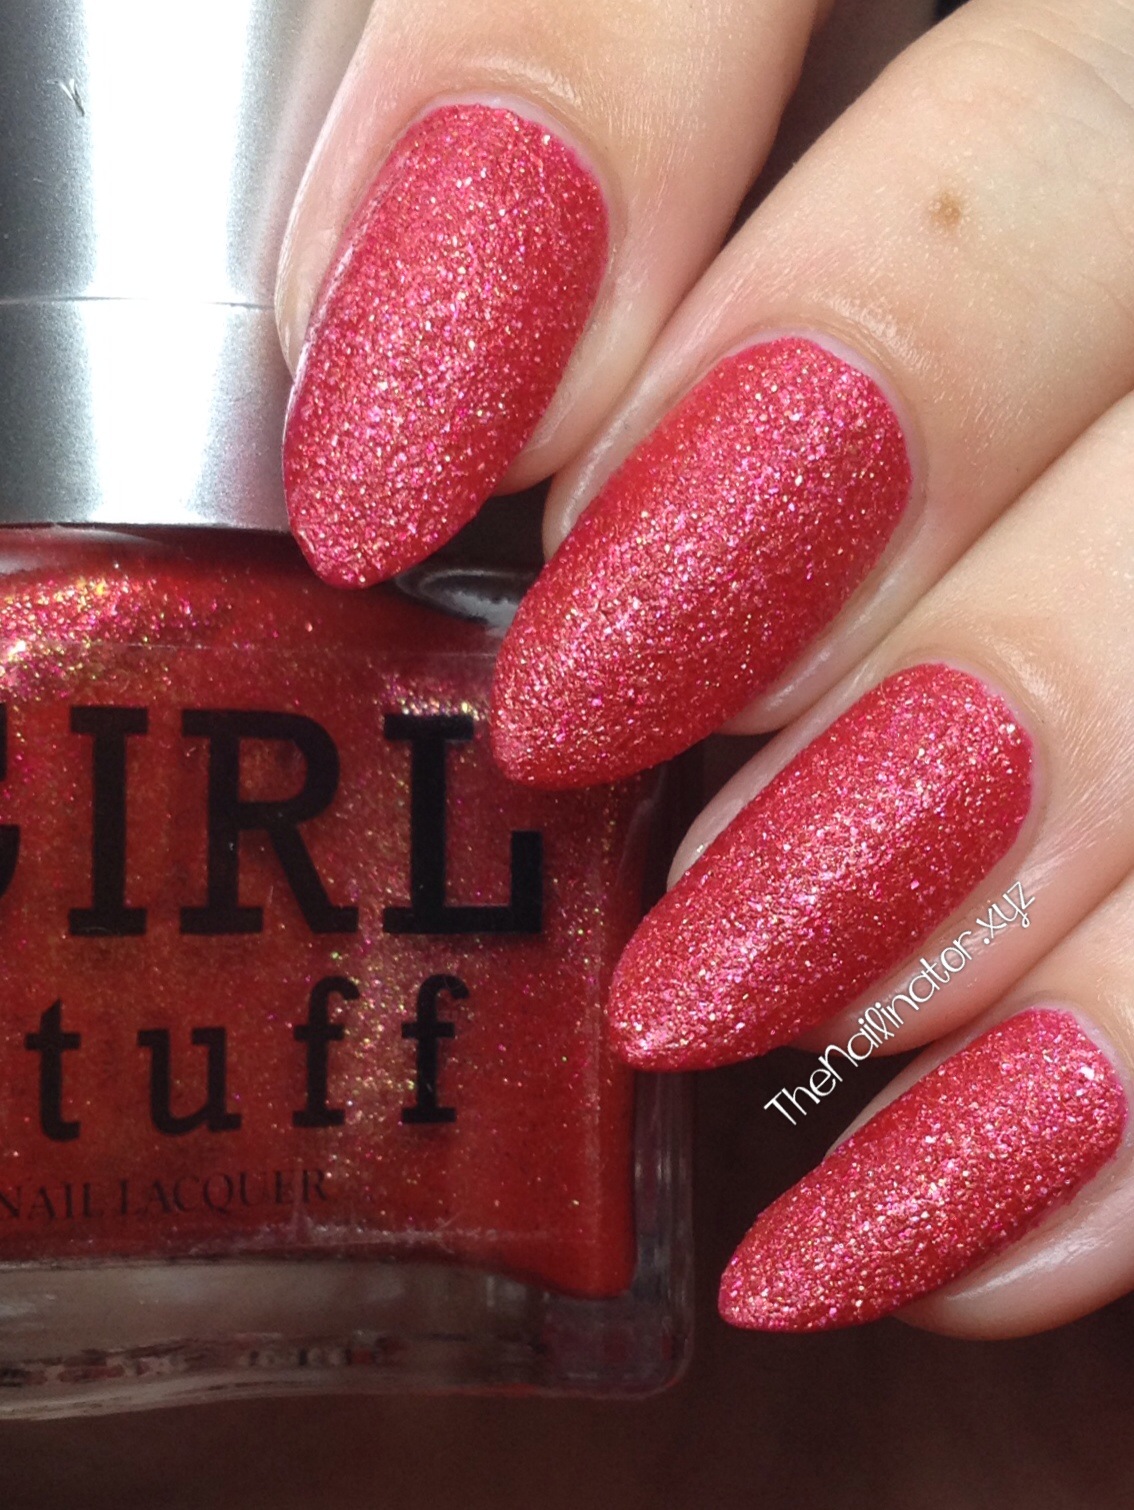
Today I’m showing you Girlstuff Masquerade, and since it’s a great shade for the upcoming holidays, I thought I would put my two cents in on this polish with a quick review. Masquerade is a beautiful, red-orange jelly loaded with tiny gold glitter.
Two generous coats will get you full coverage and this nice textured look. Three coats is even better.

Girlstuff Masquerade no topcoat

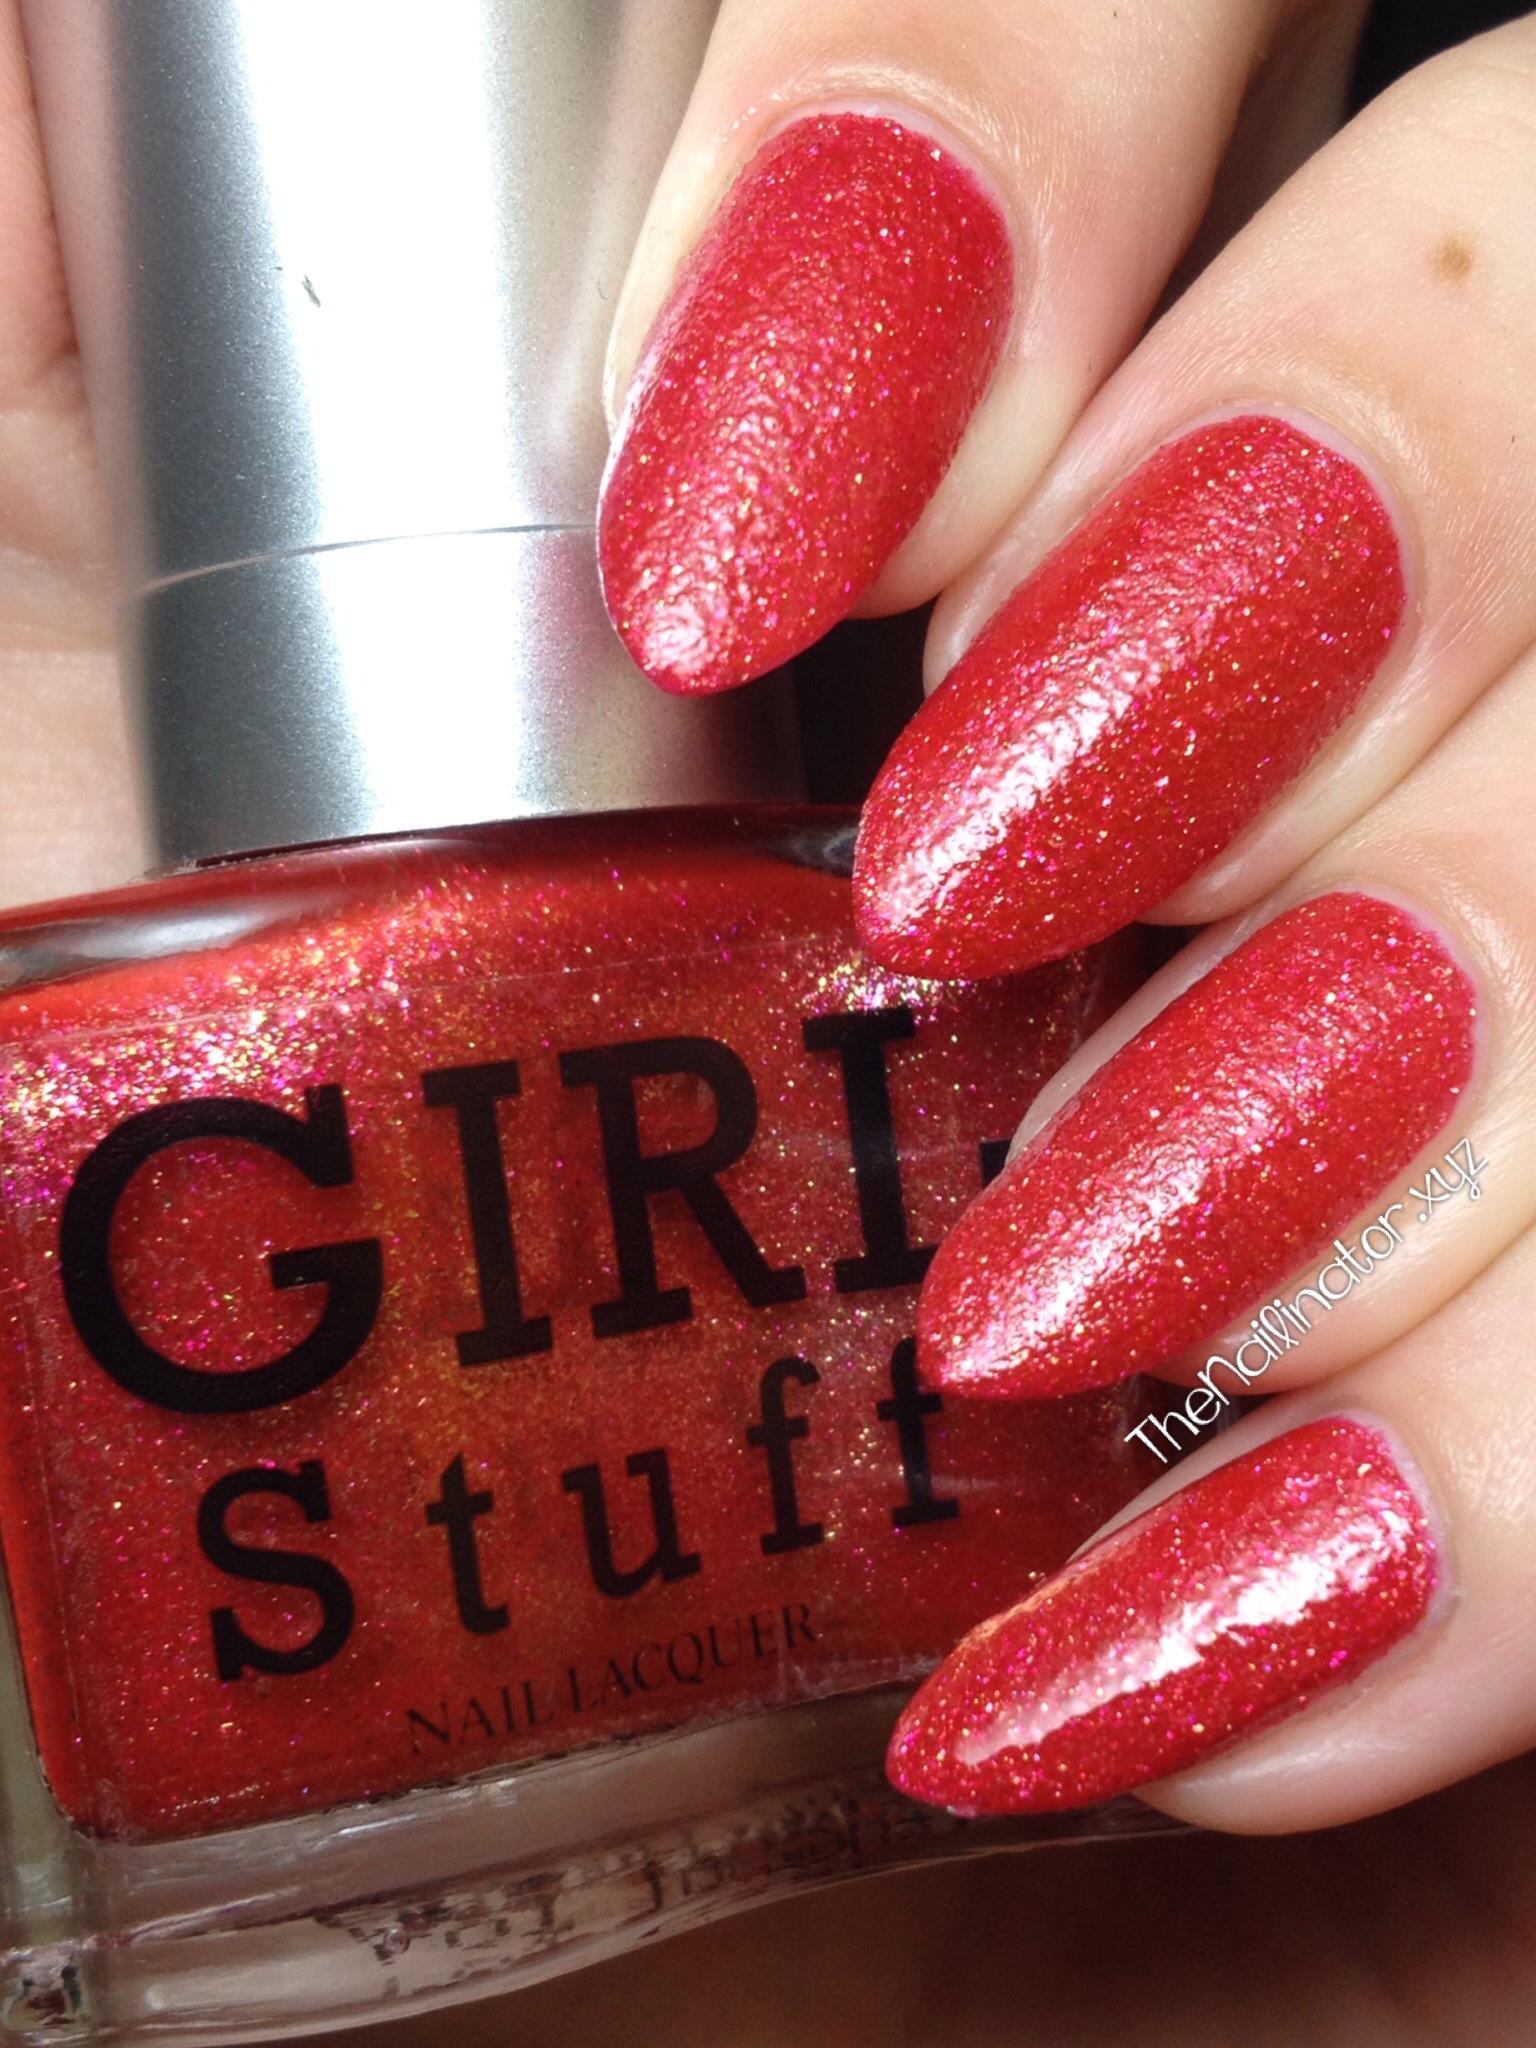
Adding topcoat ups the shine factor significantly. The glitter comes alive and is so pretty.

Girlstuff Masquerade with topcoat

I love wearing it both ways. Which do you prefer?

Masquerade dries quickly and has a great formula that is easy to work with. Cleanup was so easy with my flat makeup brush. I wore it for several days with only minor tip-wear. Removal was just what you would expect from a polish with glitter in it. It took a bit more rubbing than a creme polish would but was not difficult by any means. The wear time on this polish is longer if you use topcoat. As you can see, one coat of topcoat doesn’t provide a glass like finish. But it still looks great. This beauty retails for 150 PHP. (approx. 3.50 USD)

I love polishes that are easy to work with and look amazing! Girlstuff polishes score extra points with me in that they are 5-free meaning they contain no toluene, formaldehyde, dibutyl phthalate, formaldehyde resin, or camphor. They are perfect for my little girl who likes to have her nails looking pretty just like mommy. I’m thrilled to tell you that those of us living in Cebu will have access to the full selection from this brand very soon. In less than 3 weeks, Girlstuff Forever will be opening up a kiosk here in Cebu at Ayala. Yay!

How do you feel about textured polishes?

Have a fantastic day!
Hugs and sparkles,
Rach

16 Apr

Girl Stuff Soirée (with Wild Berries)

Hi gals!
I feel sad that I haven’t been able to post as much as usual lately. I’ve been nursing a cough/cold for 2 weeks now, and we have been preparing for our trip to Texas. We leave in the morning, and while I am not looking forward to the long trip, I am looking forward to being with our family and friends there.

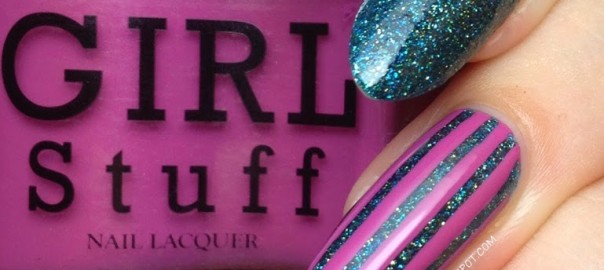
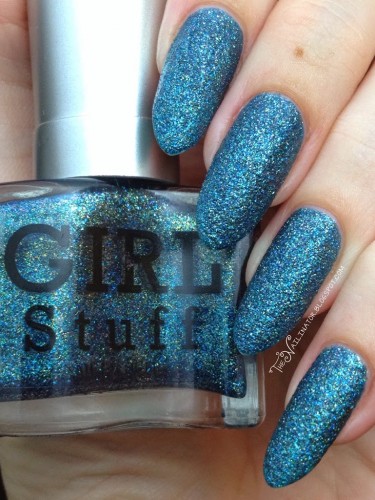
I’m so thrilled to finally have Girl Stuff Soirée in my collection. It’s been on my lemming list since I saw it in December. I finally ordered it a couple of weeks ago, and of course, I had to use it immediately. It’s a teal jelly base loaded with teal, green, purple and gold glitter. There is also a splash of holo in it that is lovely. I applied 2 coats and enjoyed the sparkly, textured finish for a couple of days. Then I applied top coat and loved it even more. The glitter really sparkles like crazy with top coat. It needed two coats to make it smooth.

Girl Stuff Soirée with Wild Berries and top coat

For my accent nail, I placed striping tape on the nail and then added one coat of Wild Berries (which Girl Stuff sent me as a bonus from their new Summer Collection. Thanks again, Girl Stuff!) and peeled off the tape before it could dry. Wild Berries is a pinkish purple that is very flattering.

Girl Stuff Soirée swatch


Here is a shot of Soirée on its own, without topcoat. Both Soirée and Wild Berry dried quickly and were easy to use. Girl Stuff polishes are 3 free too so that is great! Check out their FB page or Instagram to see more of their pretty polishes.

I think you will see Wild Berries again soon as it made in into my luggage for the trek across the globe. Believe it or not, I’ve only packed a few polishes to bring. I am planning to pick up a few in the US, so I tried to limit myself to about 10. Success!

That’s all from me for now. I’m going to try to get a bit of sleep before we have to load up and head to the airport. I’m excited because the hubby bought me an awesome “Greatest Hits of the 1950’s” album for me for the trip in honor of our anniversary which is also today. Nine years baby! Woohoo! Next time you hear from me, I should be in Texas enjoying some Mexican food, Dr. Pepper, and shopping (with coupons!) at Kohl’s!

I hope you have a fabulous day!
Hugs,
Rach
18 Mar

Review of China Glaze Winter Holly – St. Patrick’s Day Worthy Shade

All products used were purchased by me. 
All opinions are mine. 🙂

Hi!
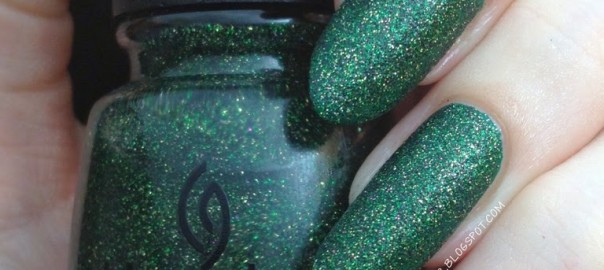
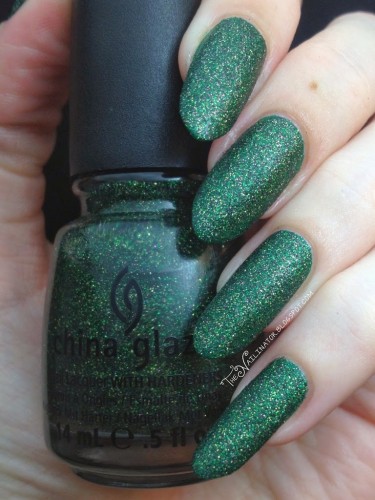
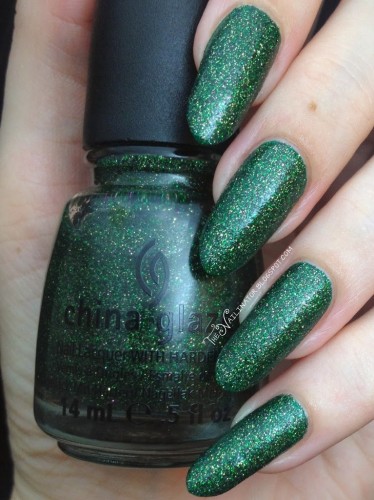
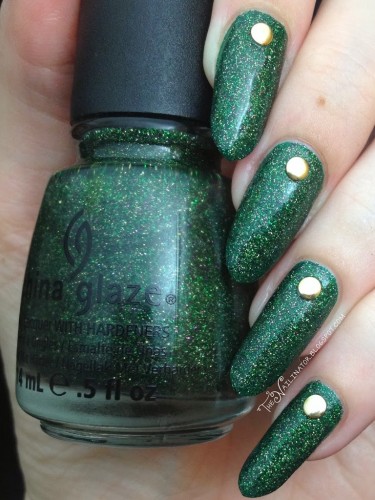
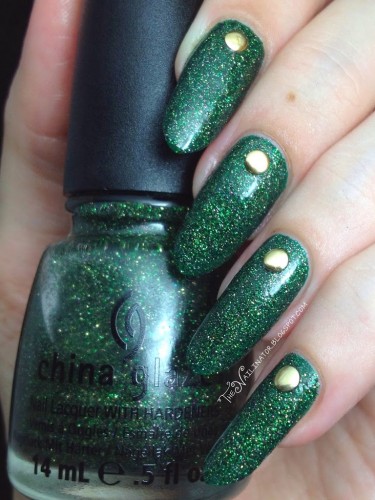
I don’t celebrate the holiday, but I’ve got a St. Patty’s Day worthy mani to share with you today. I started with one coat of Shisem F610 (Dark Forest Green) which I purchased at Blooming Nail Cebu. I then added 2 coats of China Glaze Winter Holly which my sweet hubby spoiled me with a couple of months go. It is a mixture of gold, green and purple glitter (with a bit of a holo sparkle) suspended in a clear base.

Without topcoat

On it’s own, Winter Holly dries the same way that CG I’m Not Lion does. It’s a grainy or sandy finish. I like polishes like this because you really get two finishes in one. You can choose between the grainy, somewhat matte finish on it’s own, and the super glittery and shiny finish after applying topcoat. I’ve included a few extra shots to show how it looks with top coat.

With one coat of top coat
With two coats of top coat
With 3 coats of top coat and in brighter light. You can see the depth.

I am really happy with this polish. It is so pretty. It was hard to remove in the manner that is typical for a glitter polish. I was kicking myself for not remembering to use my glue base for easy glitter removal. I won’t forget next time (fingers crossed). Also, as you can see, I added some gold studs which I also purchased from Blooming Nail Cebu.

Well, that’s all for me for tonight. I hope you have a great week!
Hugs,
Rach
%d bloggers like this: