20 Apr

Chic Pastel Collection Skittles


Hello lovely ladies!

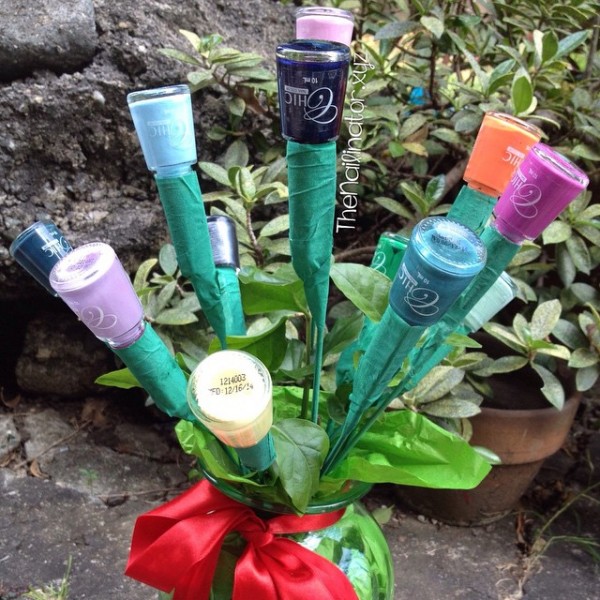
I wanted to pop in and show you not one but TWO skittle manis I’ve done using the Chic Pastel Collection by Chic Centre. My husband purchased these for me for part of his Valentine’s Day nail polish bouquet. ♥

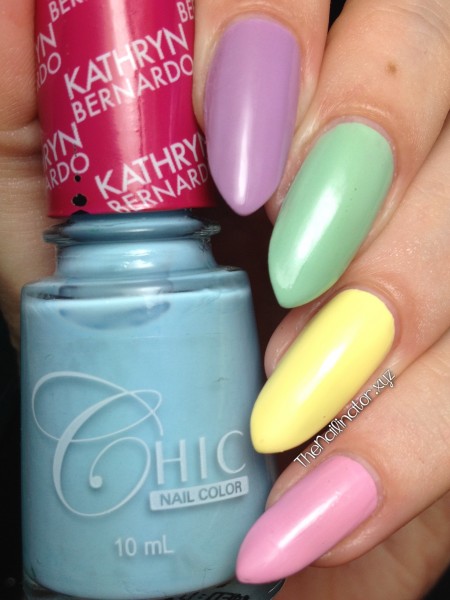
Each of these shades is a lovely creamy pastel that doesn’t go on streaky at all. I would even describe them as crellies because they were a bit jelly-like but still pretty opaque. The only one that I found needed 3 coats was Daisy Wazy (yellow). The collection consists of these 5 shades:
Sweet Pea – Purple
Hula Hoop – Green
Daisy Wazy – Yellow
Baby Doll – Pink
Marionette – Blue (on thumb not pictured)

Chic Pastel Collection Skittles

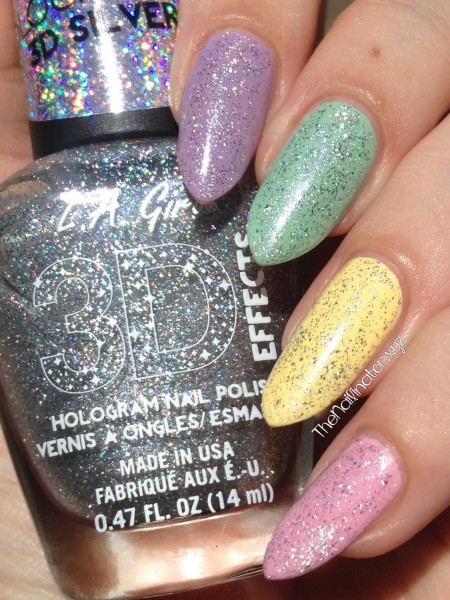
I loved these and the fact that the colors fit together perfectly for a look that just screams romance and spring time! I added one coat of L.A. Girl 3D Silver because…well because WHY NOT? Amiright?

Chic Pastel Collection with holo

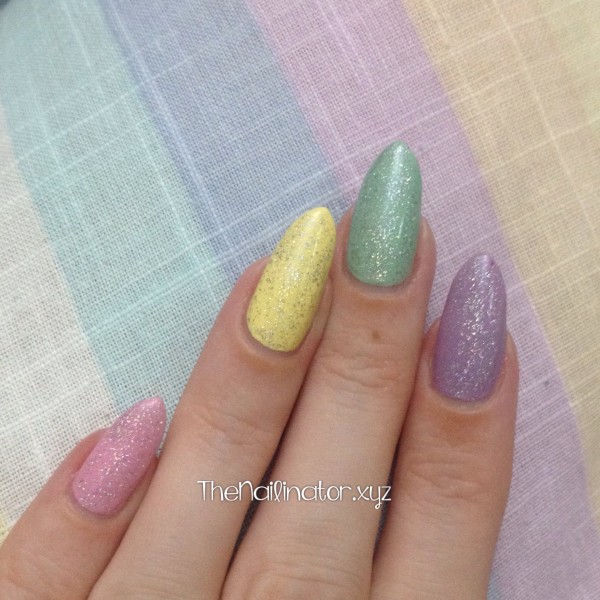
I sported these with my gorgeous, pastel, vintage dress that I bought from Best Finds Thrift Shop.  (They get a shout out because I am such a happy customer.)

Chic Pastels and my dress

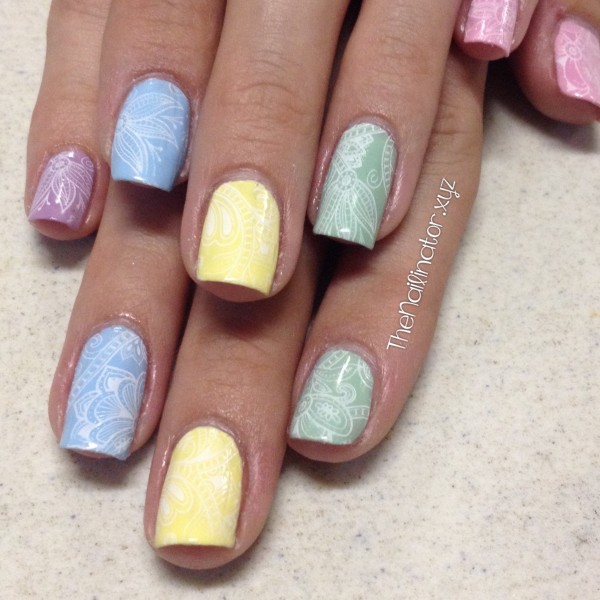
I also want to show you the skittles that I did for the Shutterbug. We added some gorgeous stamping using my awesome MJ XXVIII stamping plate from My Online Shop.

Photo Feb 22, 9 33 55 PM

The stamping is in white, so it is subtle (especially over the yellow), but it is oh so pretty!

What do you think about this collection? I usually shy away from yellows and greens, but I can pull off a pastel yellow and pastel green. I love these colors! Oh and here’s a shot of the bouquet my husband made for me on Valentine’s Day.

Valentine's 2015 Nail Polish Bouquet

Have a great week! I hope that you get some coffee and some chocolate to help you cope with the fact that it is Monday. Ugh! Keep smiling anyway!

Hugs,
Rach

24 Oct

Eeeek! Inspired Glitter Placement Nail Art

Hello!

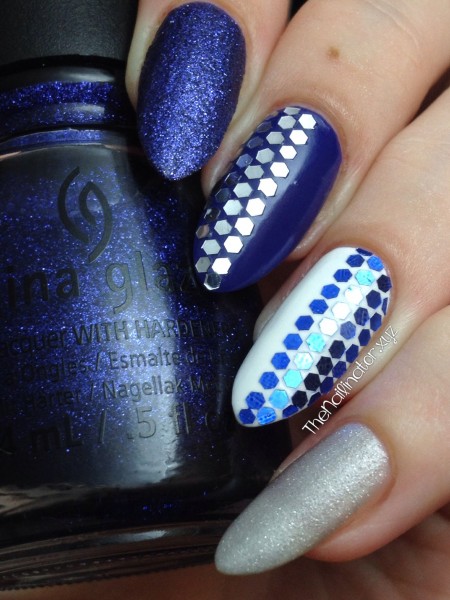
It’s a great day! It’s Friday and it just so happens to be the birthday of one of my all time favorite bloggers EVAR! Jemma of Eeeek! Nail Polish! has just completed another trip around the sun. To celebrate the occasion, several of us got together to honor her by recreating some of her fabulous nail art. I chose this glitter placement mani that she did recently. Check it out. Isn’t it just lovely? If you love nail art you NEED to follow her because she is a never-ending source of amazing inspiration!

Eeeek! Nail Polish tribute Glitter Placement mani

Happy birthday Jem! Thanks for being such a darling and an inspiration. I hope that you get spoiled and have a great day. Here is wishing you a great year ahead and many more fabulous manicures to come!

Hugs!
Rach

PS. Thanks Brijit for being a sweetheart and organizing all this.


18 Sep

Purple Mix’N’Match Mani (Featuring Pretty Nifty Thrifty Decals)

Howdy!
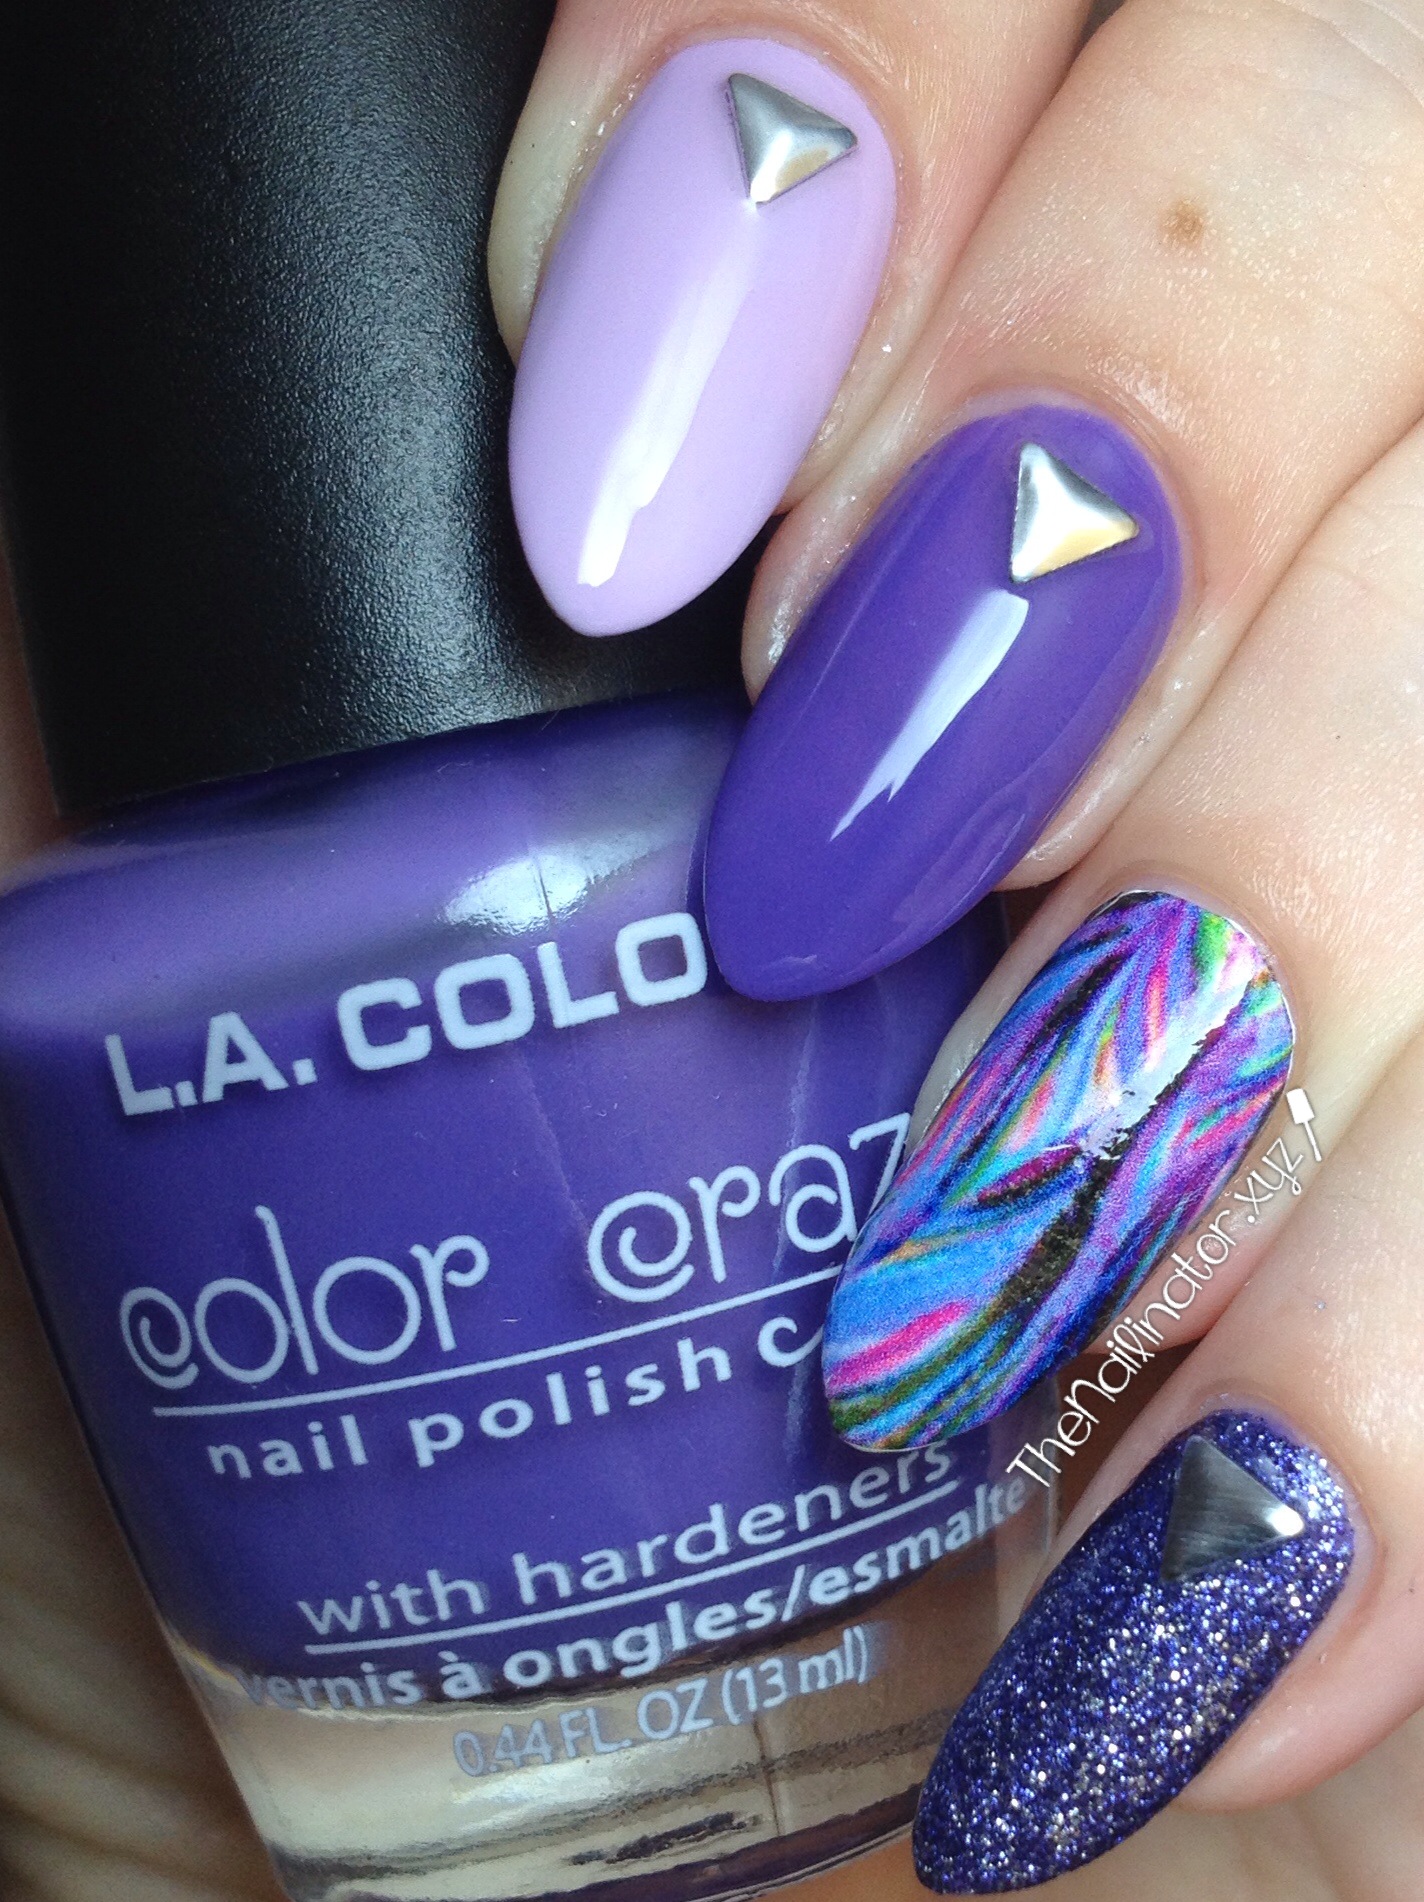
I’ve got a fun skittle mani to share today. I wanted to try out my Pretty Nifty Thrifty water decals as an accent mani. So I used one of the “Streaks” decals on my ring finger. Each set includes 12 decals which is enough for one full set of nails with a couple of extras for accent nails. Check out my review of these great decals to see my application tips. I did an ombre with the rest of the nails and added some triangle studs I just purchased. I think this looks really cool. Don’t you? I received a bunch of compliments on them.

Photo Sep 18, 1 35 18 AM

Want to know what these pretty purple polishes are?
Pointer – Ballerina by Nails To Go
Middle – Tropical Breeze by L.A. Colors
Pinky – Amethyst by Chic

I used a coat of white under the water decal to keep the colors vibrant. I’m not sure why I can’t get the decals to photograph as clear as they look IRL. But they really do look great.

If you are following me on Instagram you already know this… But Pretty Nifty Thrifty is generously sponsoring a giveaway (open to Philippine residents only). Three lucky winners get their pick of 3 sets of decals as a prize. All you have to do to join is follow @thenailinator and @prettyniftythrifty on IG, repost the picture about the giveaway with #pntgiveaway, and tag a few friends.  What are you waiting for? Go! Go! Go! Winners will be announced on Sept. 20!

I hope you are having a great day!
Hugs!
Rach

10 Feb

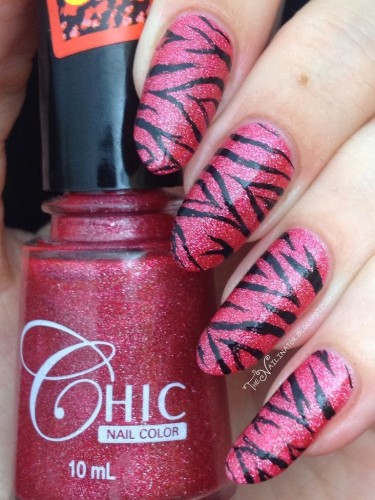
Review of Chic Siam (and Freehanded Zebra Stripes)

Hi!
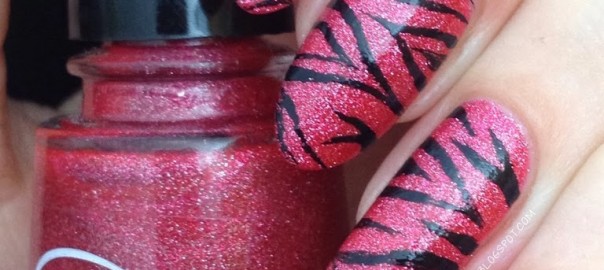
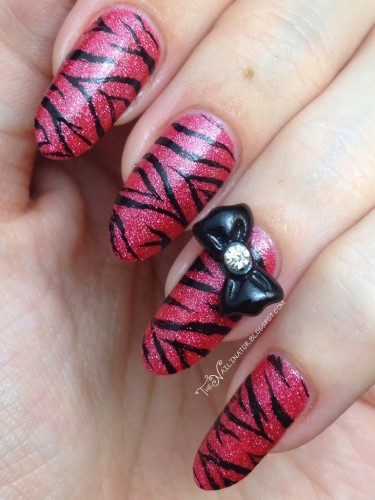
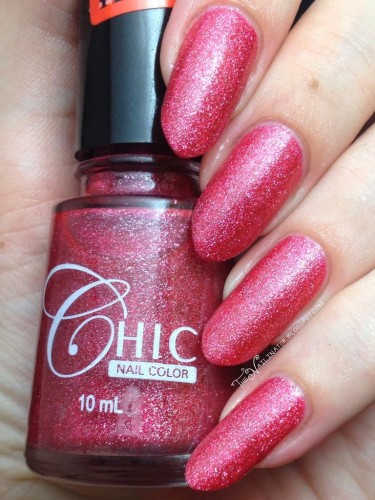
I’ve got another locally made beauty to show you today. Chic has a line of polishes called their “Grainy” collection. I’ve used 4 of the 5 shaded in the collection in the past but this is my first time to use Siam. I applied 2 coats of Siam and used black acrylic paint and a striper brush to free hand some zebra stripes. Yeah, another edgy Valentine’s Day appropriate look!

With topcoat

I added a bow I purchased from Blooming Nail Cebu.

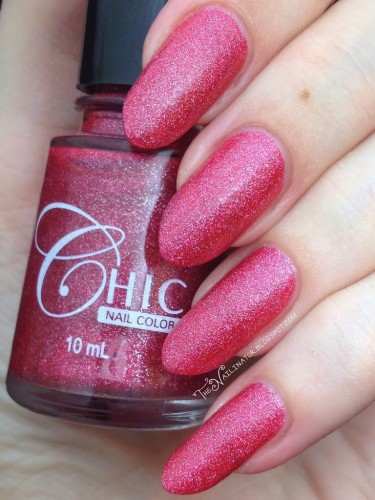
Just like the other shades in the Grainy Collection, Siam dries to a semi matte, slightly textured finish. The light box lighting doesn’t do the sparkle justice at all.

It is so sparkly and I love the slightly textured finish. Siam only required 2 coats for opacity and it wears well. Clean up was easy too. There were a few sparkly bits left behind, but they came off easily when I washed my hands. I would like to note that, even after I applied top coat, it still was a bit textured. So if you want that extra smooth, glossy finish, you might need 2 coats of topcoat. I love this polish just as much as I love the others in this collection. These are available in 10ml bottles for PHP 34.75/US$ 0.78.

Check out the other colors in the collection:
Shadow Crystal
Montana
Peridot
Amethyst
Montana & Amethyst Gradient

I hope you have a great week!
Hugs,
Rachael

26 Dec

Review of Chic Shadow Crystal and Blooming Nail Cebu Water Decals

Merry Christmas!

I hope you had a wonderful day filled with much love and laughter and that you got to spend it with people that you love. We enjoyed a Skype date with my hubby’s folks in Texas and we enjoyed a lovely lunch with my parents and siblings here in Cebu. Among other yummy things, we had some awesome mashed potatoes for lunch. Mr. Nailinator found this recipe from the Pioneer Woman. The secret ingredient? Cream cheese! Best mashed potatoes I have ever eaten!

On to the nails… I planned to post this a couple of nights ago but I got hit with a bad migraine and it just didn’t happen. I was too busy yesterday preparing for guests today and just hanging out with the kids and Mr. Nailinator, so I’m posting it now.
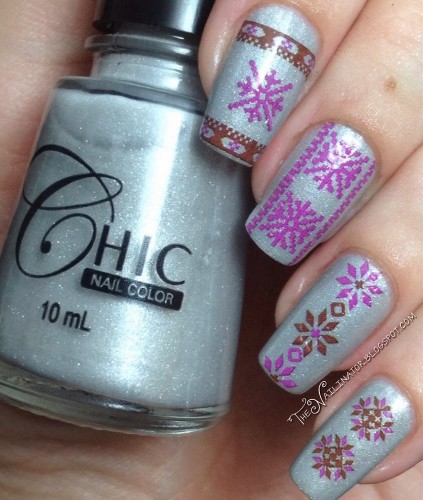
Chic Shadow Crystal with "ugly sweater" water decals

Sometimes a girl needs some nail art that is easy and super speedy. This was just that. I applied my polish ahead of time (I’ll talk more about the polish in a bit) and had planned on doing a lovely free handed design, but due to time constraints (seriously, I’ve got two very active kids and a household to run) I chose to use the Hot016 Christmas themed water decals (should have taken a picture) that I purchased from Blooming Nail Cebu a while back. It doesn’t really get much easier than water decals, gals. The Blooming Nail decals are great quality. They are so easy to work with. They have vibrant images, and they are thick enough that I was able to use my tweezers to position them, mumble under my breath at my lousy attempt at centering the design, and reposition it several times. Then I applied topcoat to seal it and smooth it out. I forgot to make sure the decal was completely dry before I placed it on my ring finger, thus you can see I experienced a bit of bubbling. Hopefully the next time I do decals I won’t forget that step and they will all be smooth.
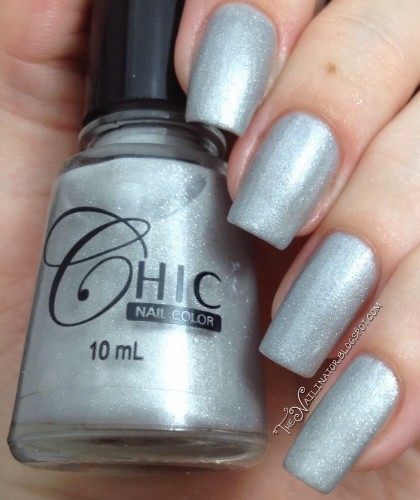
Chic Shadow Crystal swatch

The polish I used as my base is Chic Shadow Crystal (PHP 34.75/US$ 0.78). It is one of the 5 shades in their Grainy Collection. The polishes in their Grainy Collection dry to what I would describe as a slightly textured semi-matte finish. This is two thin coats of Shadow Crystal over one coat of San San Cloudy Gray. I think Shadow Crystal would need 4 coats for it to be opaque on it’s own so I decided to use undies again. I really love this polish. It dries fast and I love the finish and the little sparkles. It reminds me again of glistening snow except with a grayish silvery tint. I received several compliments when I wore the polish on it’s own. If you look closely at the pictures with the decals, you will see that there is no visible tip wear. I had already been wearing it without topcoat for 2 full days when I added the decals so it wears quite well also. Cleanup was very easy for me. A few sparklies were left behind, but they came off easily when I washed my hands. This is another perfect holiday shade in my opinion.

I’m still getting used to doing actual reviews on polishes. I would really appreciate if you would tell me if there is any lacking information in this review that you would like me to include in future review posts. Or feel free to tell me what I did right. 😉

Mr. Nailinator convinced me to take the plunge and file my nails to a sort of pointy almond shape so the next time we meet I will be sporting a different look. I’ve had a lot of positive feedback so I hope you all love them too.

Christmas Lantern - Merry Christmas to you!

I’m singing off for bed now. Again, I hope you had/are having a very merry Christmas. May God bless you and yours.

Hugs,
Rachael

%d bloggers like this: