Hi there!
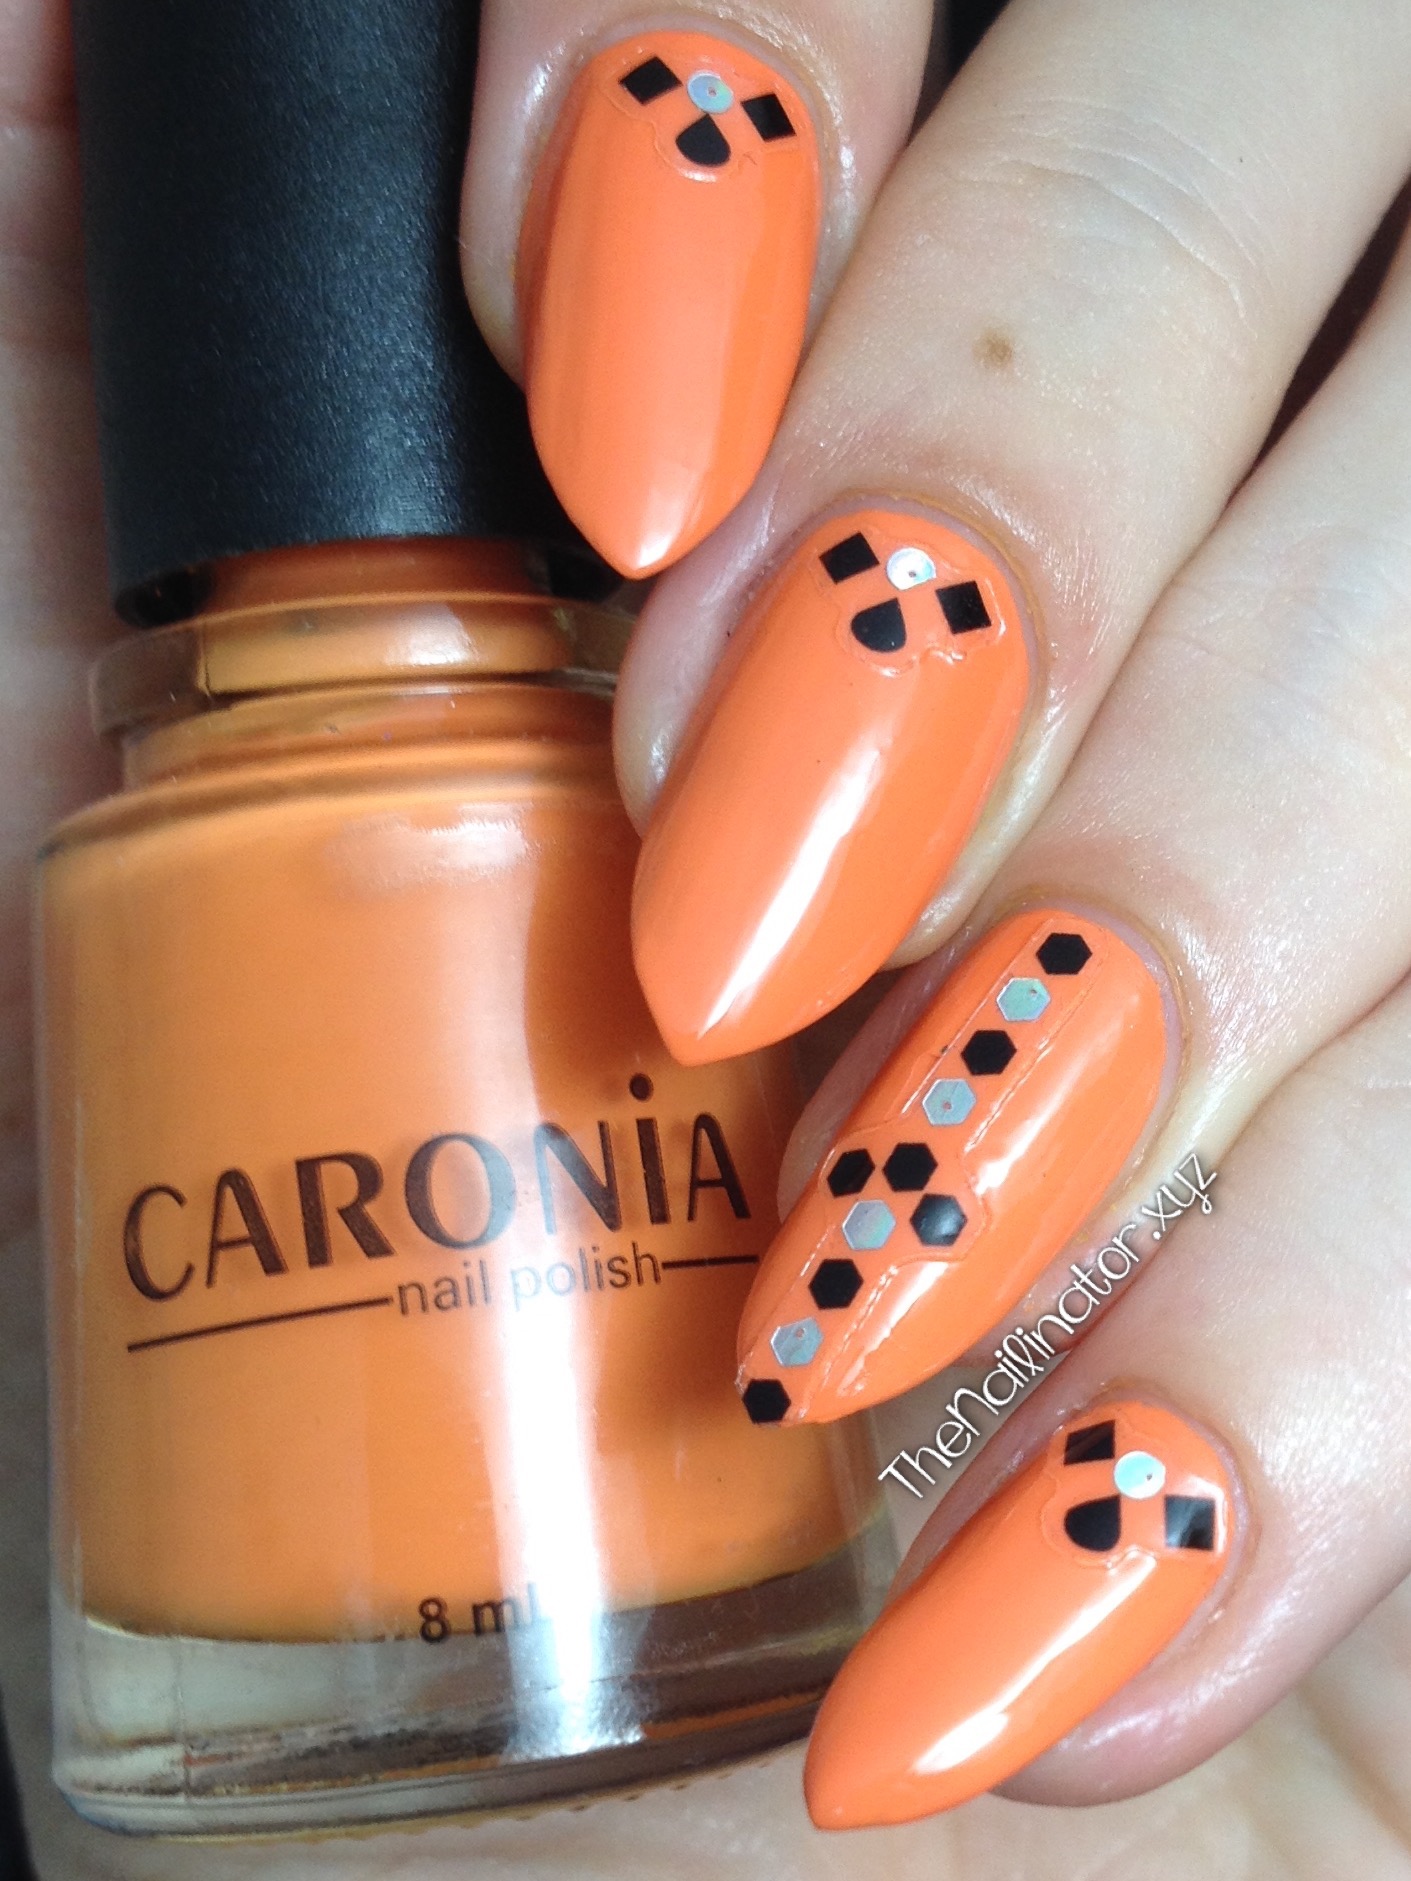
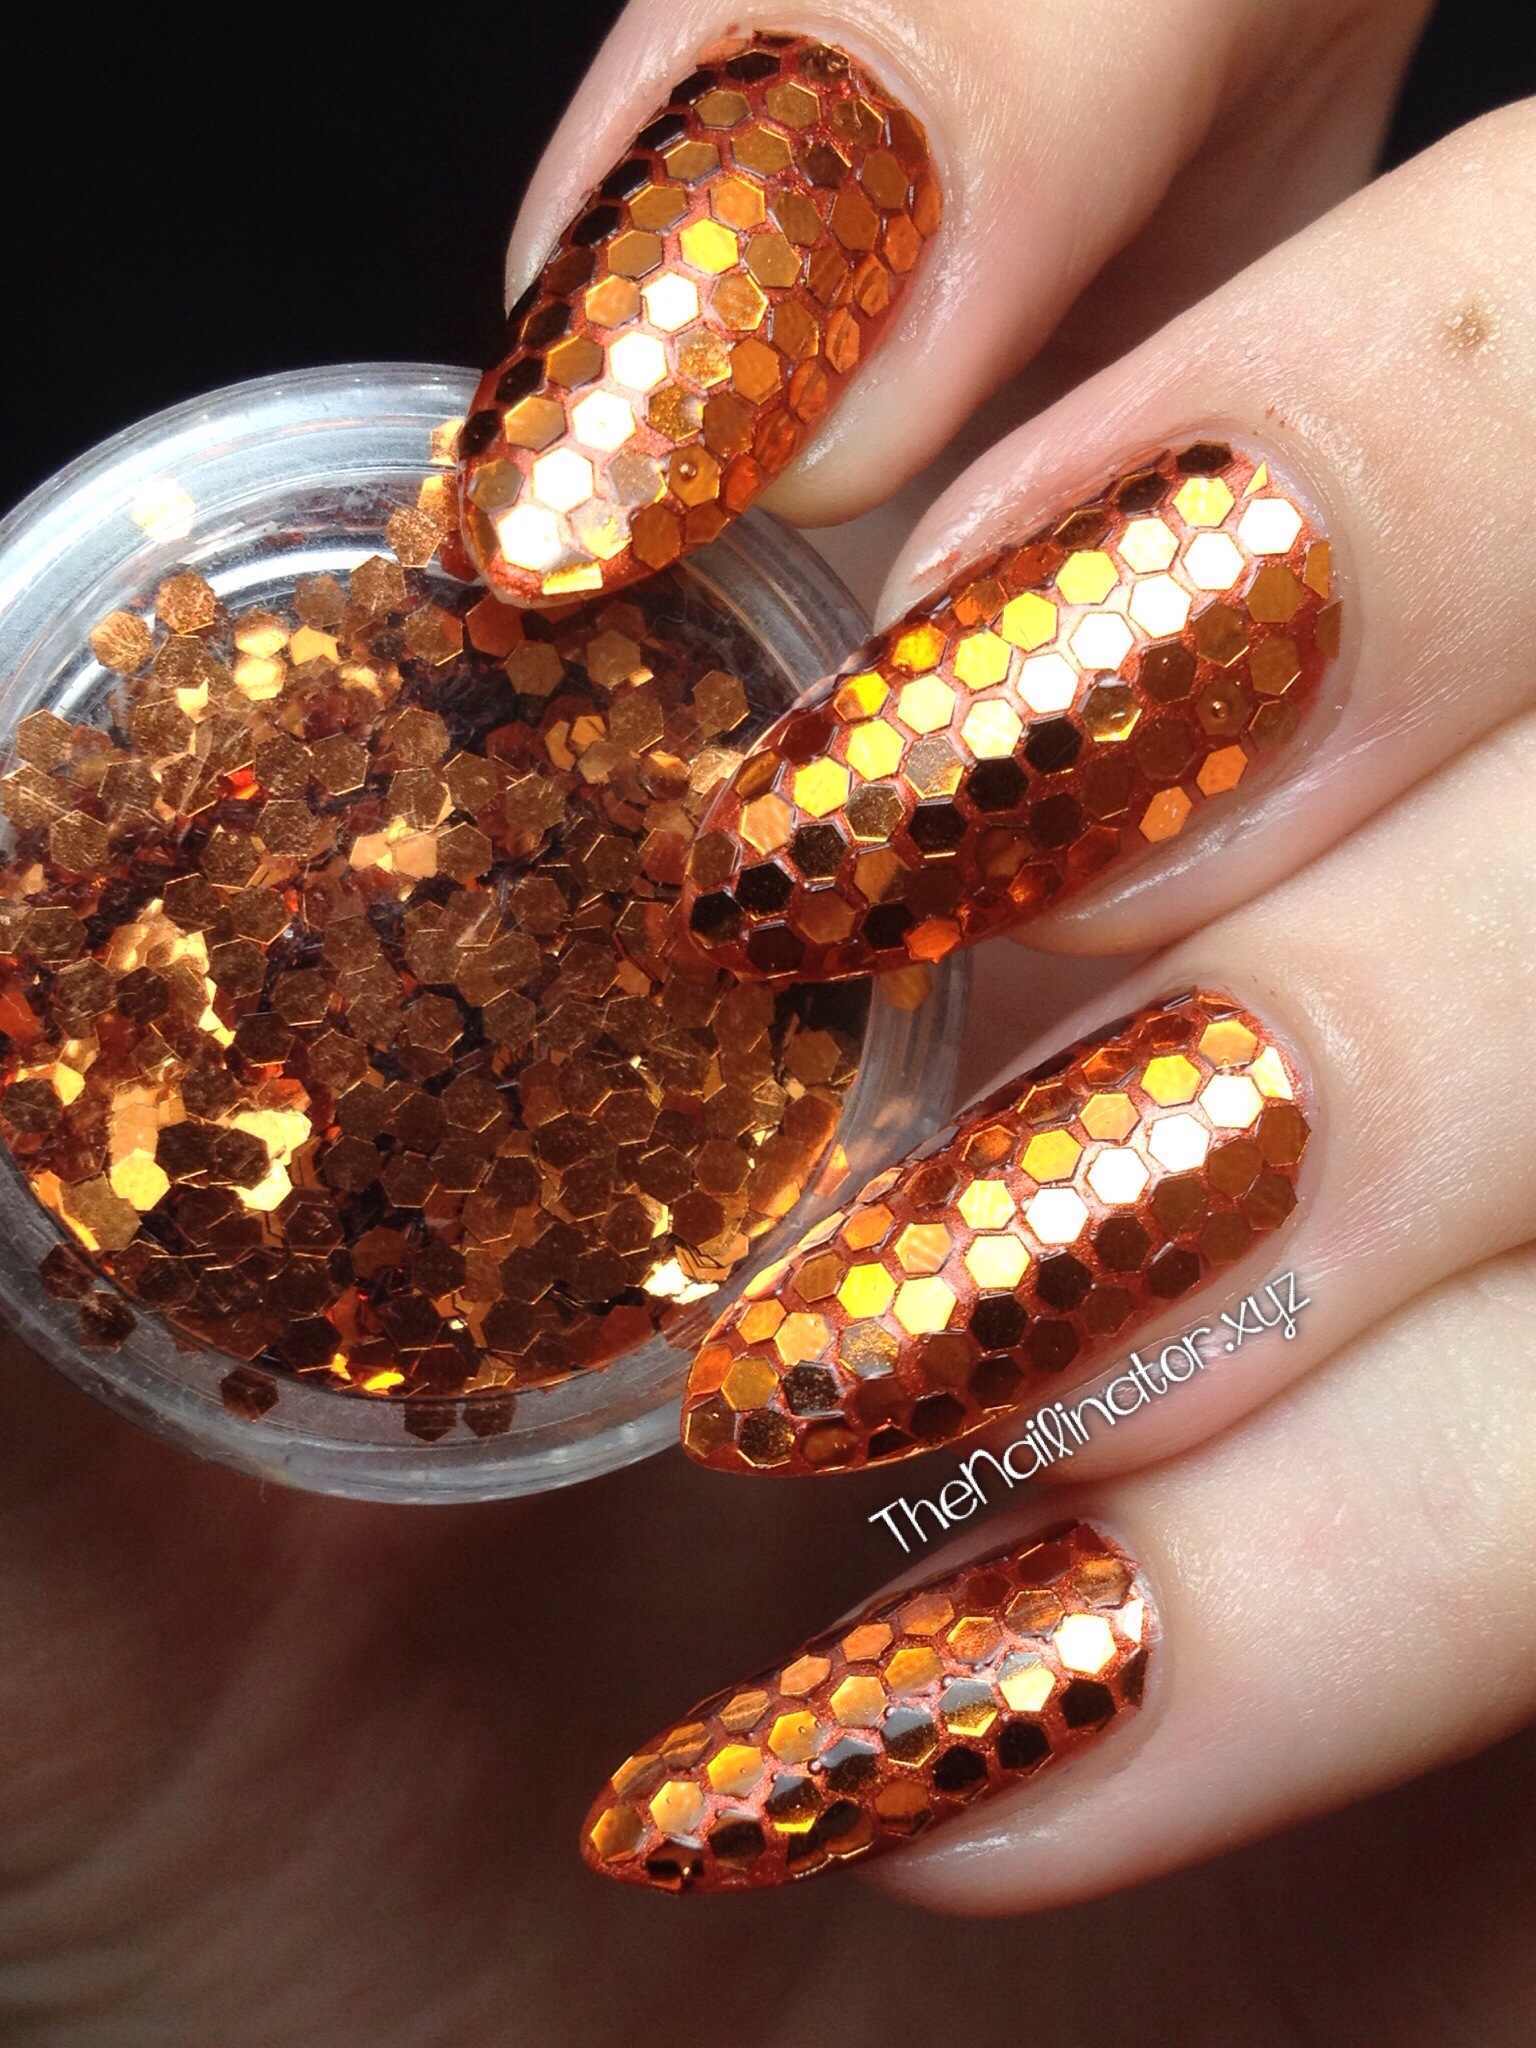
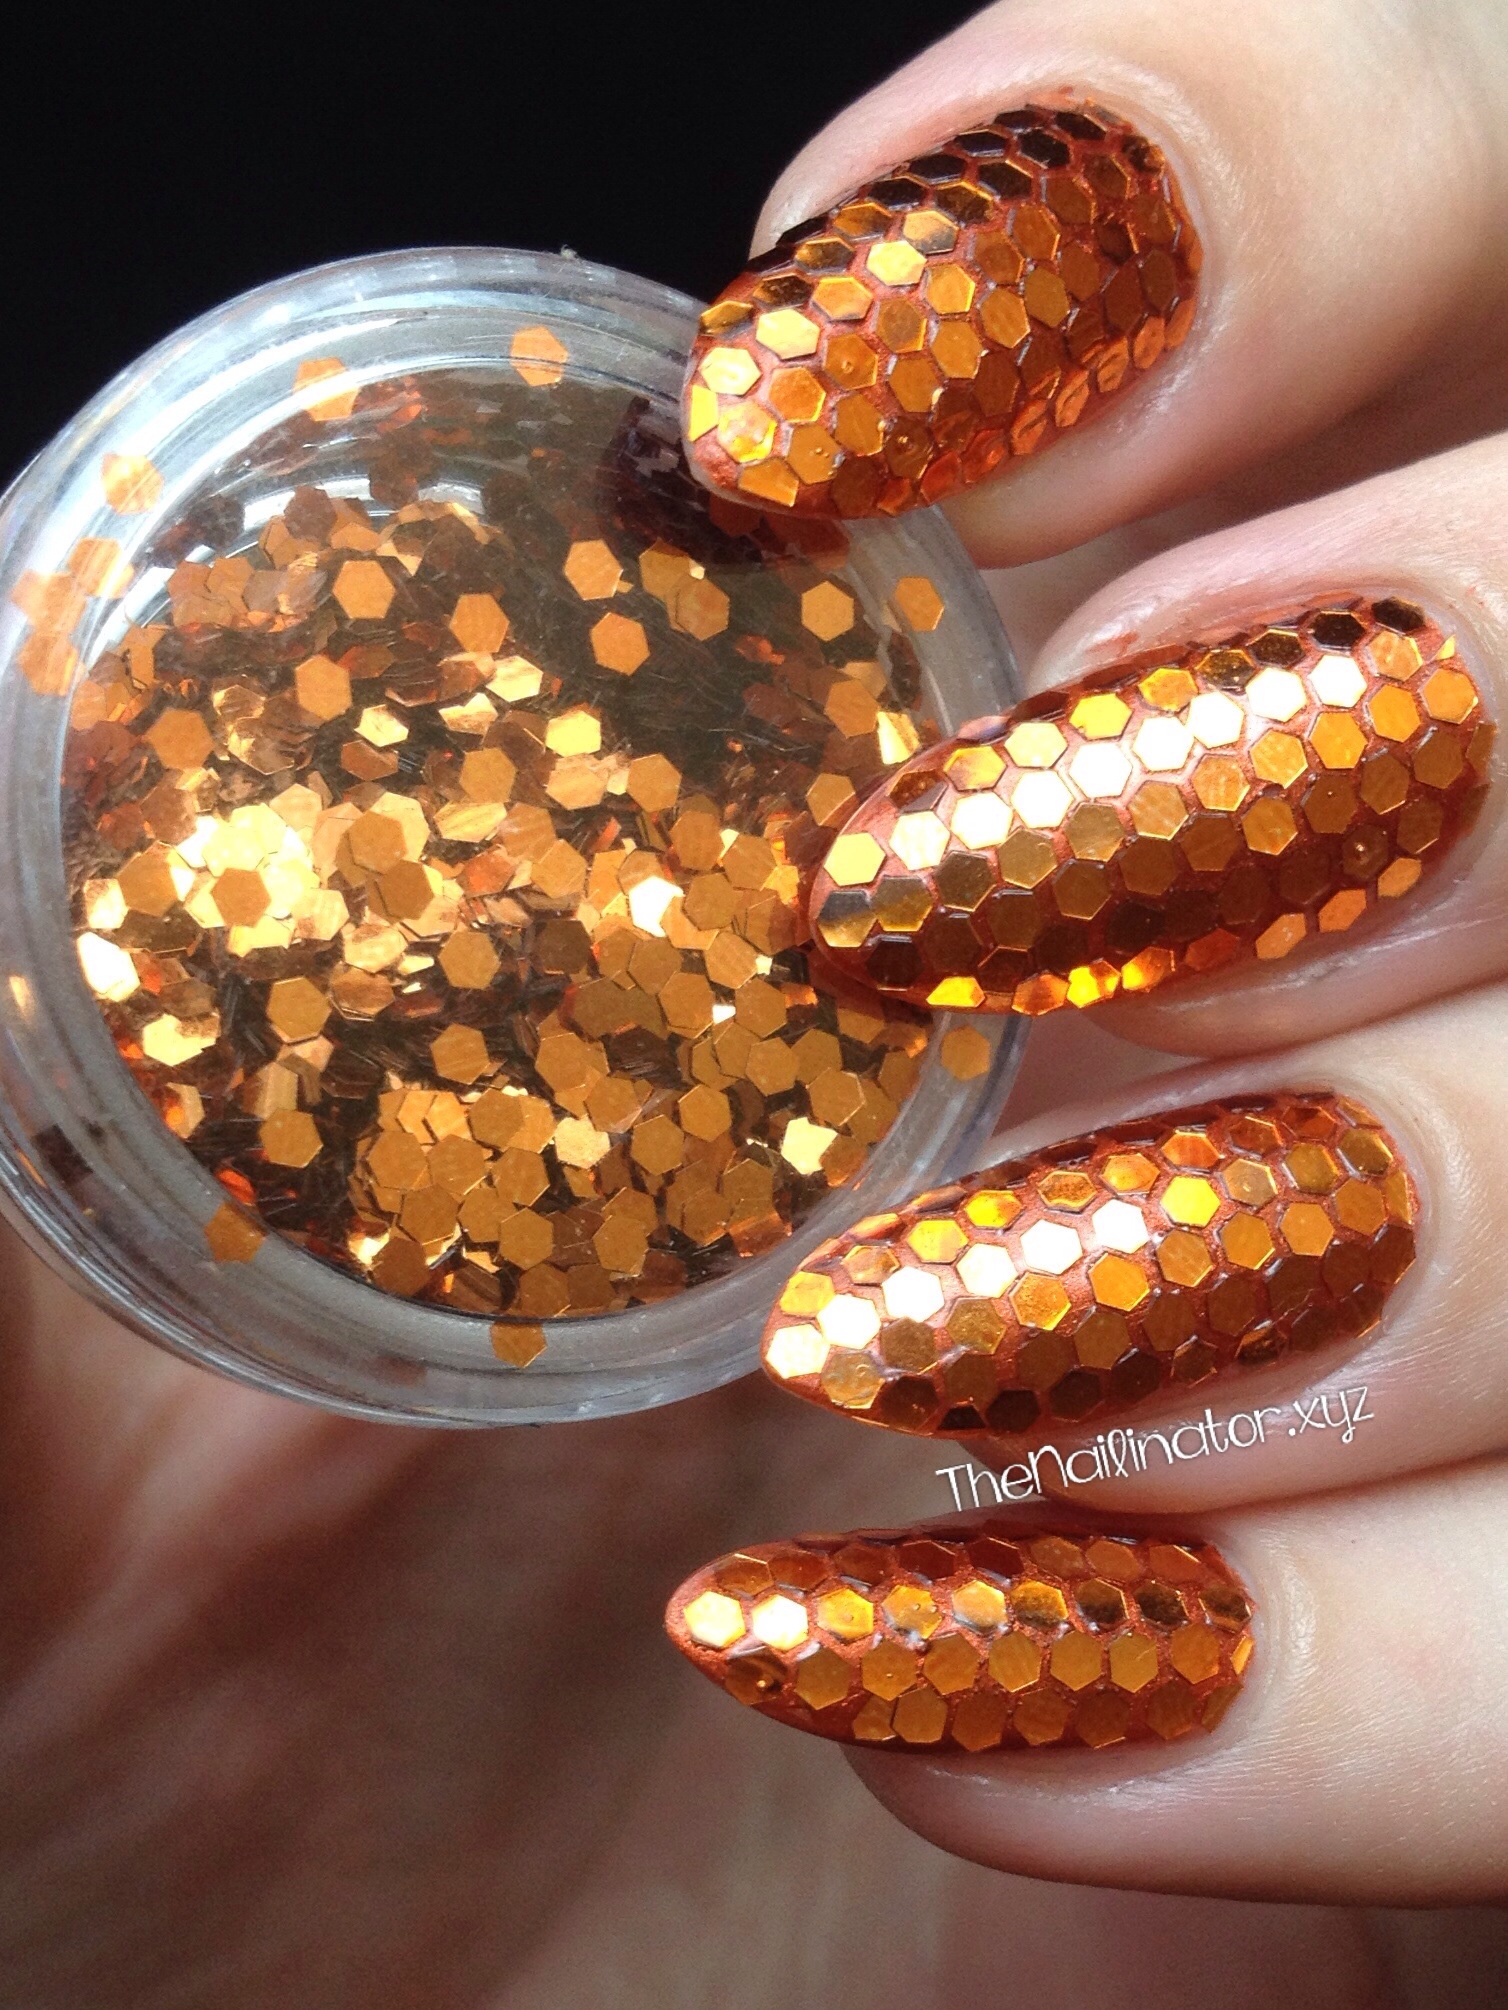
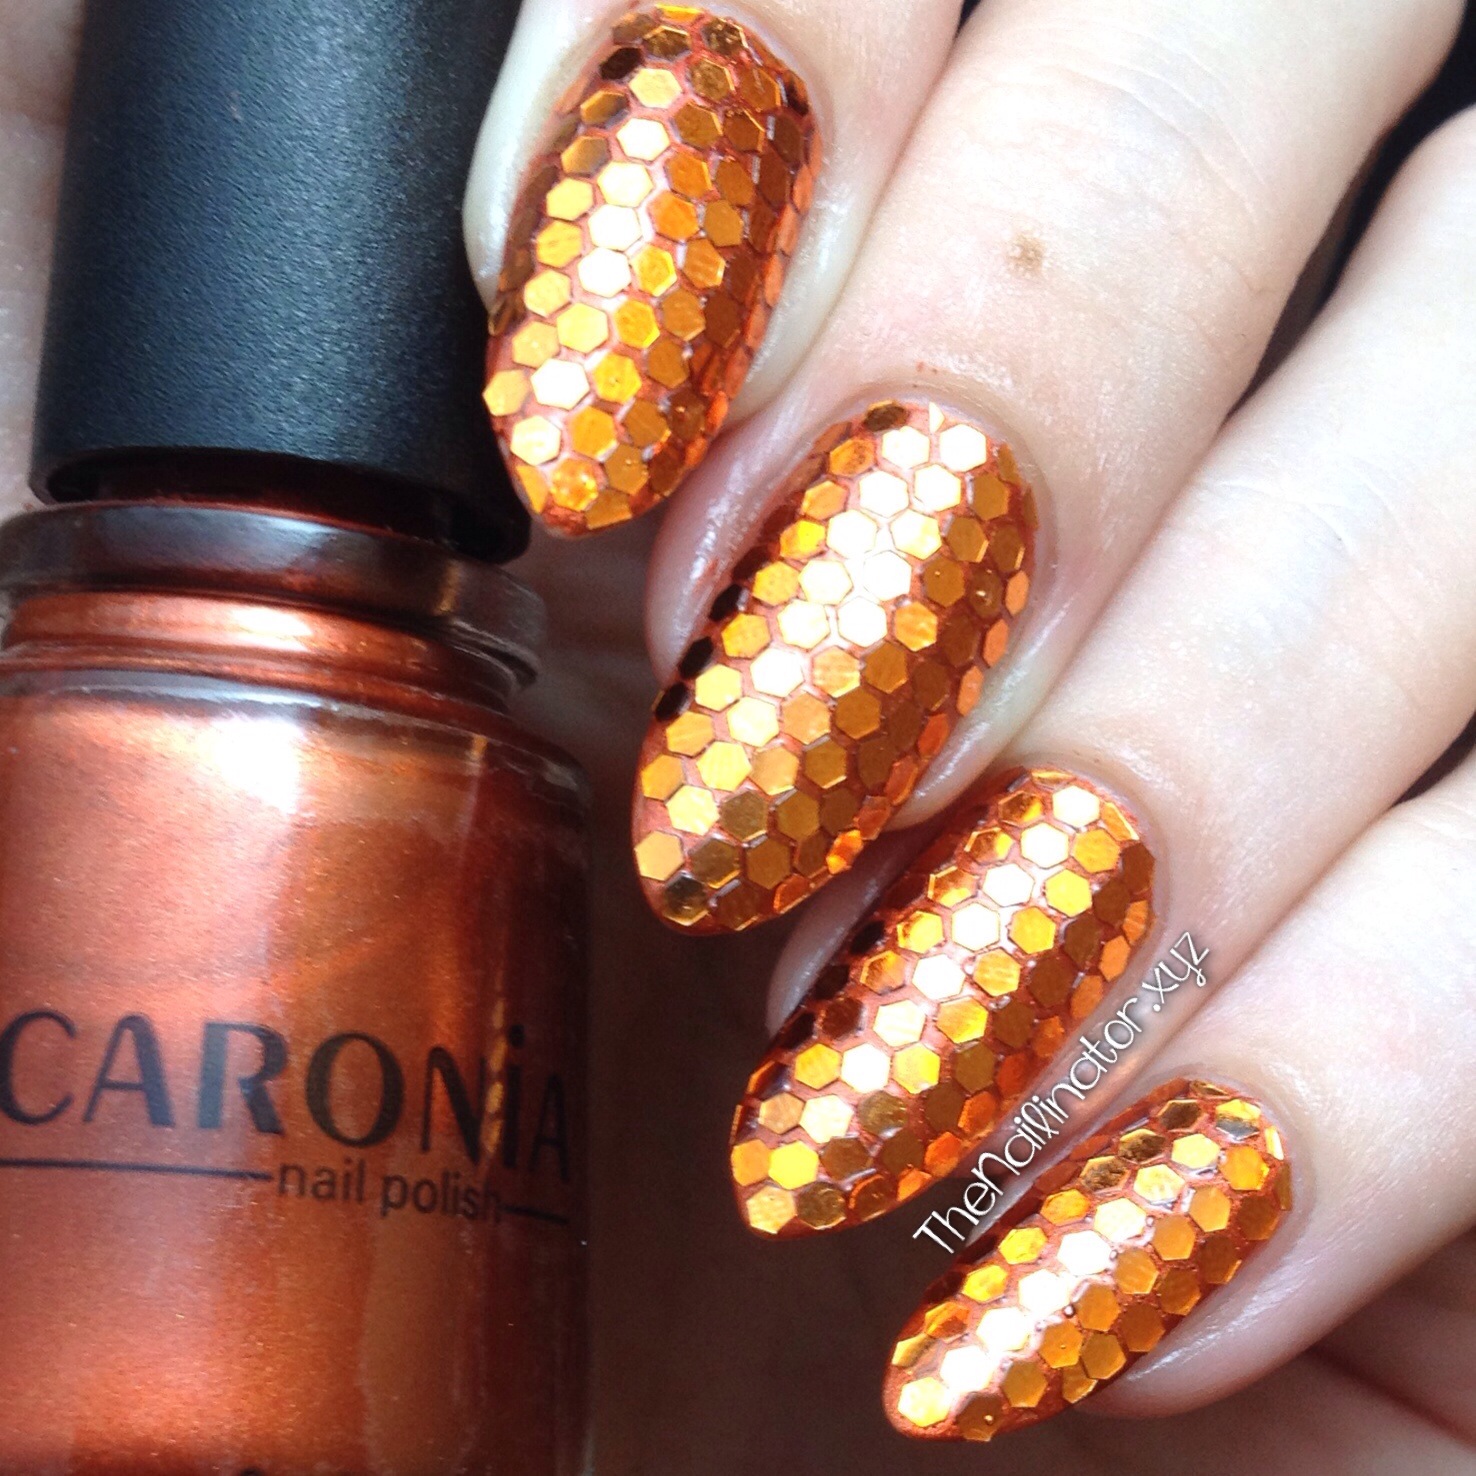
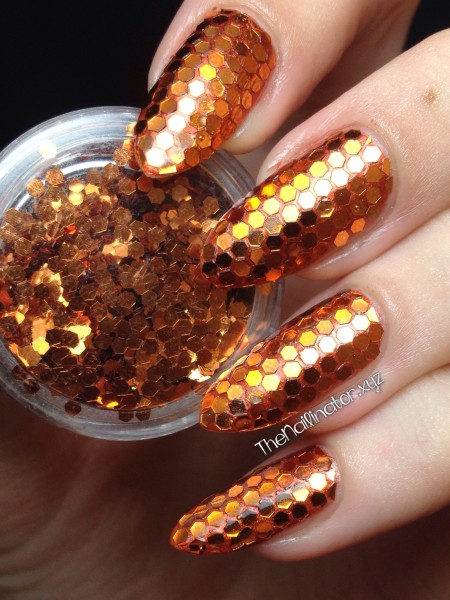
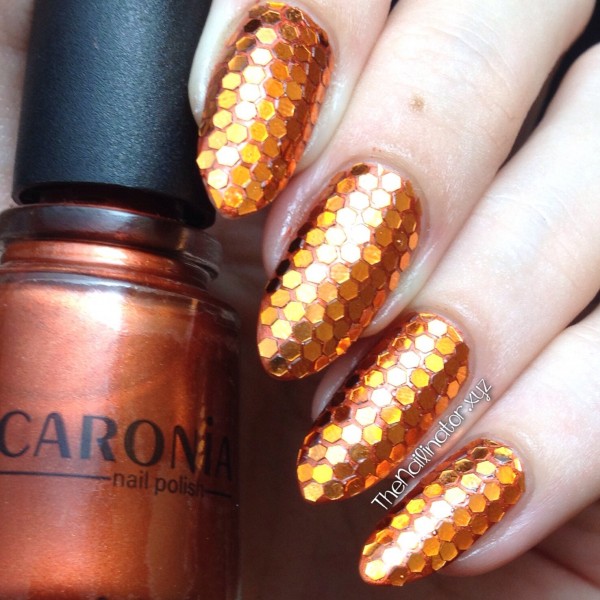
I’ve got another product review to share with you. When Born Pretty Store contacted me a while back asking me to review some of their products, I knew immediately that I wanted to get my hands on their 12-Color Hexagon Glitter Set I’ve heard so much about. When I received the package, I immediately set about putting tons of glitter all over my nails! I was thinking of doing something pumpkin related with these. But after I finished with the orange glitter, I realized that they looked more like koi fish scales. They were so fantastically glittery, I decided to leave them as is. Aren’t they pretty?
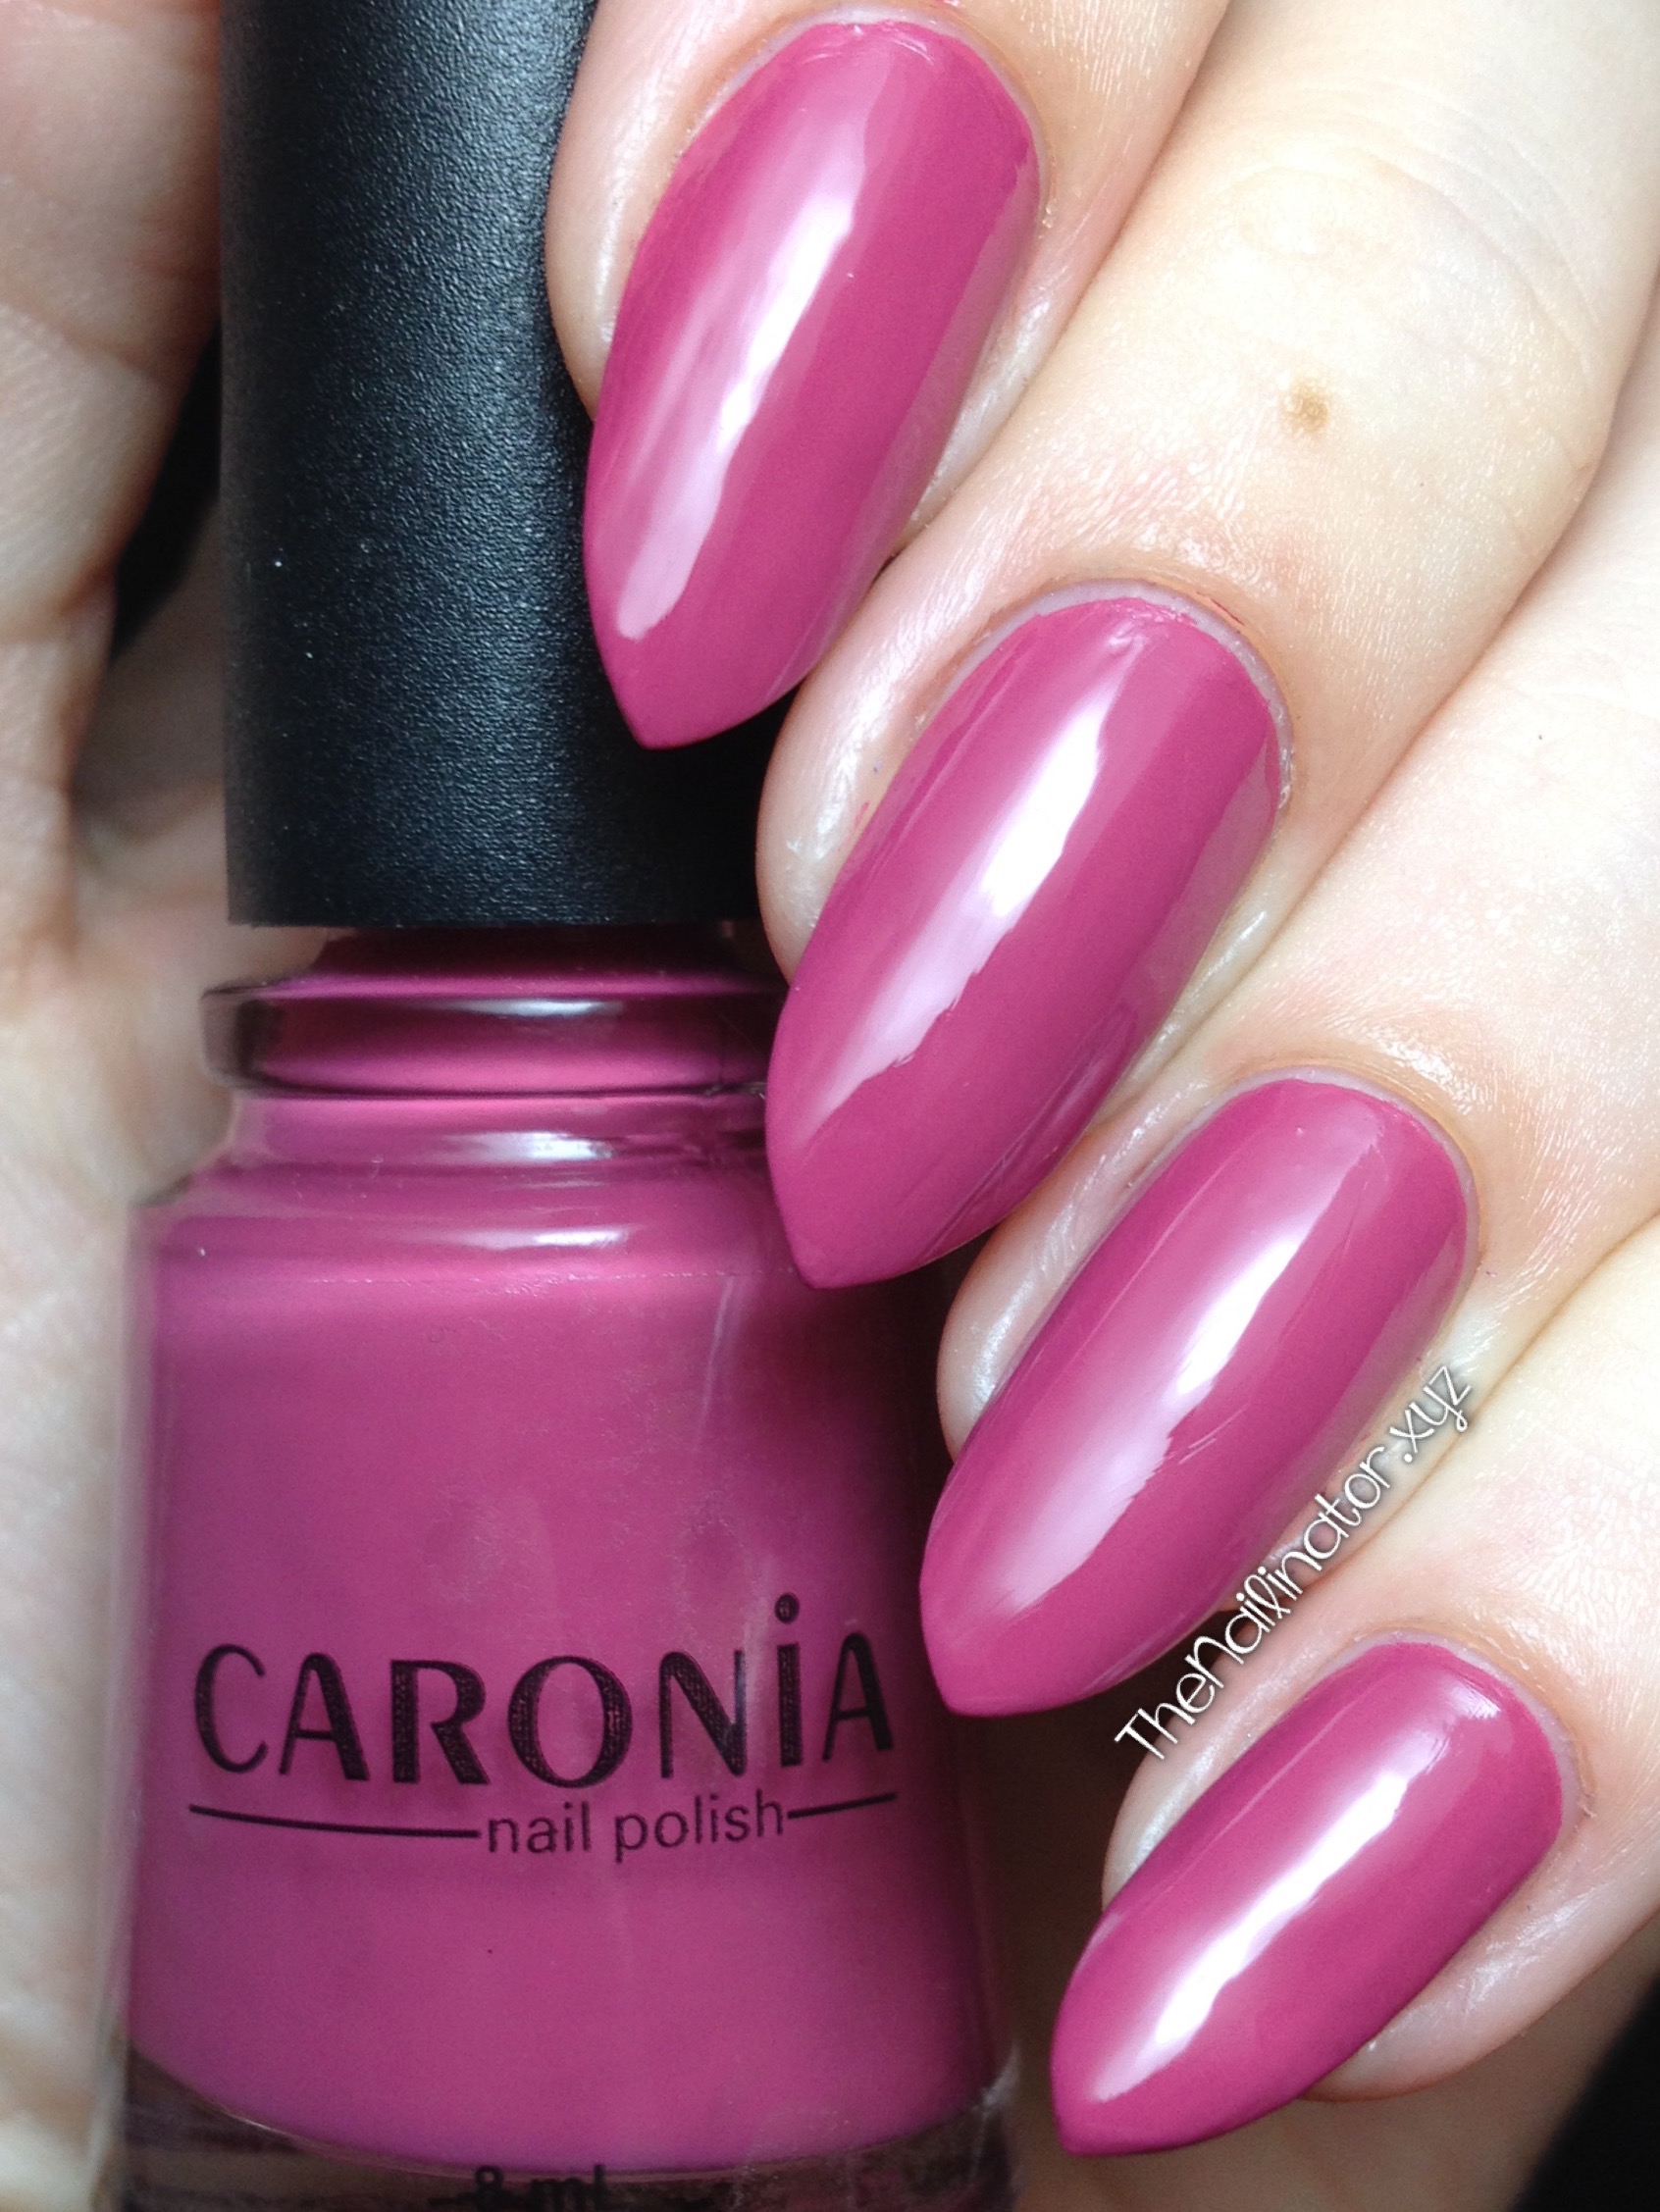
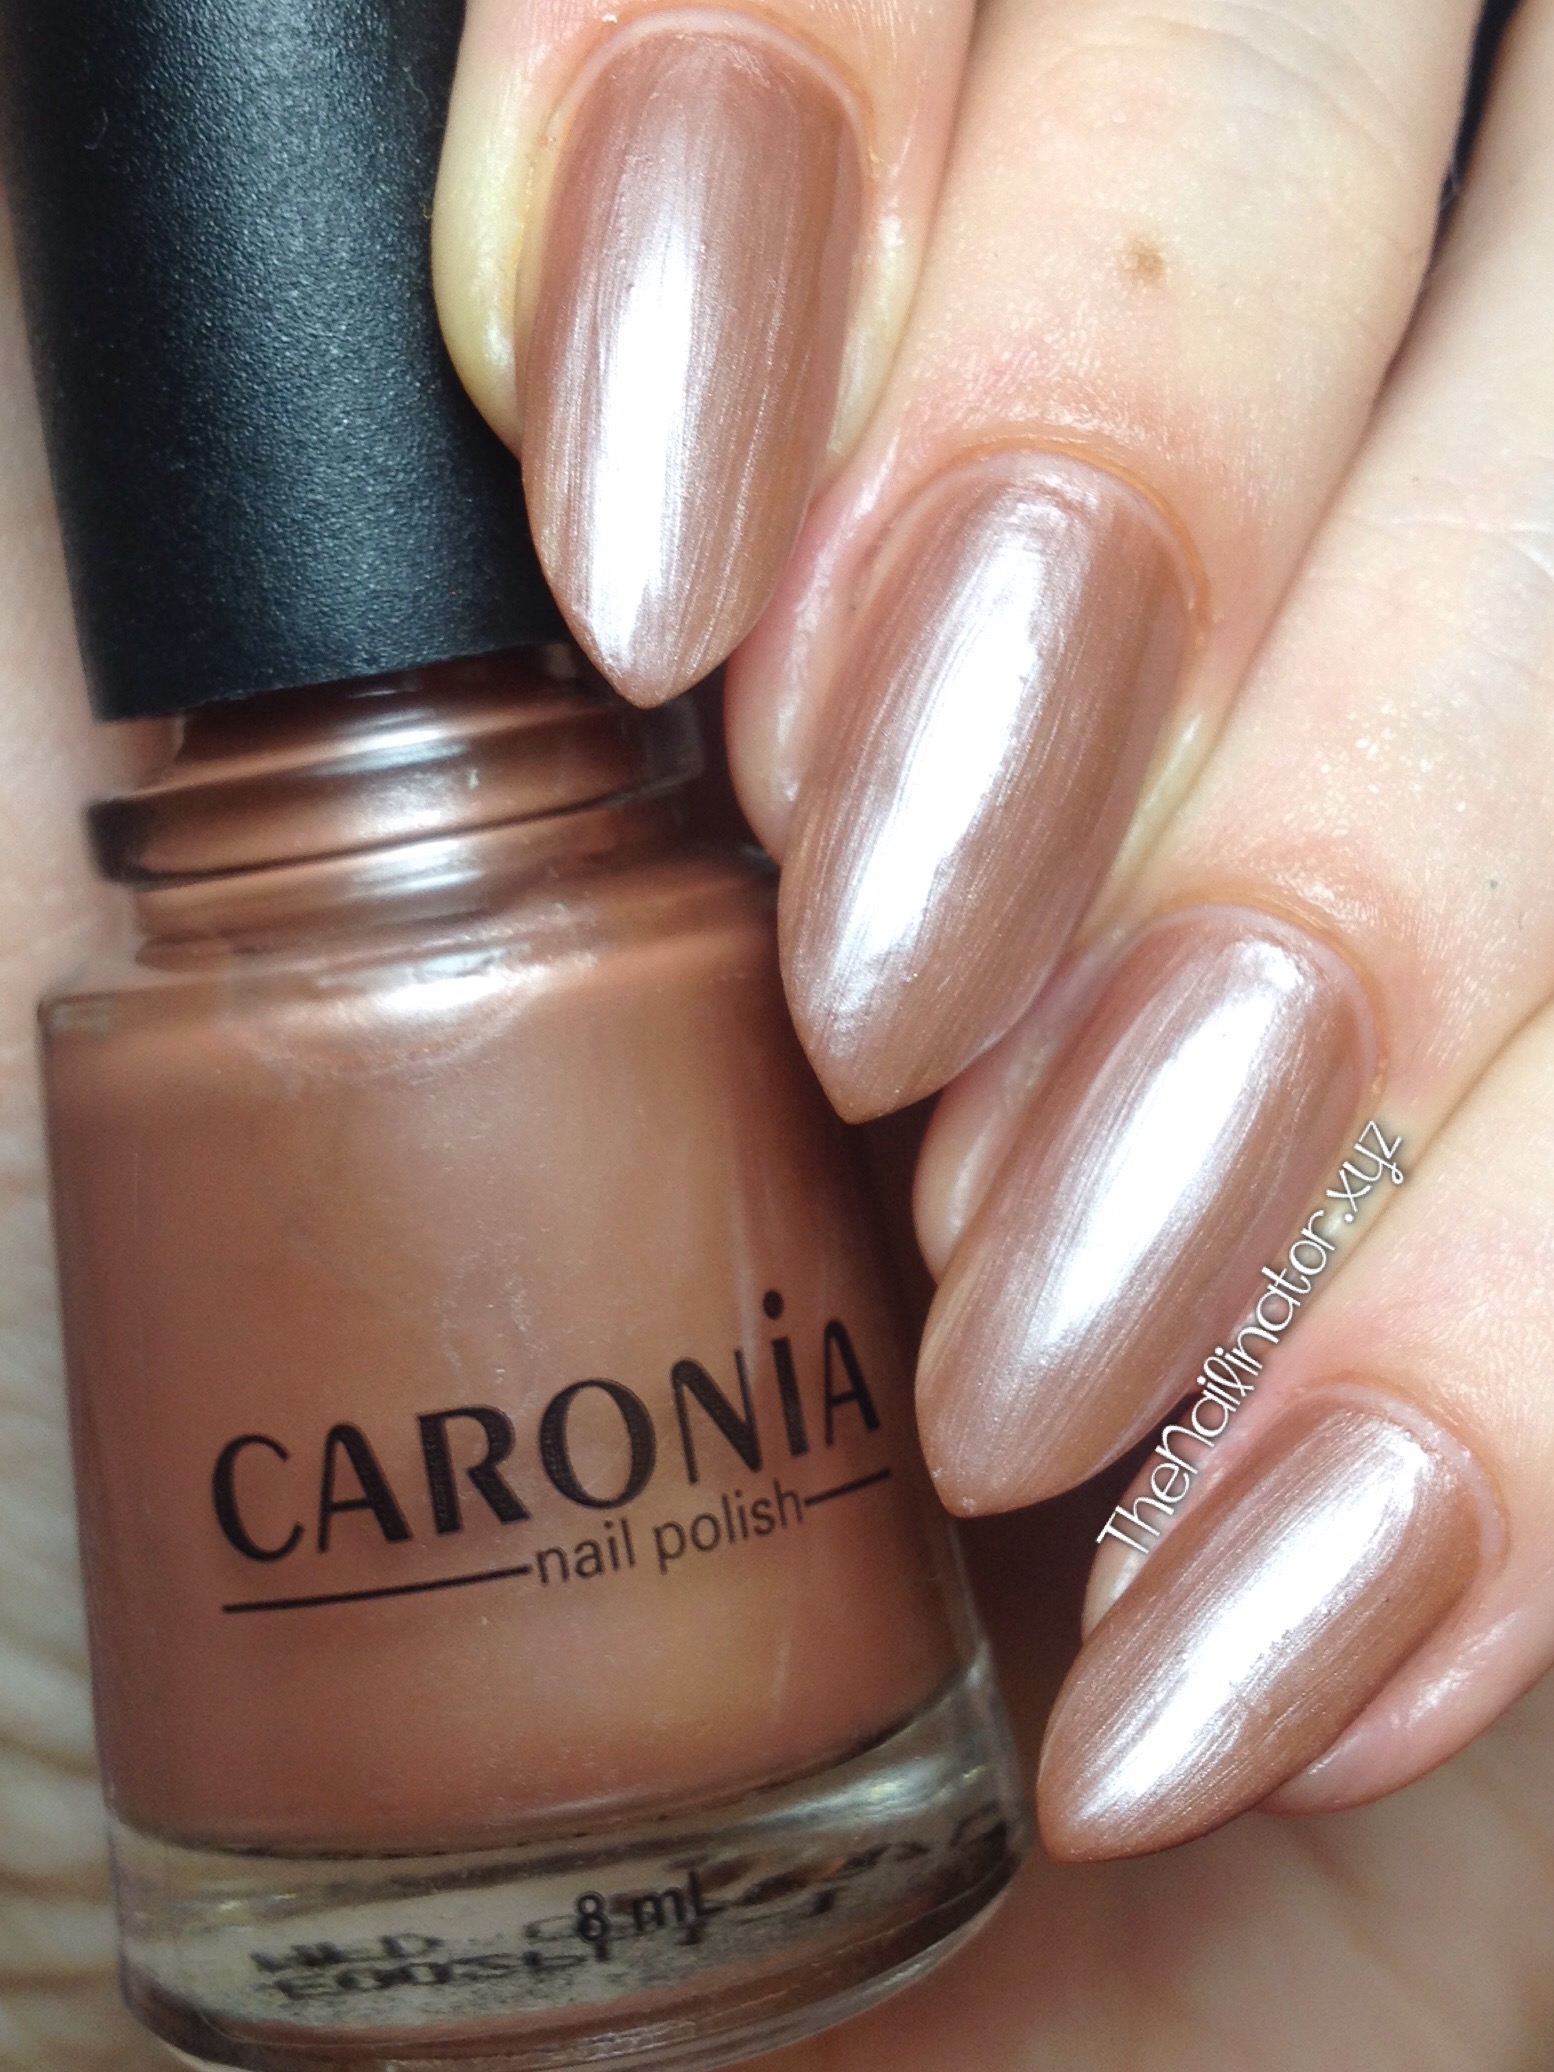
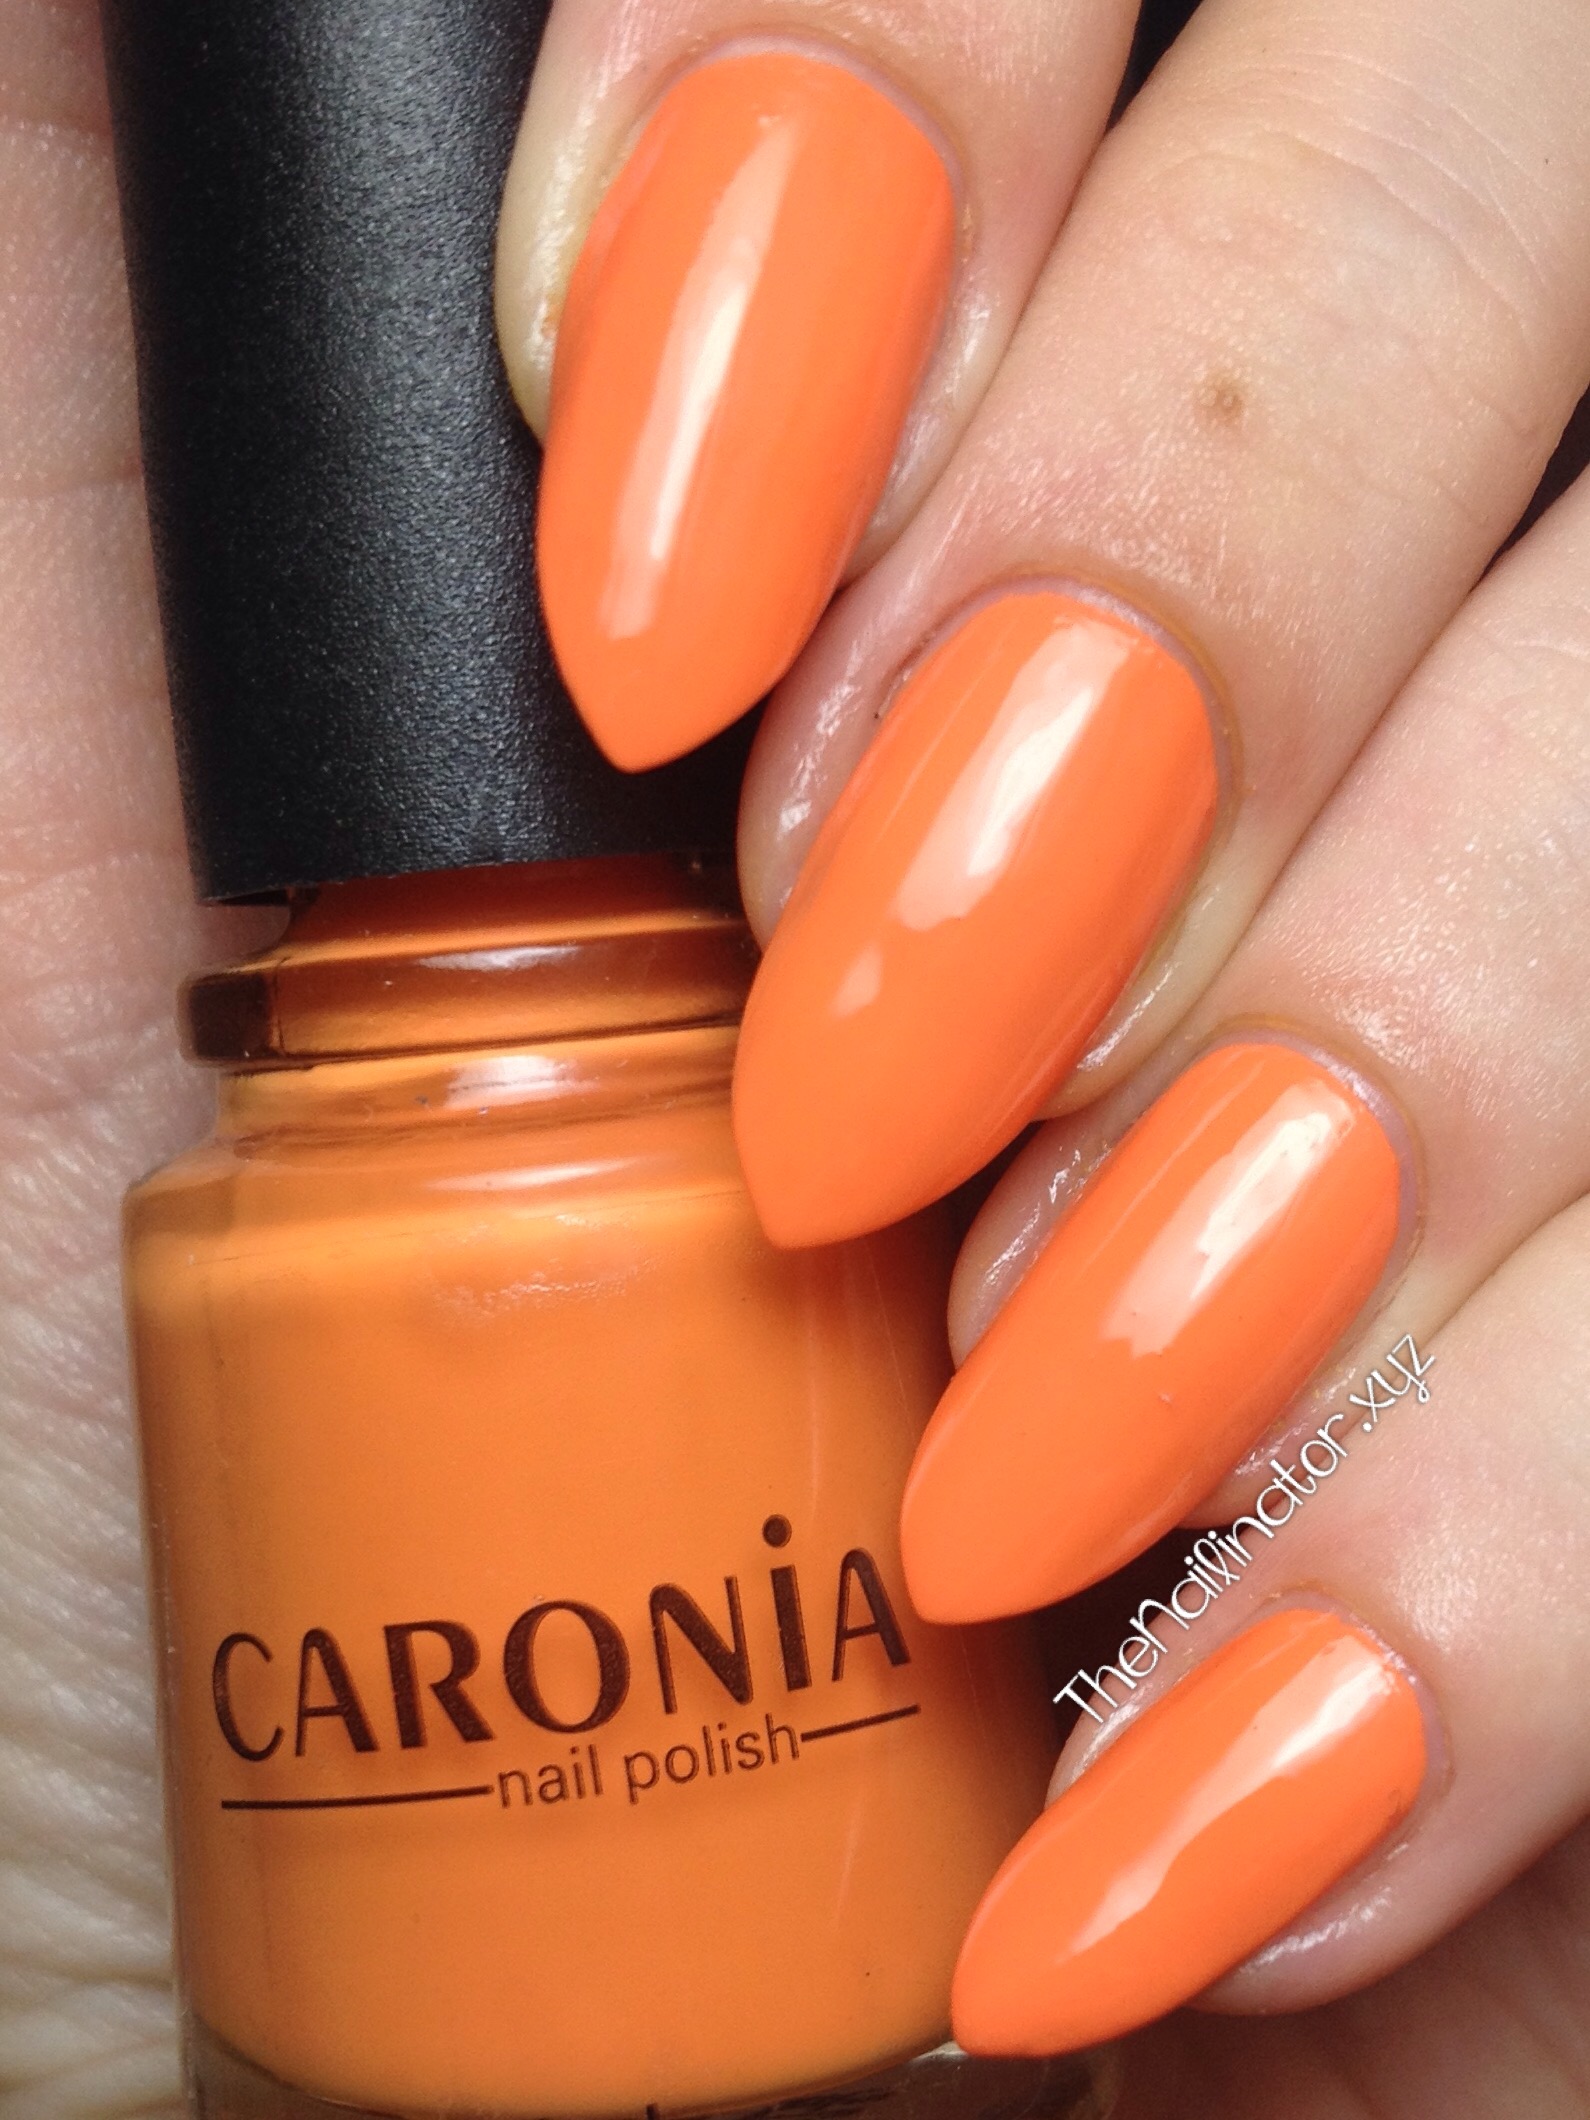
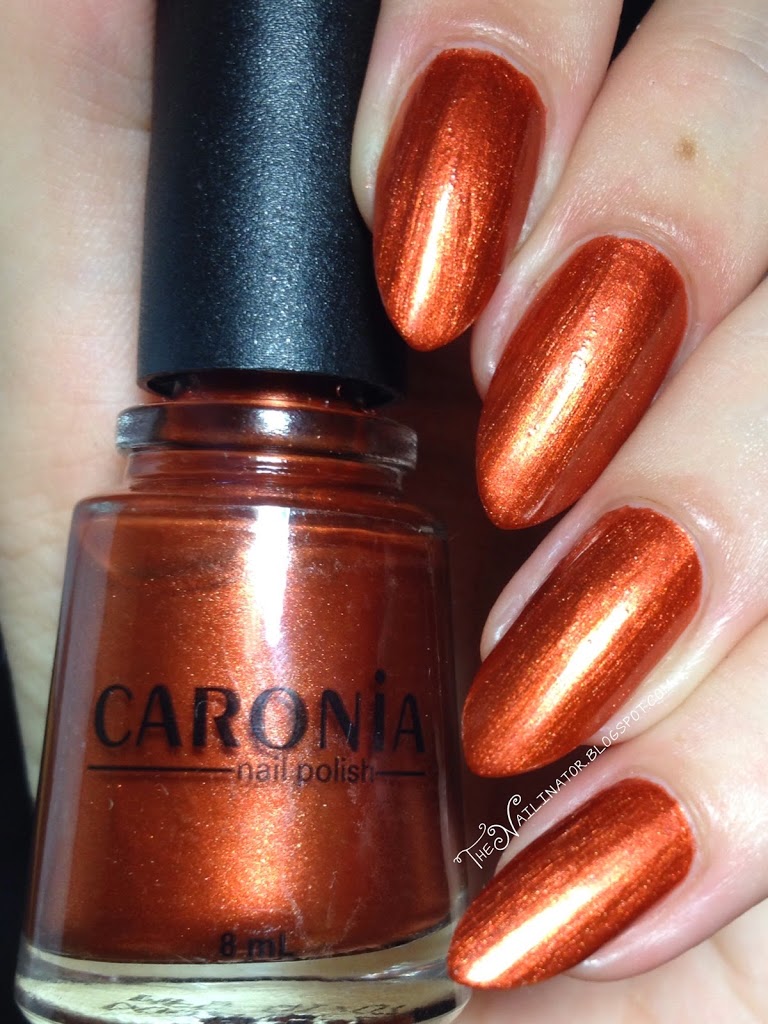
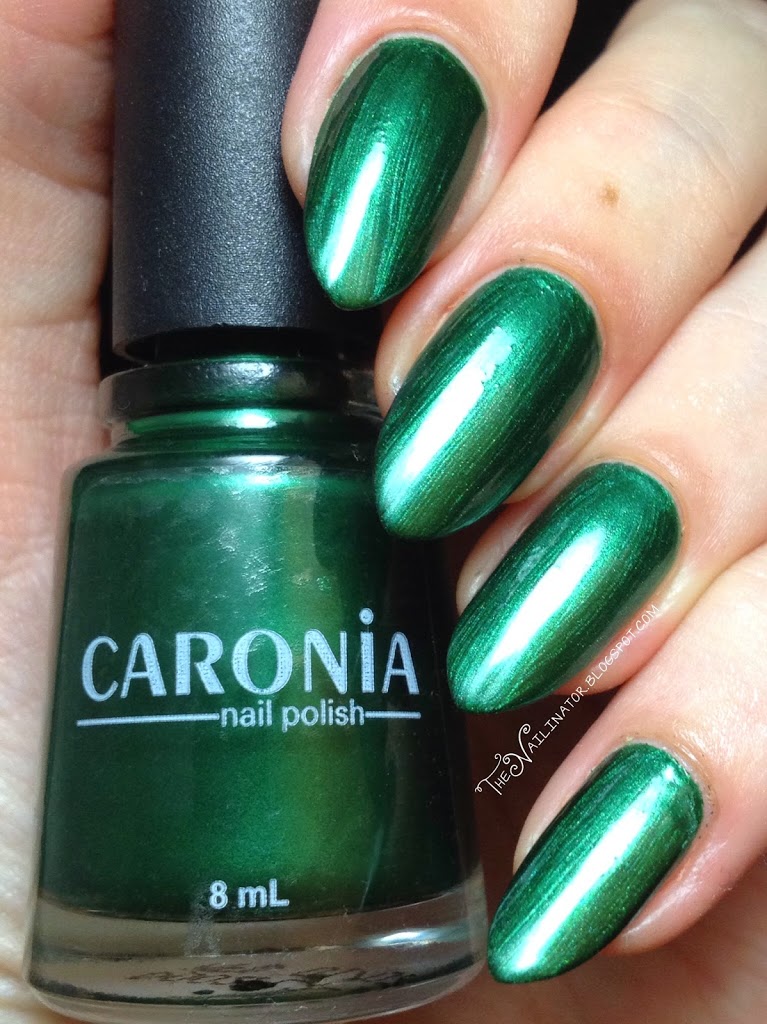
To achieve this flashy look, I started with two thin coats of a similar base color (Caronia Bourrée in this case). After my base color was dry, I applied a bit of clear polish down the center of my nail and, using a damp orange wood stick to pick them up, carefully placed the glitter piece by piece in a straight line down the middle of my nail. Then I worked out towards the sides of the nail, applying clear coat column by column to get the glitter to stick. Using my cuticle nippers, I cut some glitter in half for the edges of my nails. After the nail was covered to my liking, I applied a generous layer of clear coat to seal it all in.

I can’t believe that it has been a year since I did a full glitter placement mani! They are so pretty and fun to wear.
Hexagonal Glitter Review
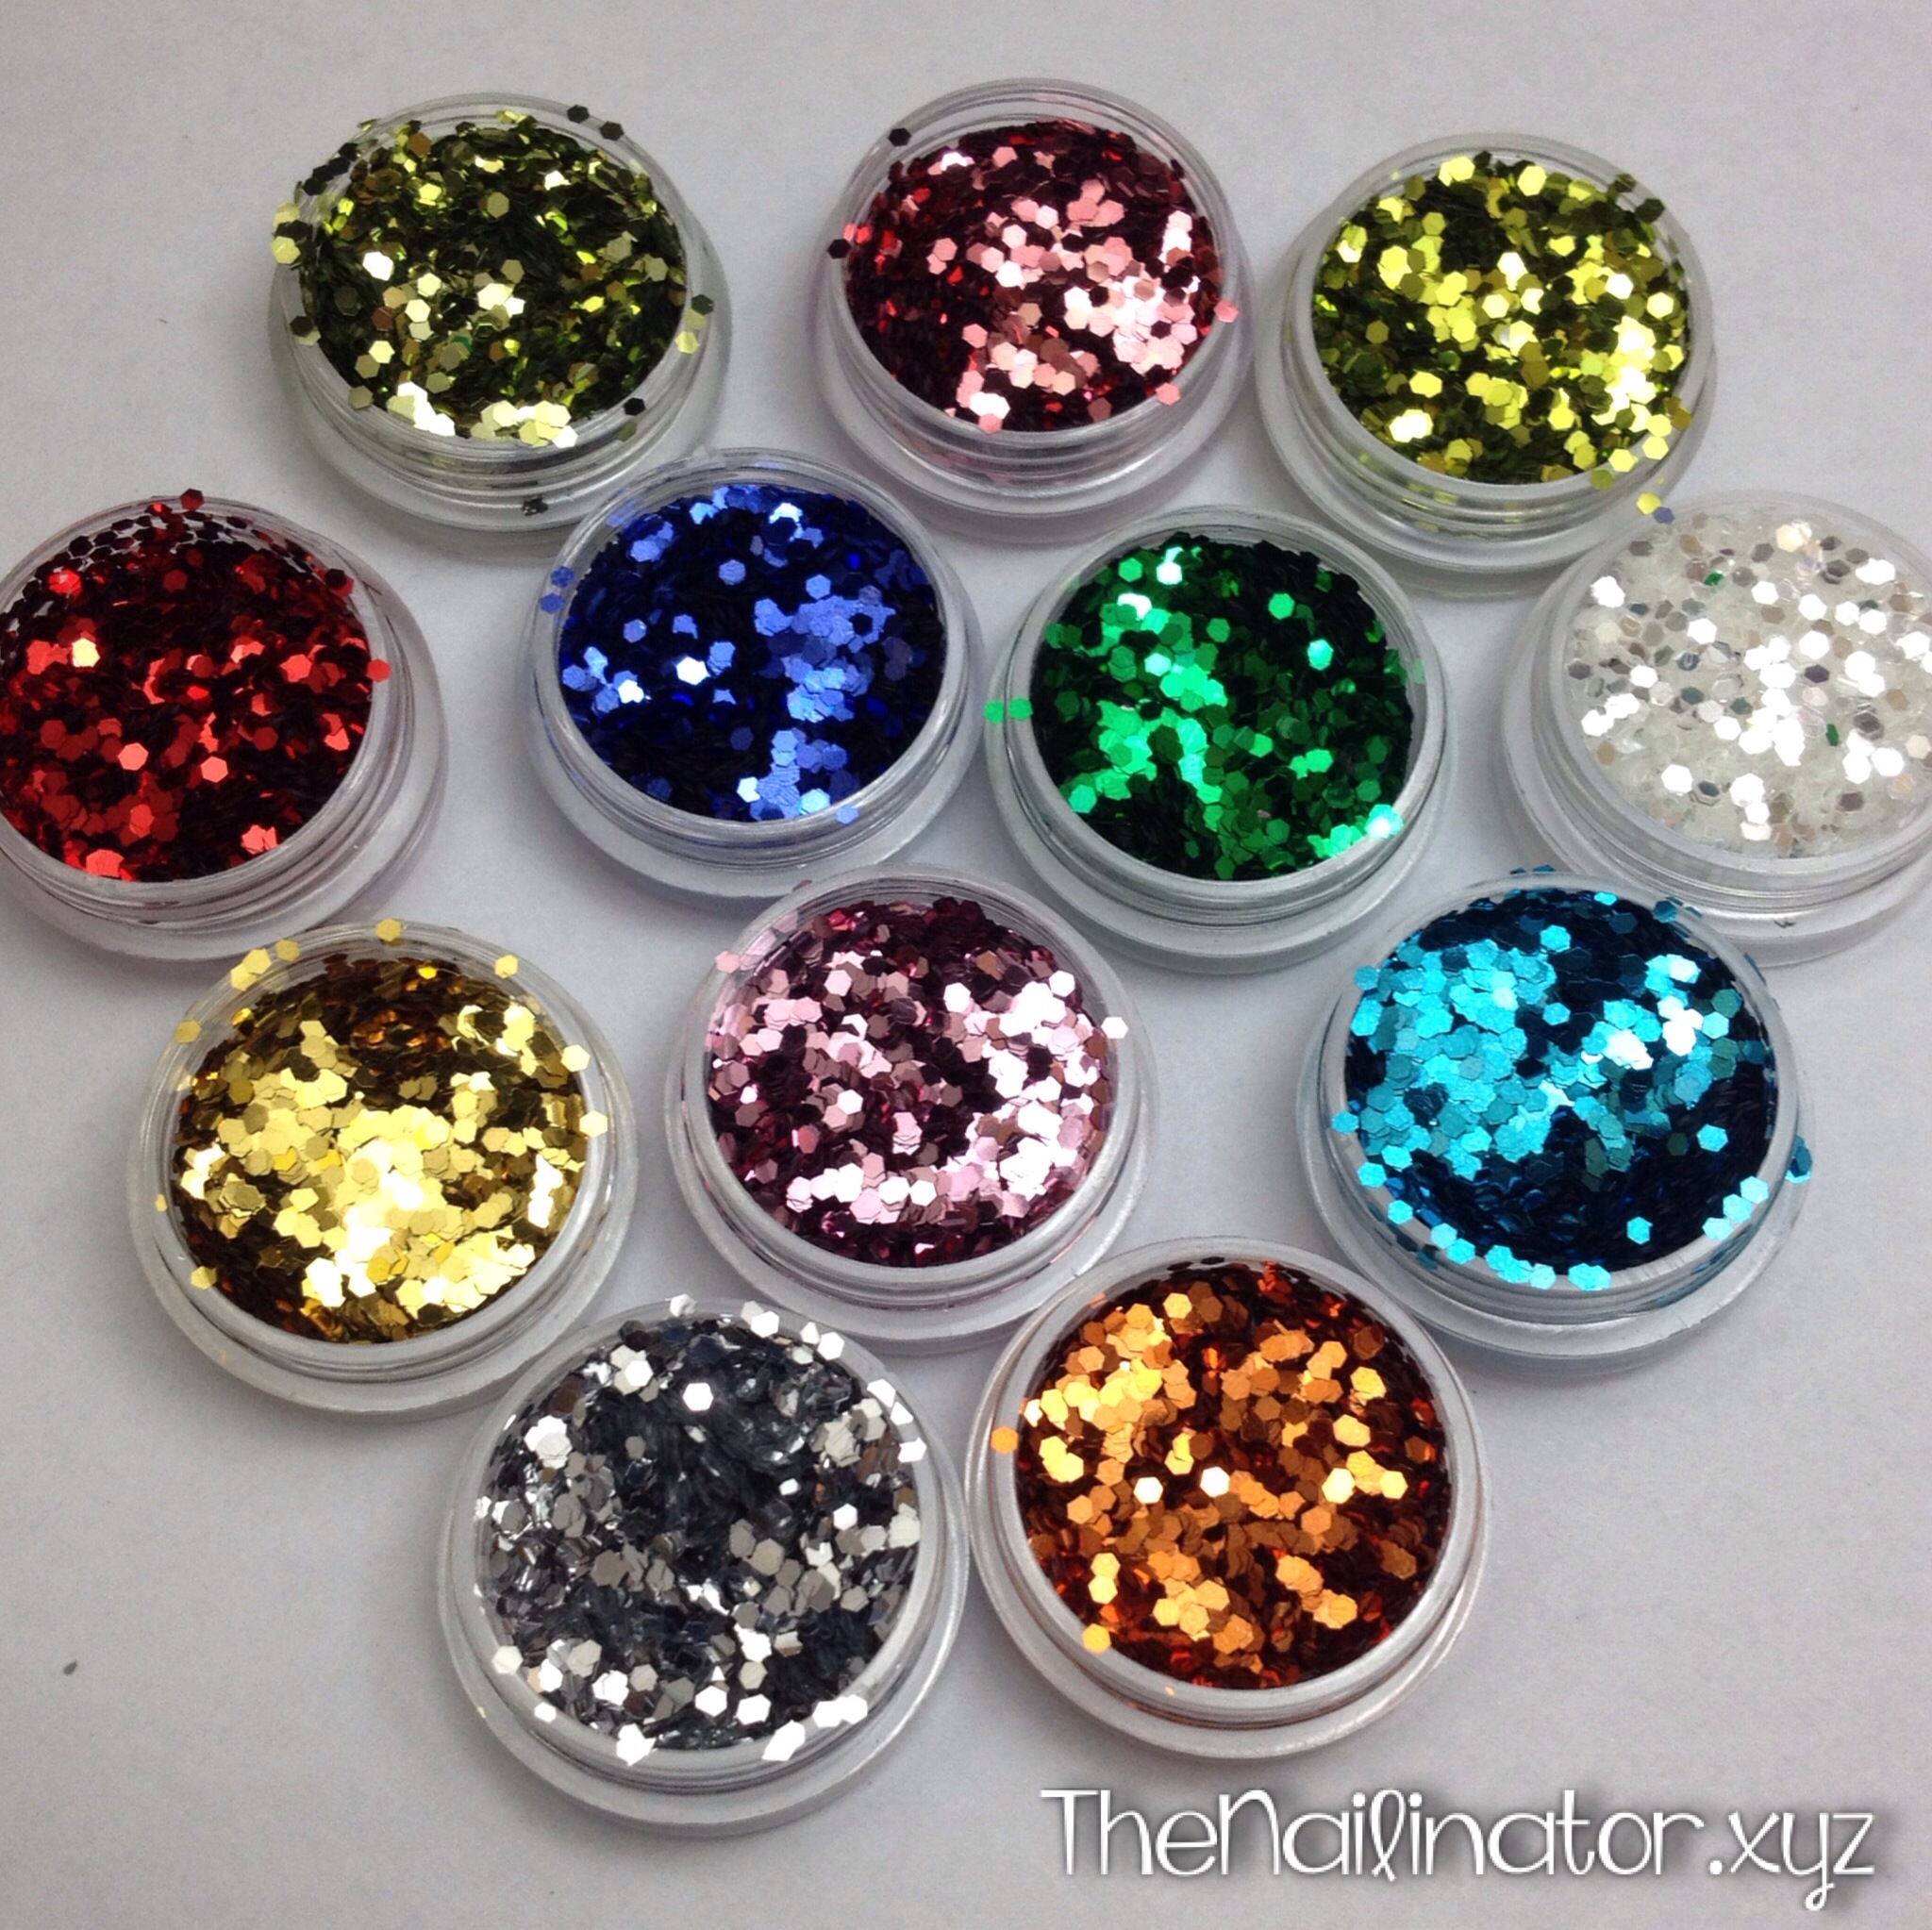
Let me tell you more about the 12-Color Hexagonal Glitter Set from BPS. The pack comes with 12 different colors each packed nicely in a clear pot with a screw top lid. There is a ton of glitter in each pot and the colors are very pretty.

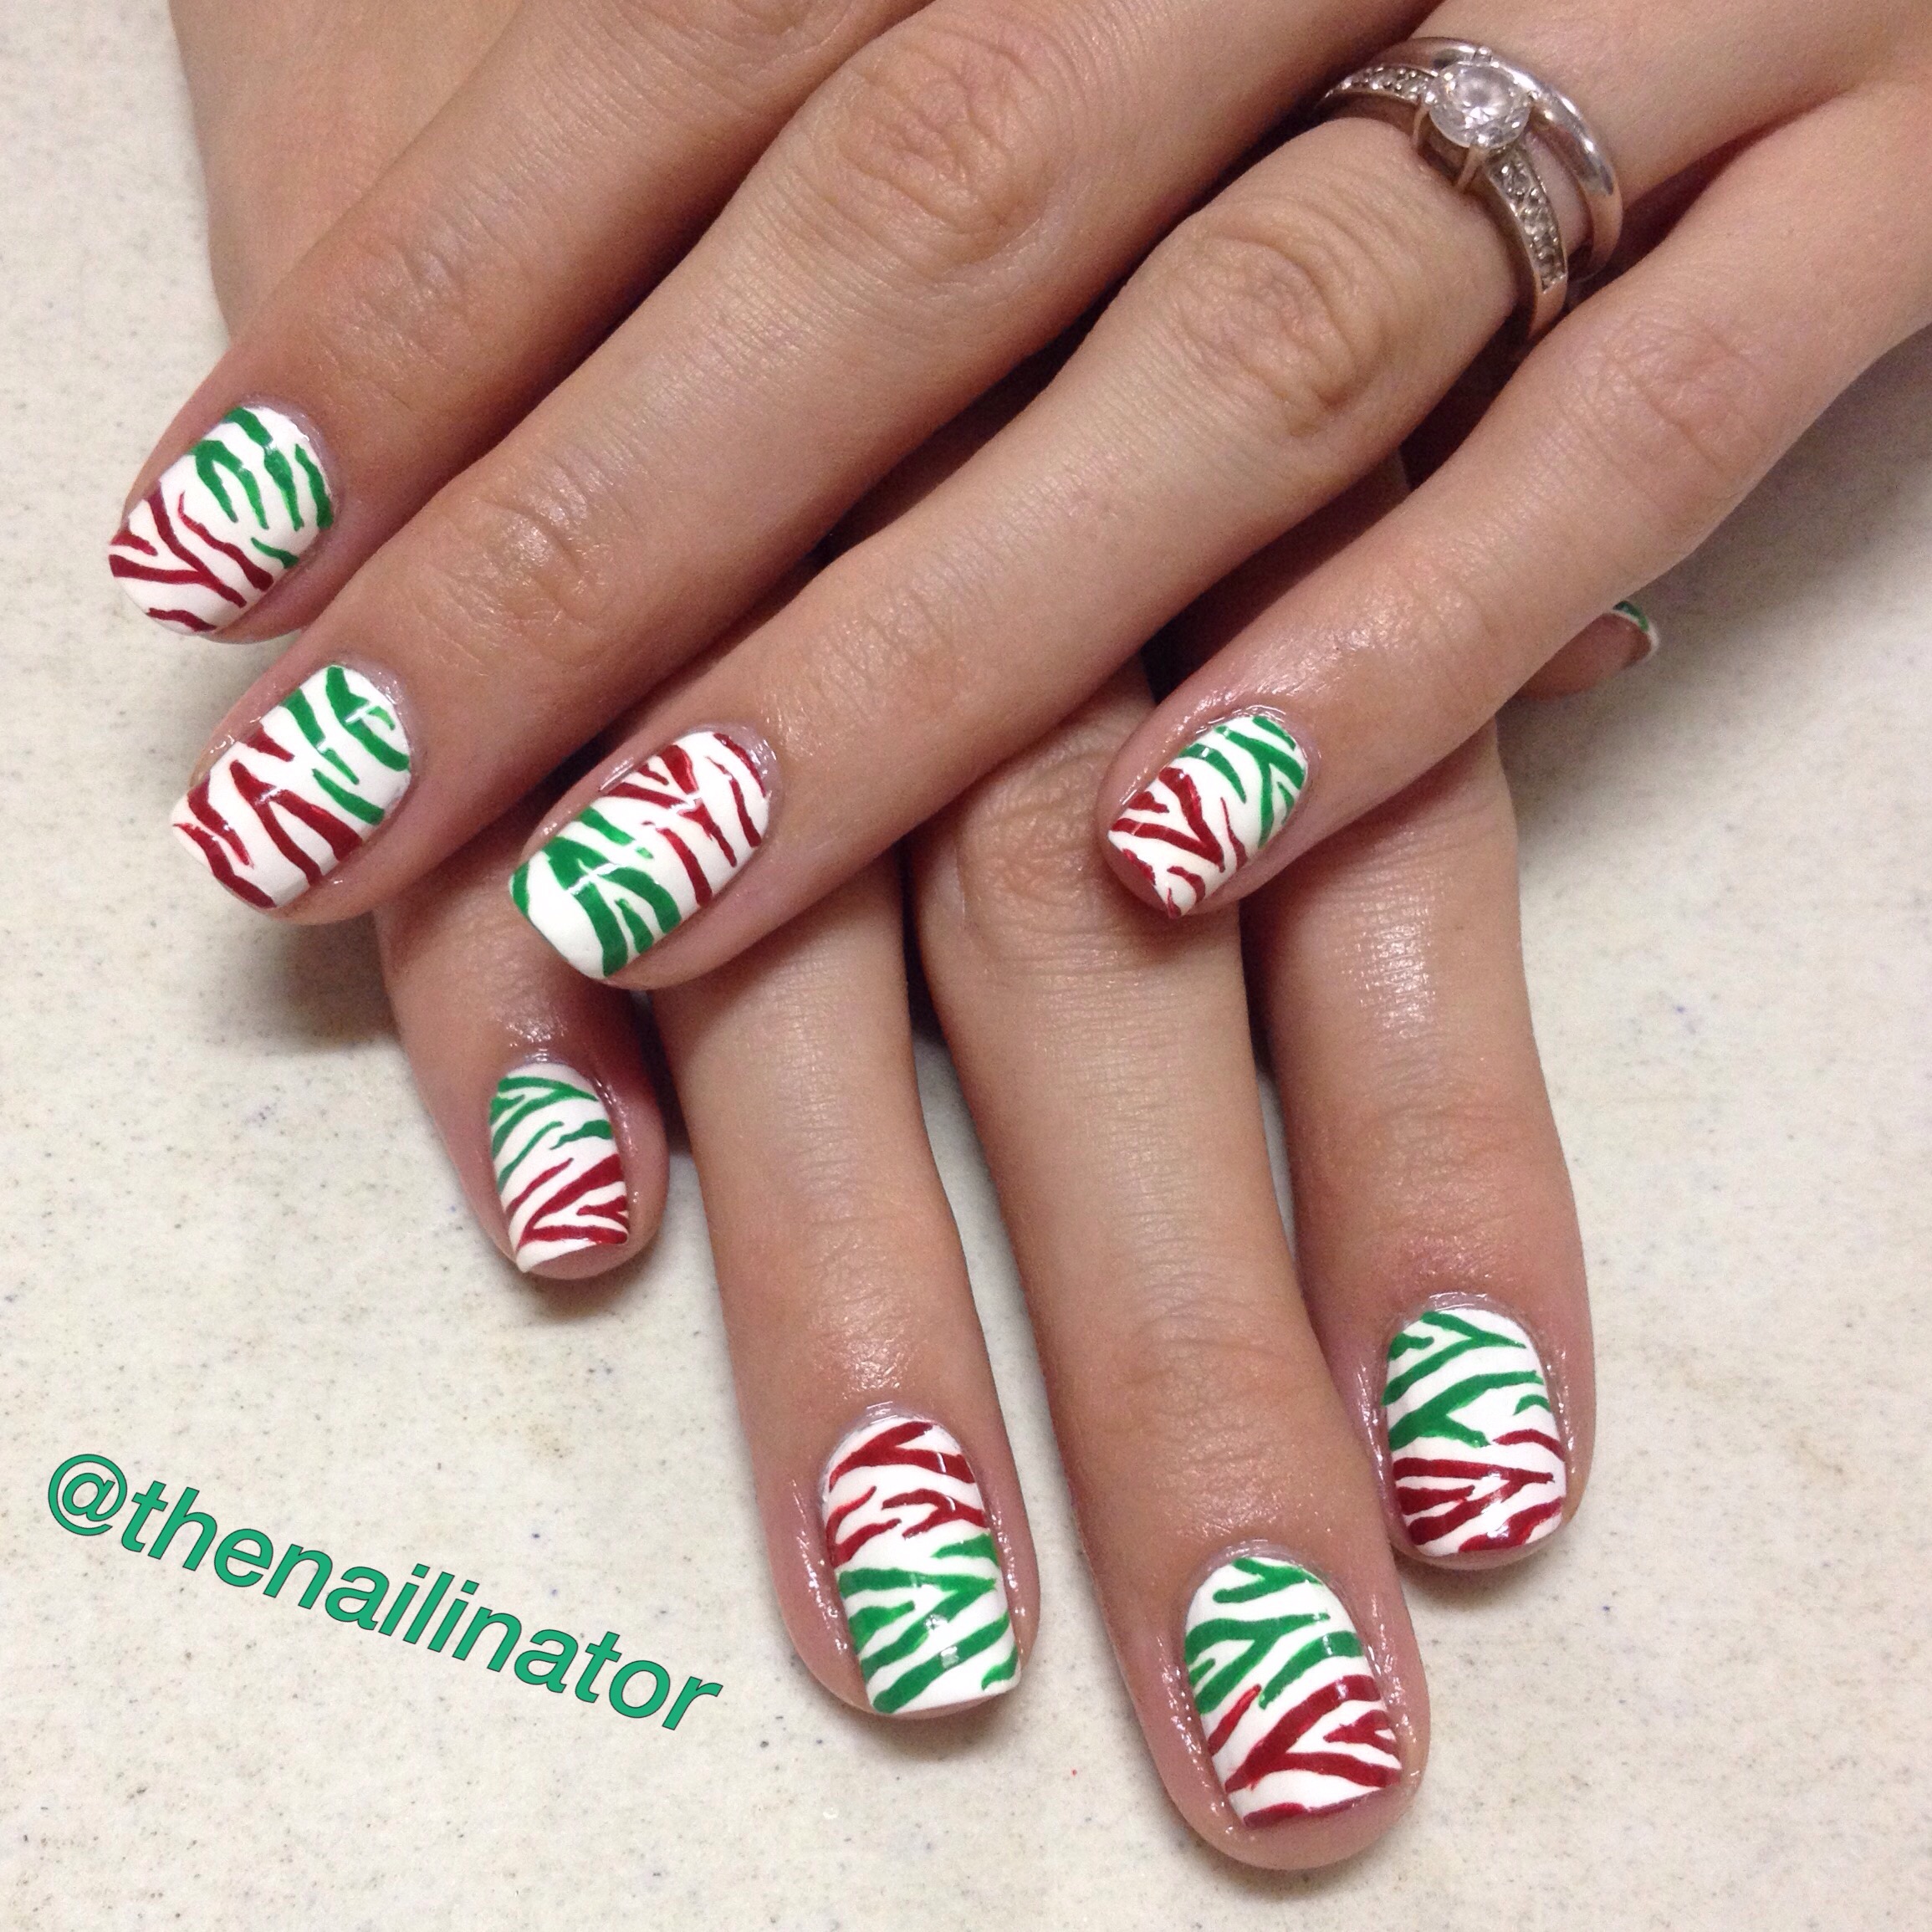
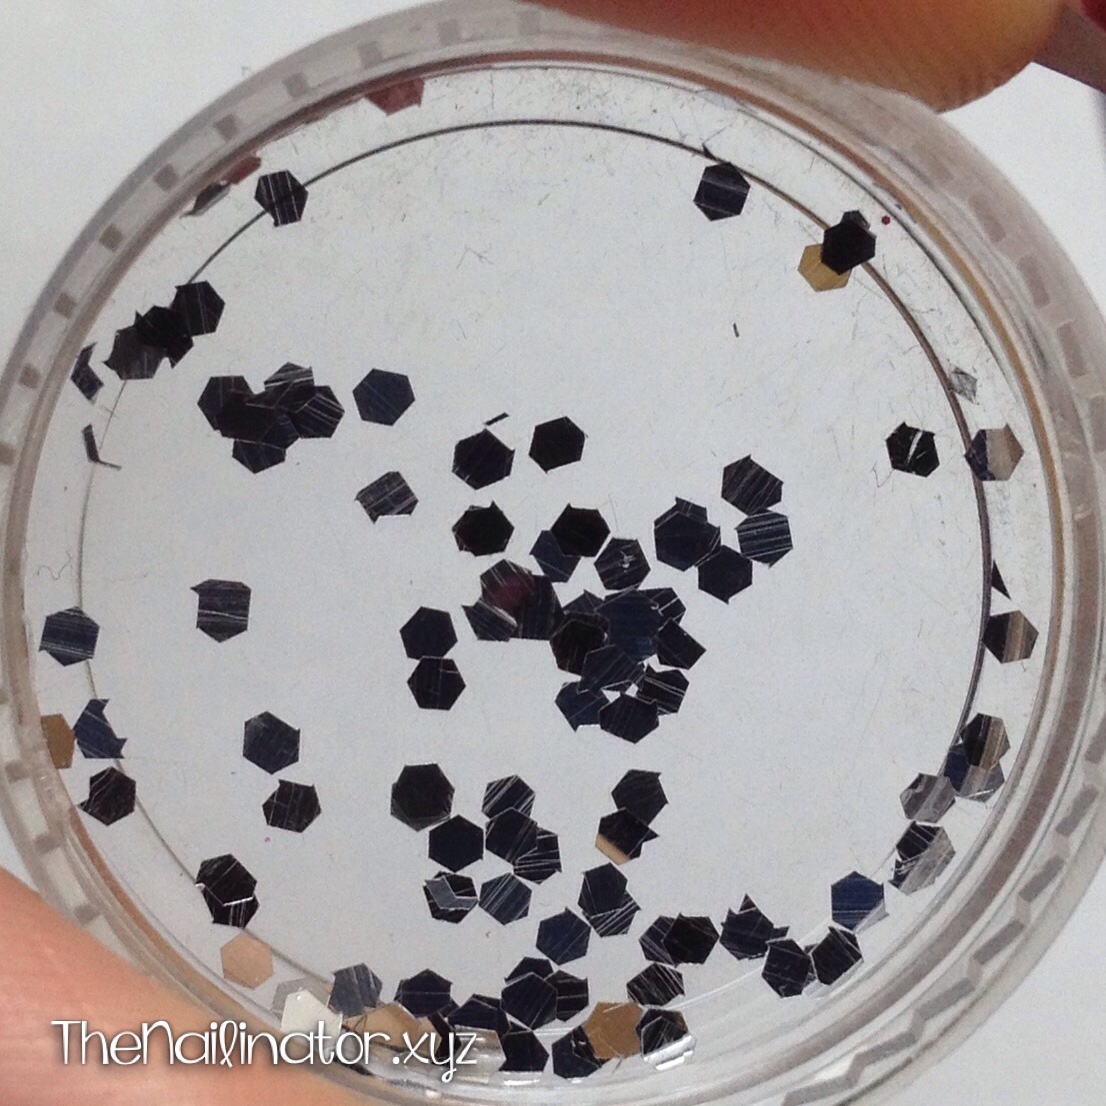
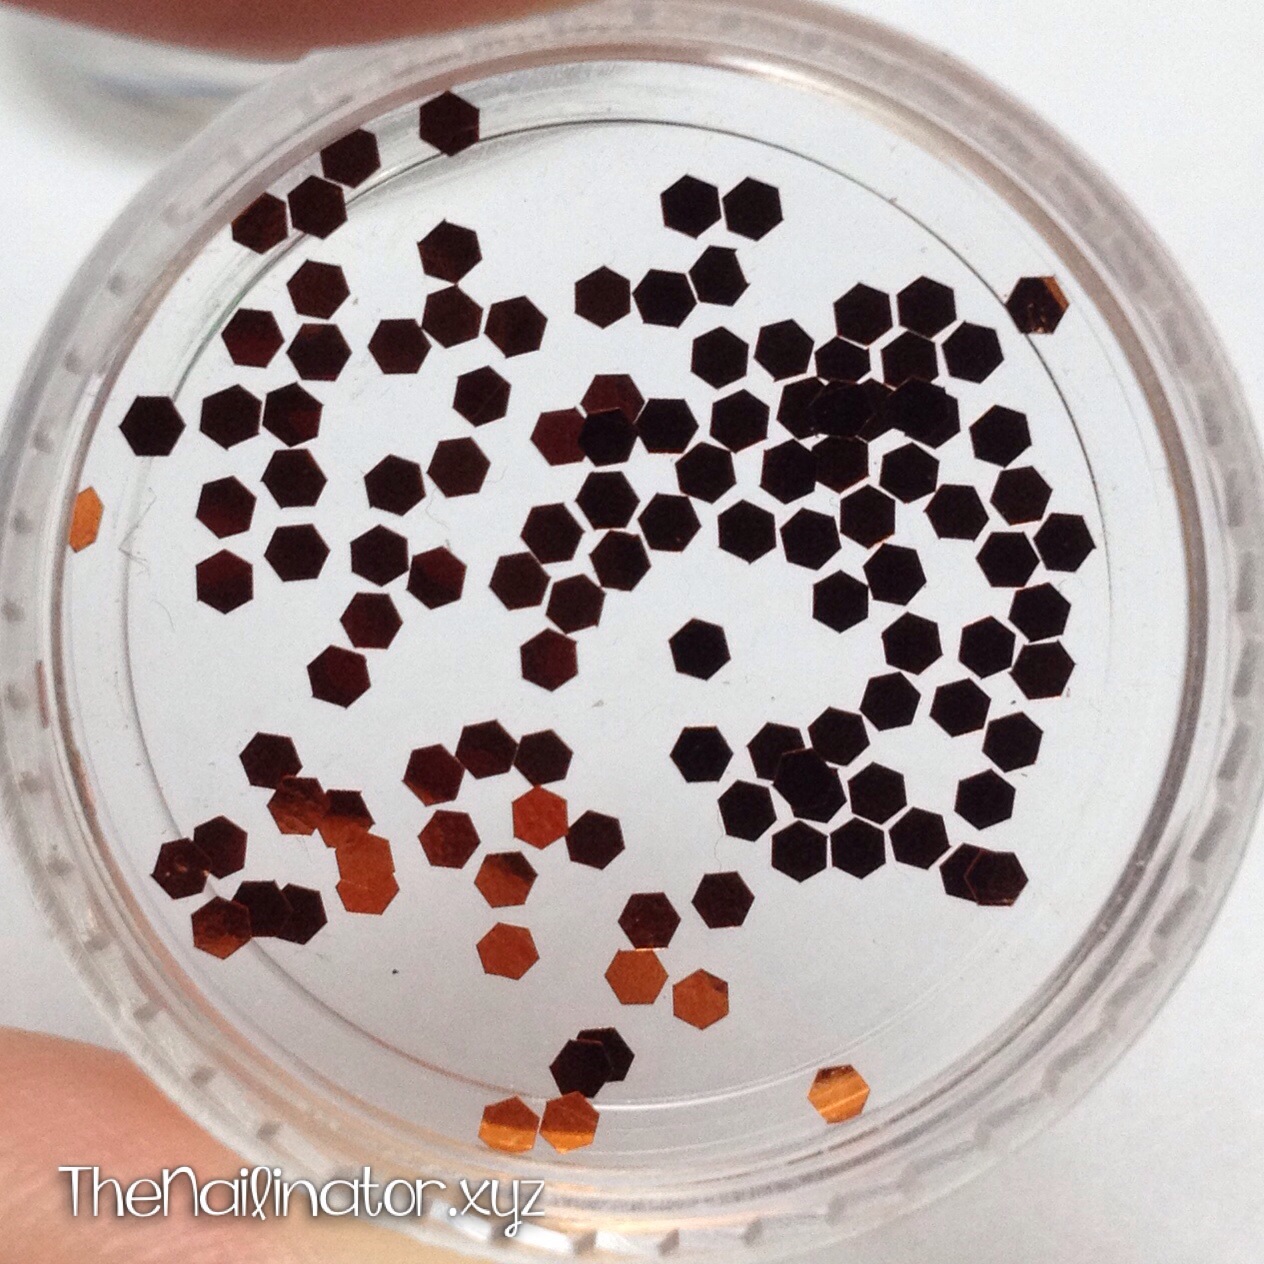
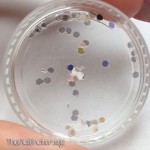
I have to say that some of the hexes are cut very well , like these orange ones for instance. There may have been one or two oddly cut pieces that I found while I was placing these bits, but most of them were just right. The silver ones that I used for another look, on the other hand, were not so perfect. I had wonky hexes, half hexes, and wonky half hexes (you get the picture). If you plan to use these on a matching base then the wonky shapes won’t be such a concern. But if you look closely at my other mani, you can tell clearly that they are shaped a bit off—a contrasting color makes it a little more obvious. In reality though, I wore that design for several days and had many compliments on it with no one noticing anything amiss. Maybe it’s just my OC self making note of the shape issue, but the silver hexes are the oddest of the bunch. The rest are significantly better.
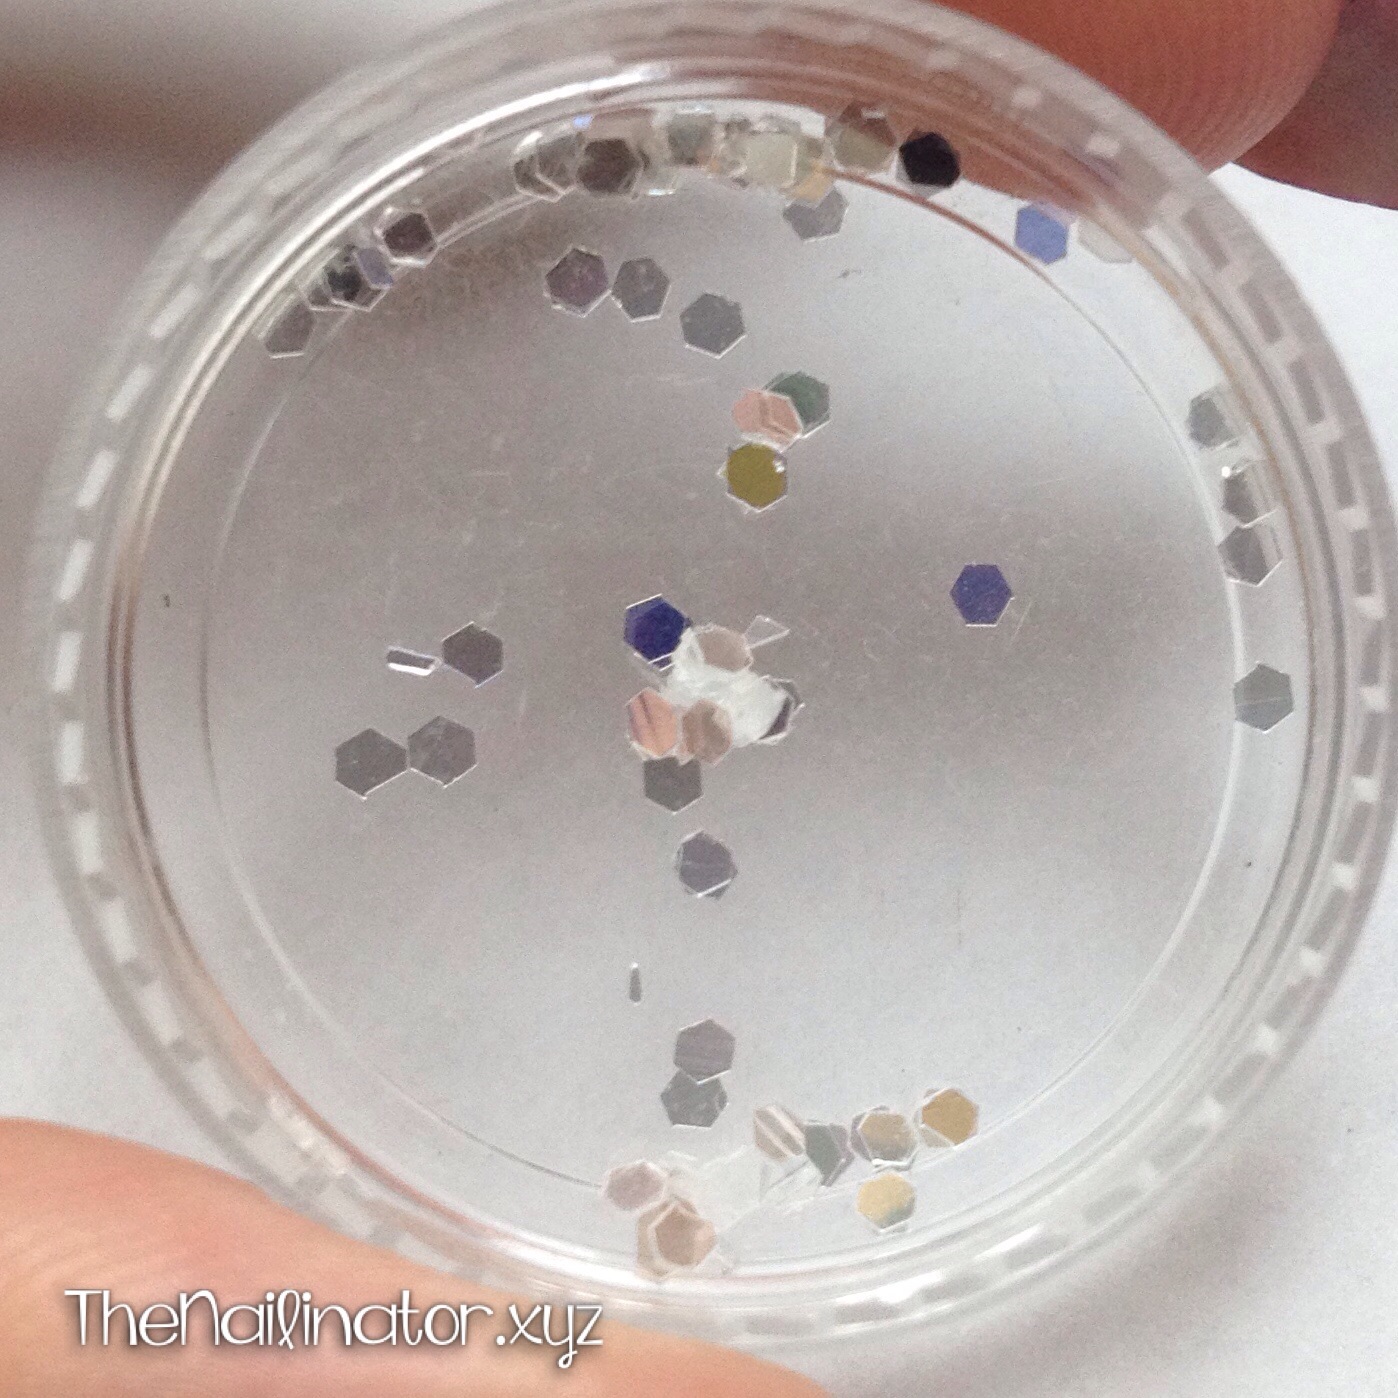
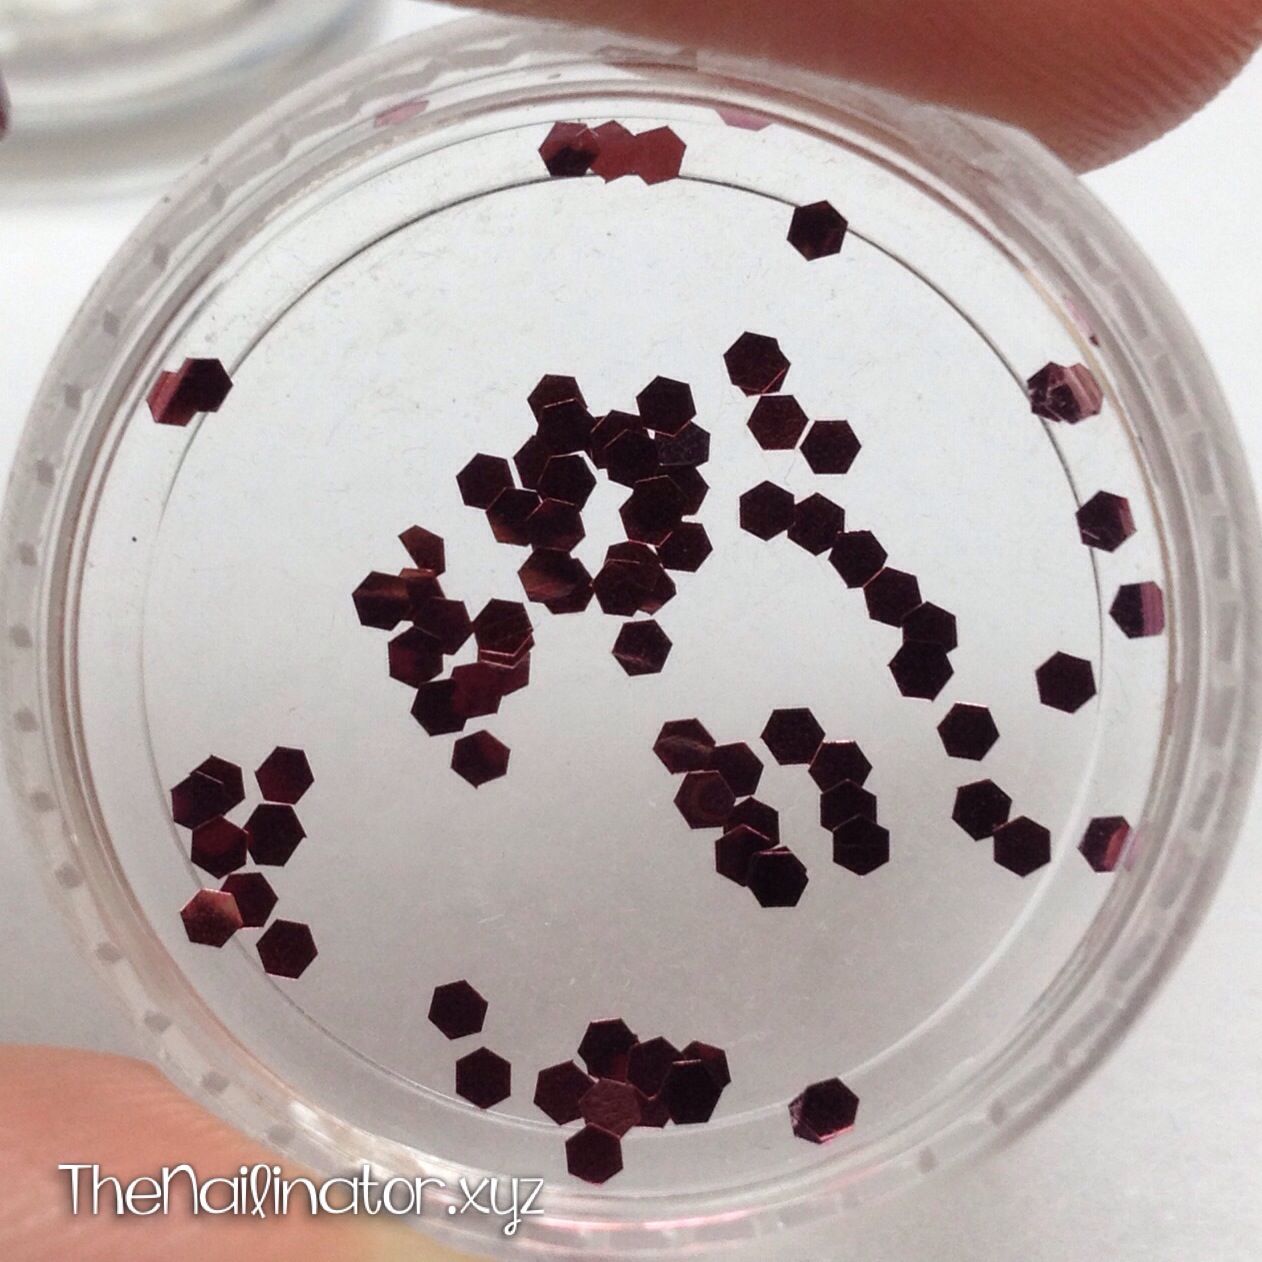
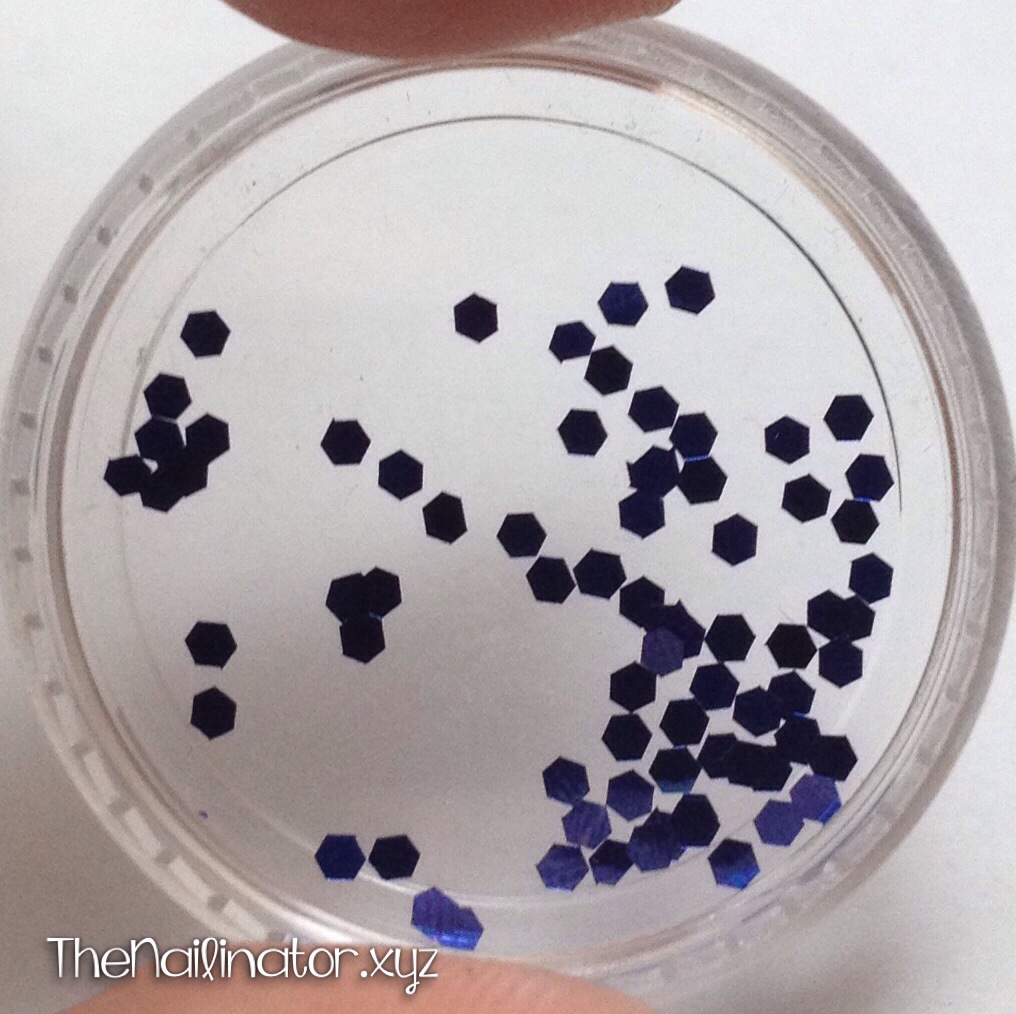
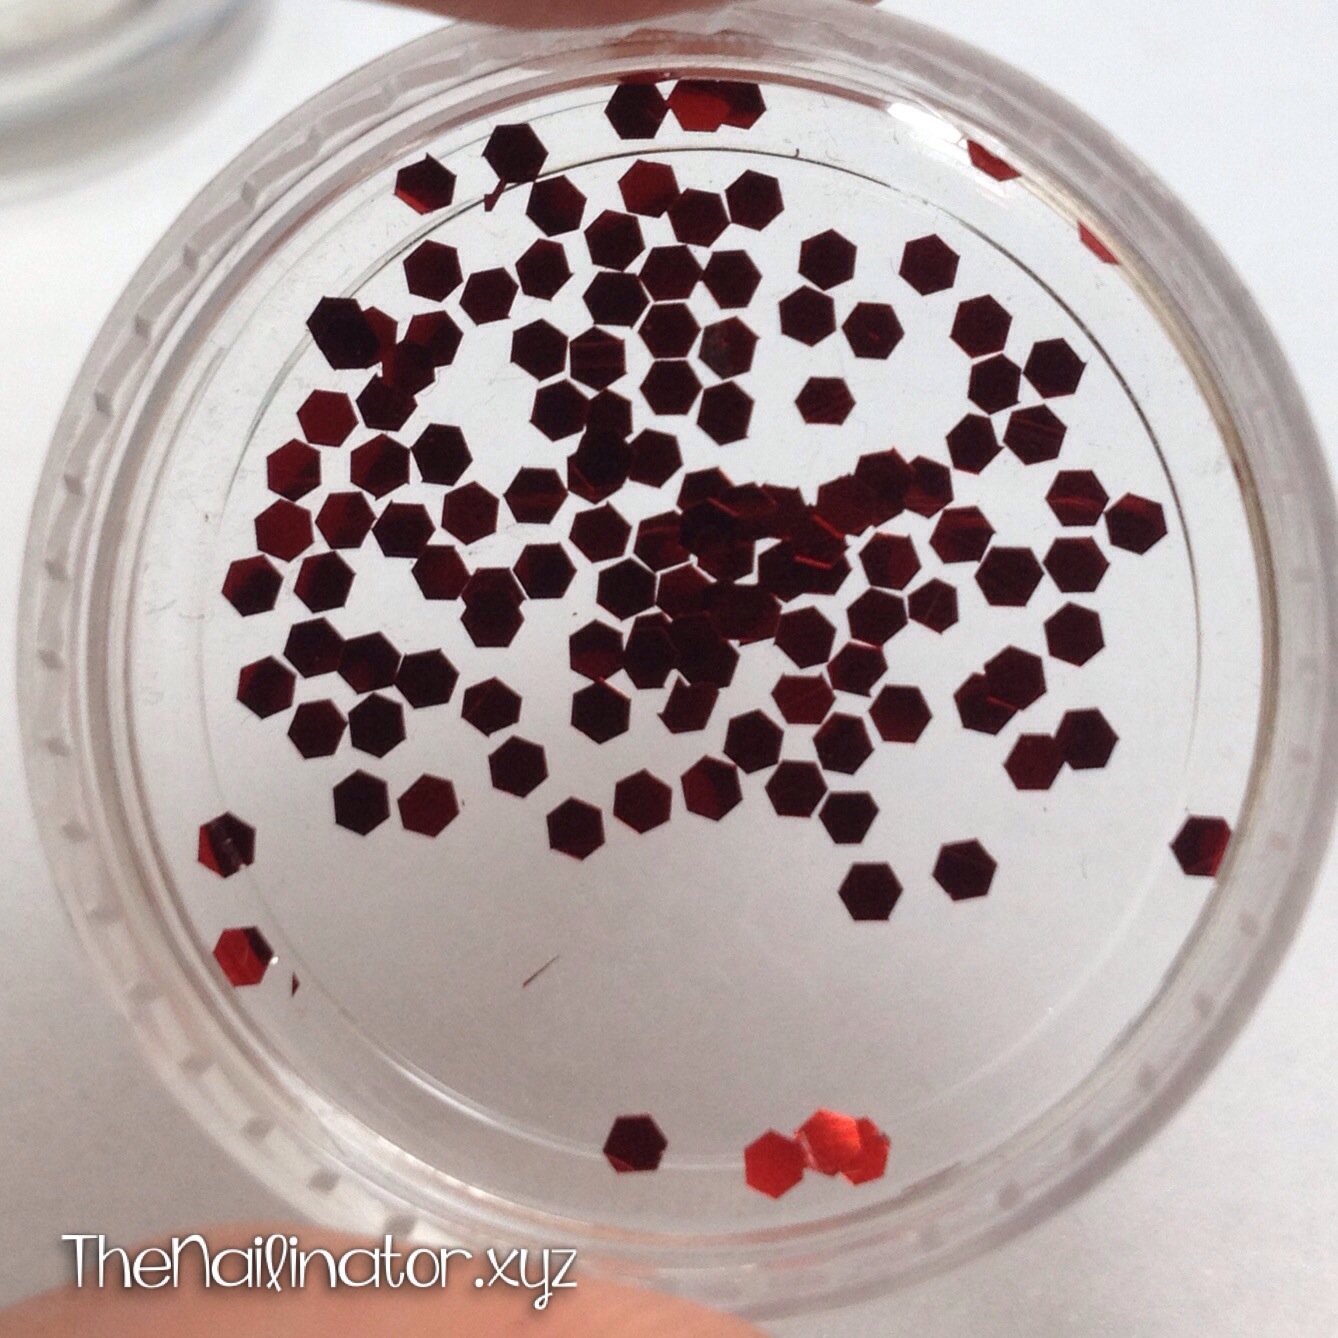
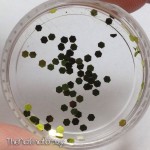
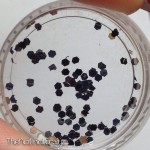
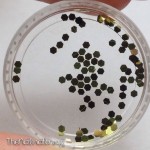
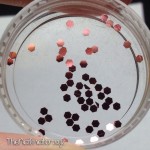
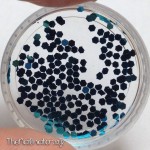
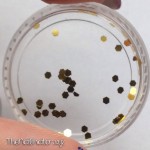
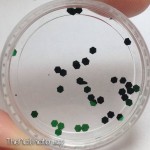
I decided to include a little gallery with a sample from each pot of glitter so that you can see for yourself the general quality of the glitter. The color is hard to make out on some of these, but the silhouettes show just how well-cut (or not) each color is. Just click/tap an image to enlarge it and then flip through them one-by-one.
-
-
Greenish Gold Glitter
-
-
Silver Glitter
-
-
Yellow Gold Glitter
-
-
Dark Pink Glitter
-
-
Aqua Glitter
-
-
Warm Gold Glitter
-
-
Pearly Glitter
-
-
Orange Glitter
-

-
Light Pink Glitter
-

-
Blue Glitter
-
-
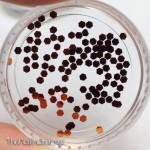
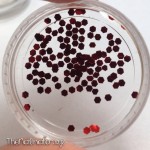
Red Glitter
-
-
Green Glitter
Overall, I think this is a great product. This 12-color hexagon glitter set usually goes for $6.85 on Born Pretty Store. They are having a sale at the moment, and you can get this set for $5.48, but the sale ends in just a few hours. If you live in the Philippines, I want to remind you again that, though there are no shipping costs from Born Pretty Store, you WILL have to pay customs fees (about 150 pesos) on any package coming from outside the Philippines. Delivery is also slow if you choose their free shipping option. So don’t expect your package soon. If you plan on ordering something from Born Pretty Store, you can use the coupon code below to get 10% off your entire order.

Glitter placement manis are sooo eye-catching and versatile. I need to try a gradient type one soon or try different colors on each nail.
Have you done any glitter placement nail art? I would love to see! Please feel free to share a link below in the comments if you feel like it. 🙂
I’m off to play some video games with my boy! Have a lovely day and keep smiling!
Hugs,
Rach