26 Dec

Review of Chic Shadow Crystal and Blooming Nail Cebu Water Decals

Merry Christmas!

I hope you had a wonderful day filled with much love and laughter and that you got to spend it with people that you love. We enjoyed a Skype date with my hubby’s folks in Texas and we enjoyed a lovely lunch with my parents and siblings here in Cebu. Among other yummy things, we had some awesome mashed potatoes for lunch. Mr. Nailinator found this recipe from the Pioneer Woman. The secret ingredient? Cream cheese! Best mashed potatoes I have ever eaten!

On to the nails… I planned to post this a couple of nights ago but I got hit with a bad migraine and it just didn’t happen. I was too busy yesterday preparing for guests today and just hanging out with the kids and Mr. Nailinator, so I’m posting it now.
Chic Shadow Crystal with "ugly sweater" water decals

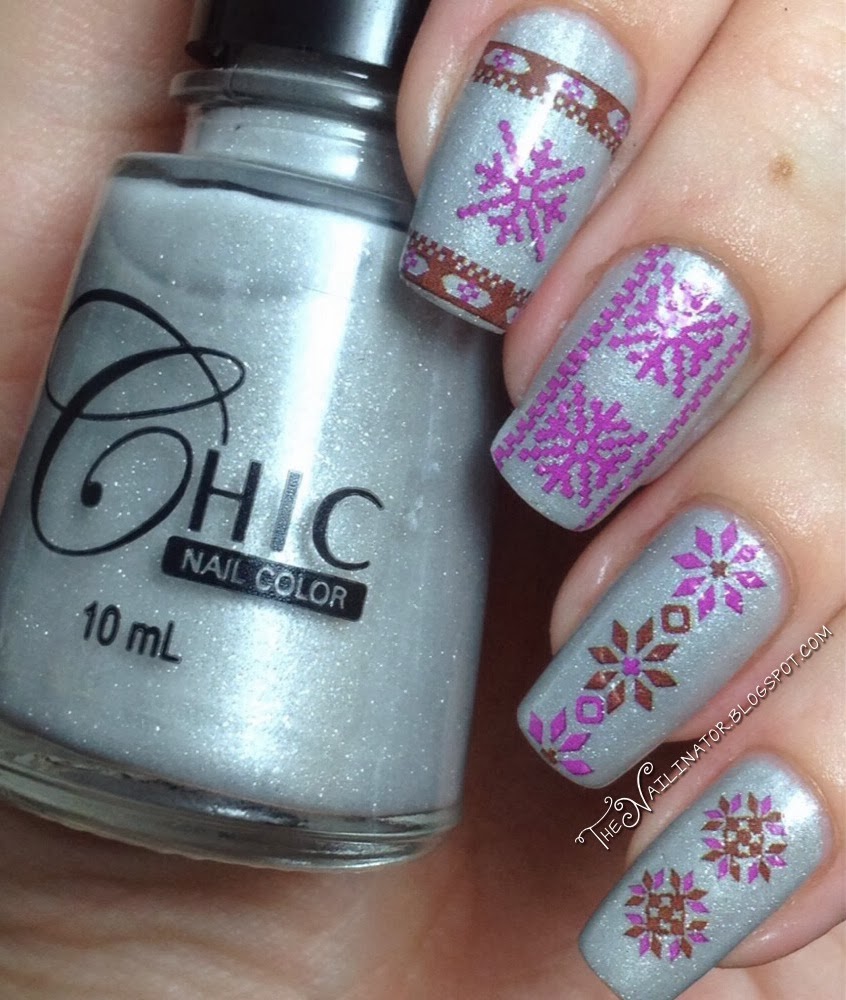
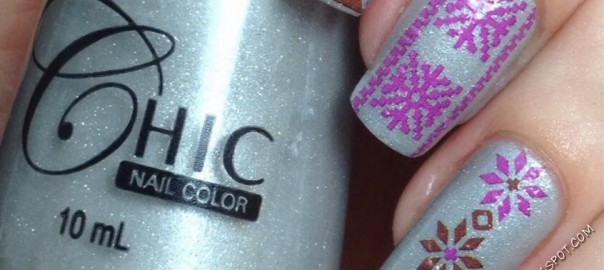
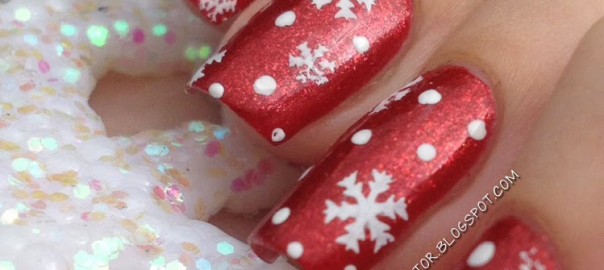
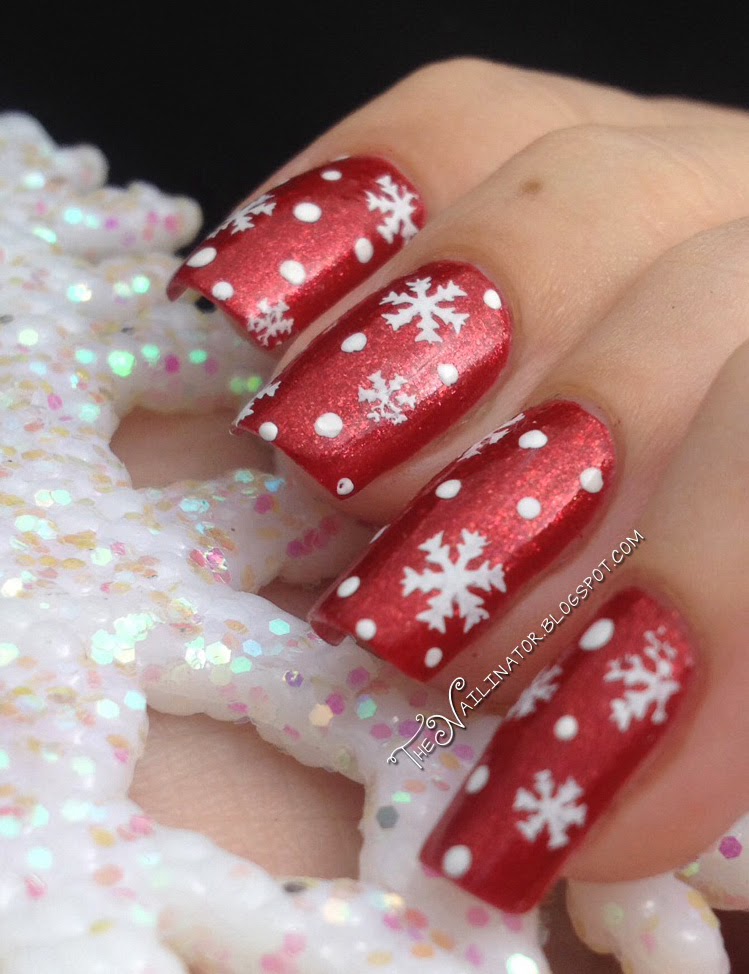
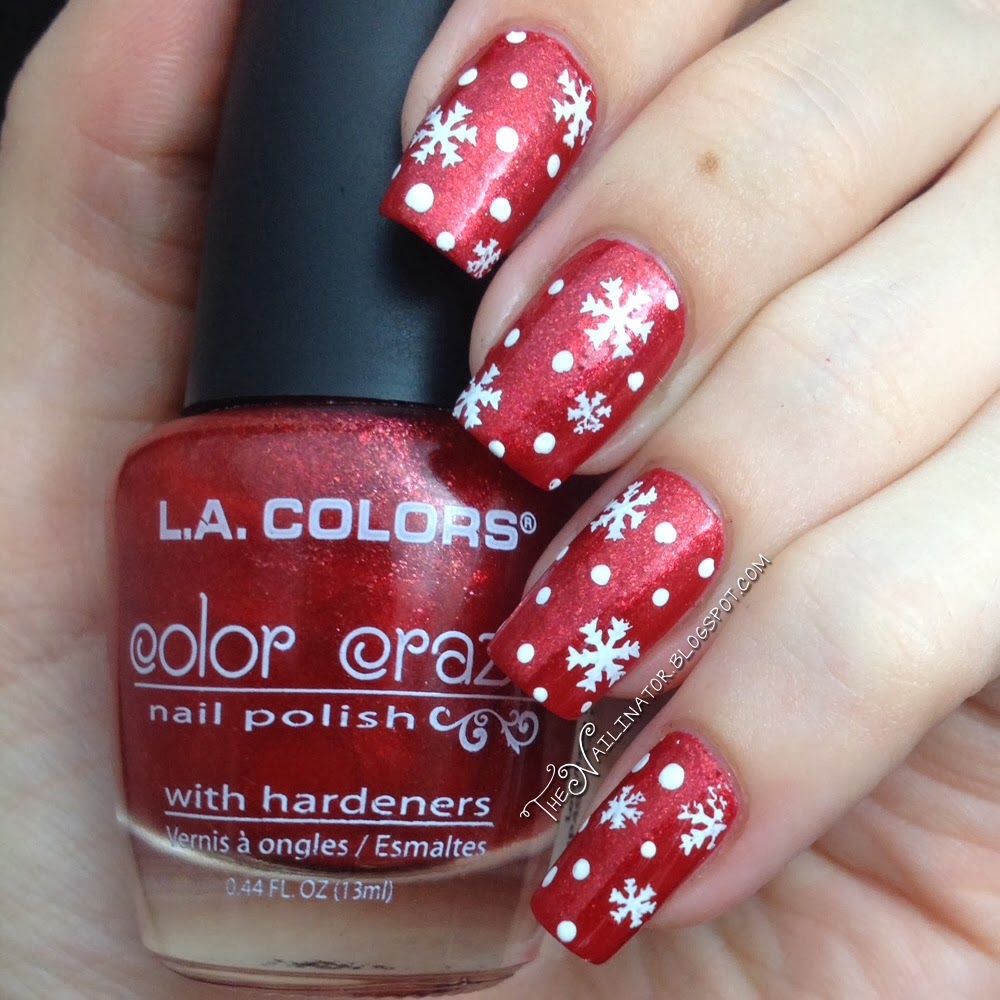
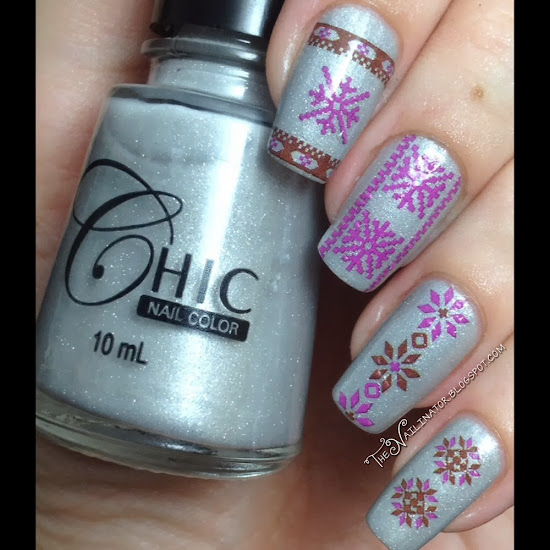
Sometimes a girl needs some nail art that is easy and super speedy. This was just that. I applied my polish ahead of time (I’ll talk more about the polish in a bit) and had planned on doing a lovely free handed design, but due to time constraints (seriously, I’ve got two very active kids and a household to run) I chose to use the Hot016 Christmas themed water decals (should have taken a picture) that I purchased from Blooming Nail Cebu a while back. It doesn’t really get much easier than water decals, gals. The Blooming Nail decals are great quality. They are so easy to work with. They have vibrant images, and they are thick enough that I was able to use my tweezers to position them, mumble under my breath at my lousy attempt at centering the design, and reposition it several times. Then I applied topcoat to seal it and smooth it out. I forgot to make sure the decal was completely dry before I placed it on my ring finger, thus you can see I experienced a bit of bubbling. Hopefully the next time I do decals I won’t forget that step and they will all be smooth.

Chic Shadow Crystal swatch

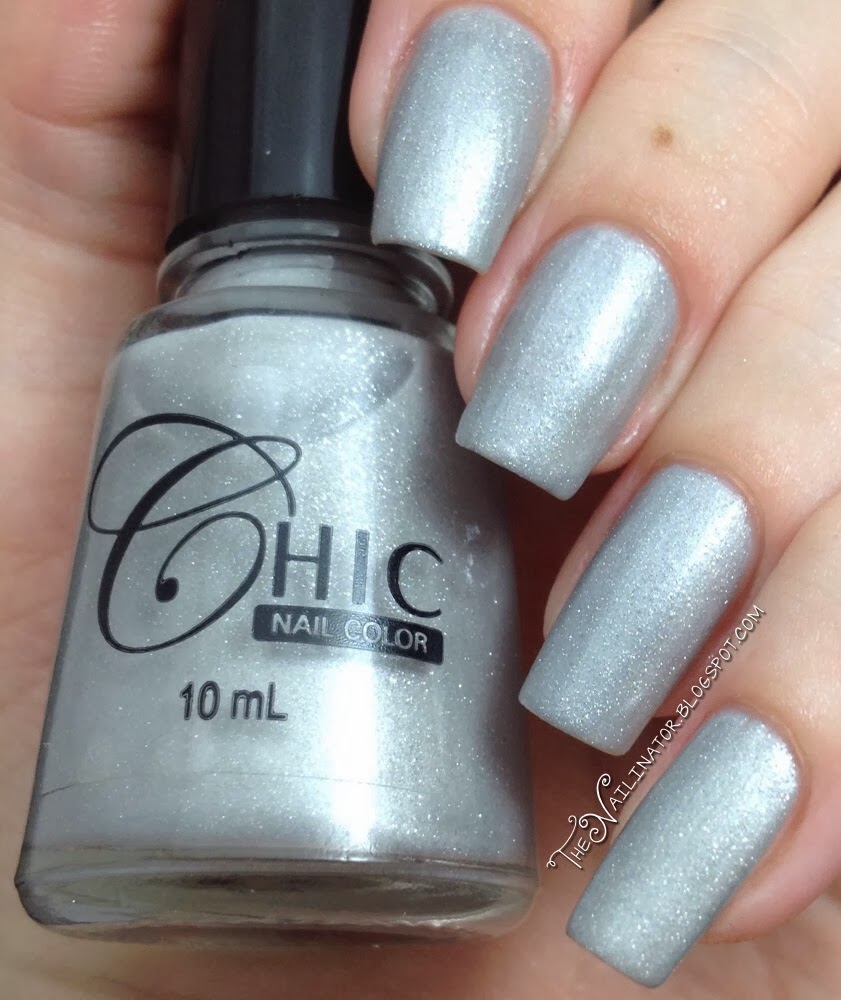
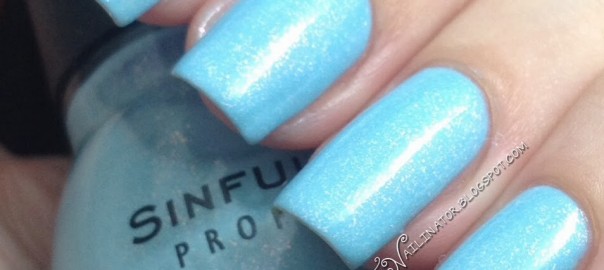
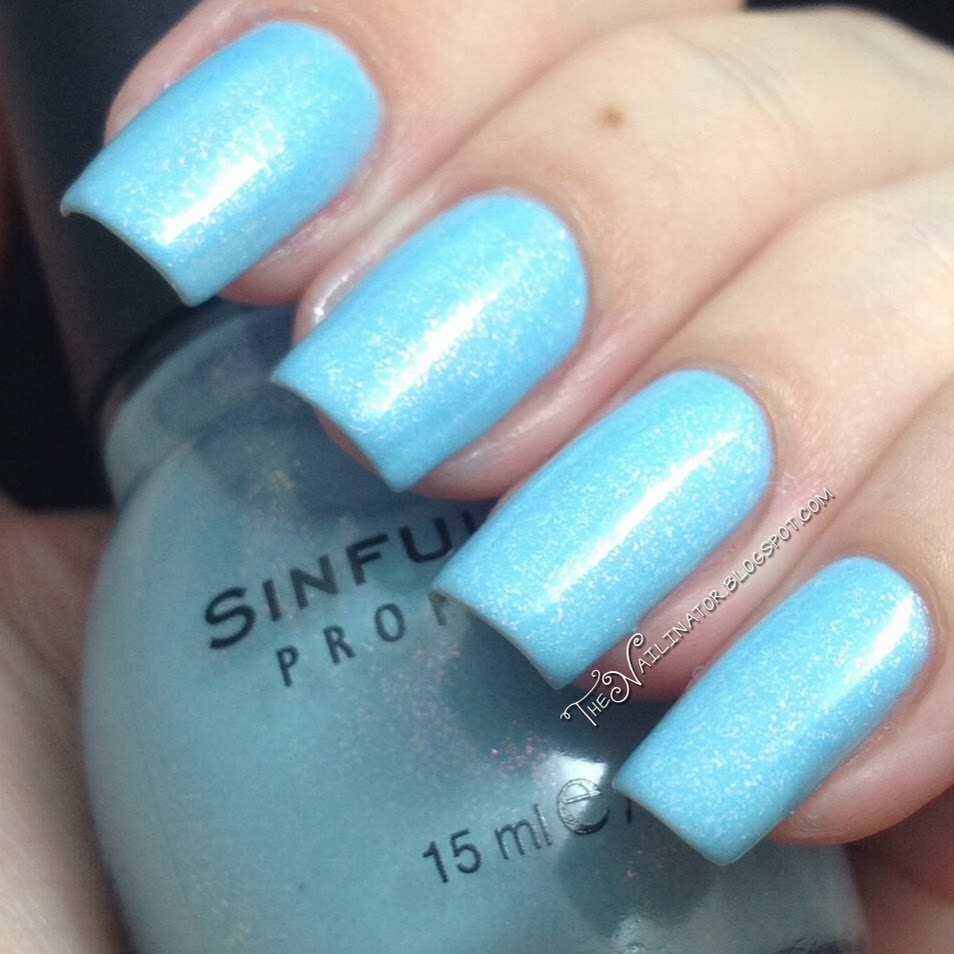
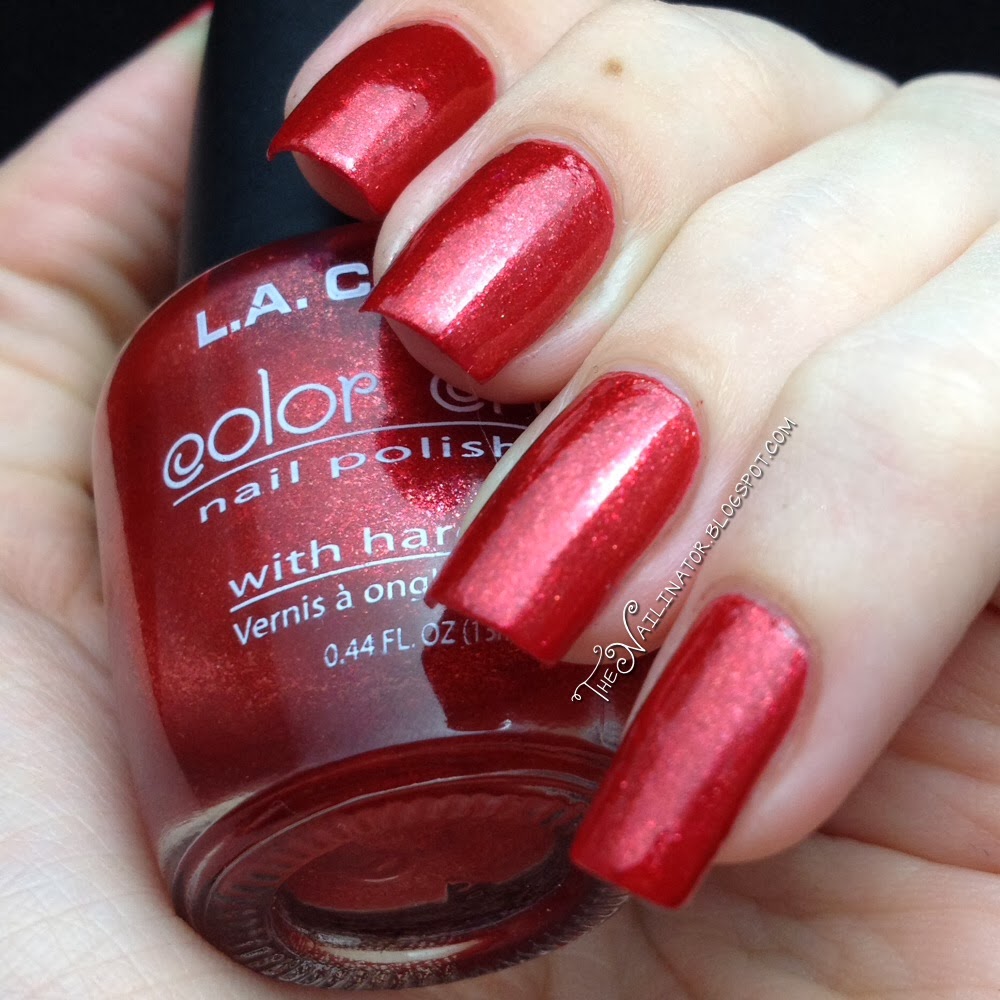
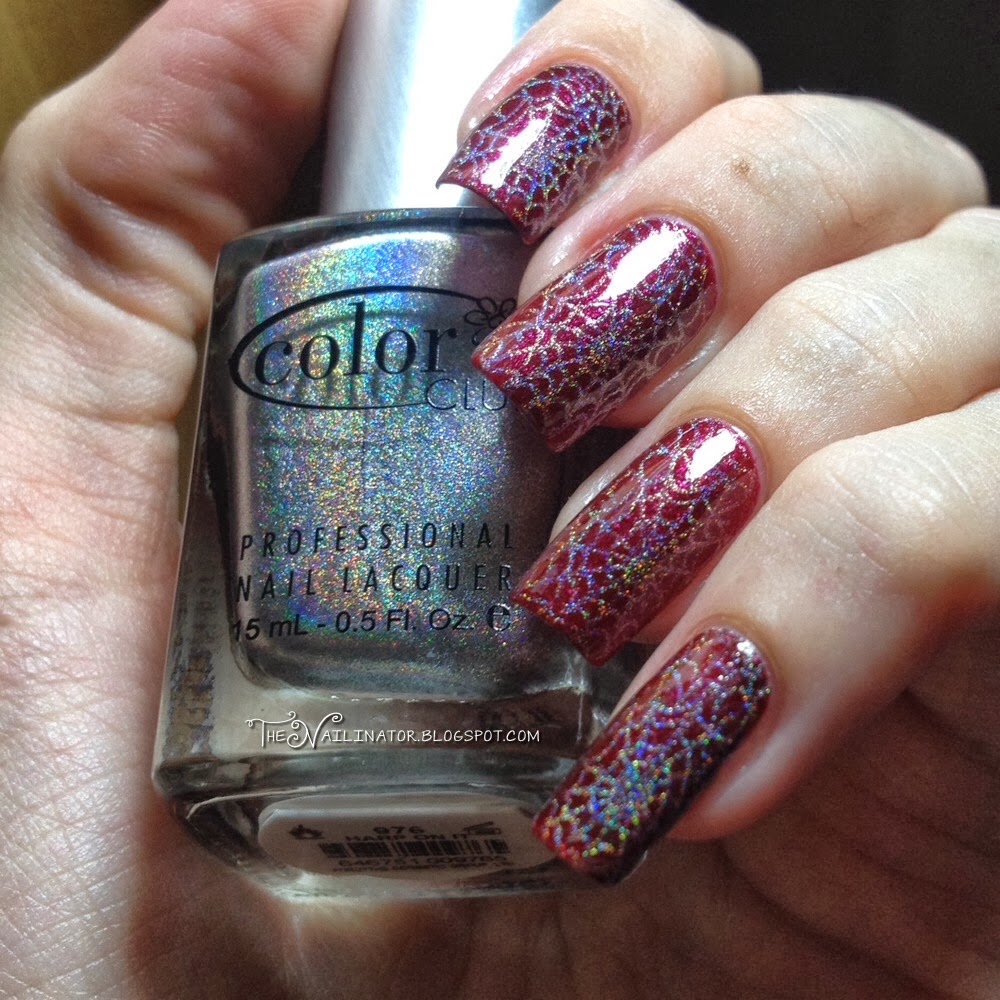
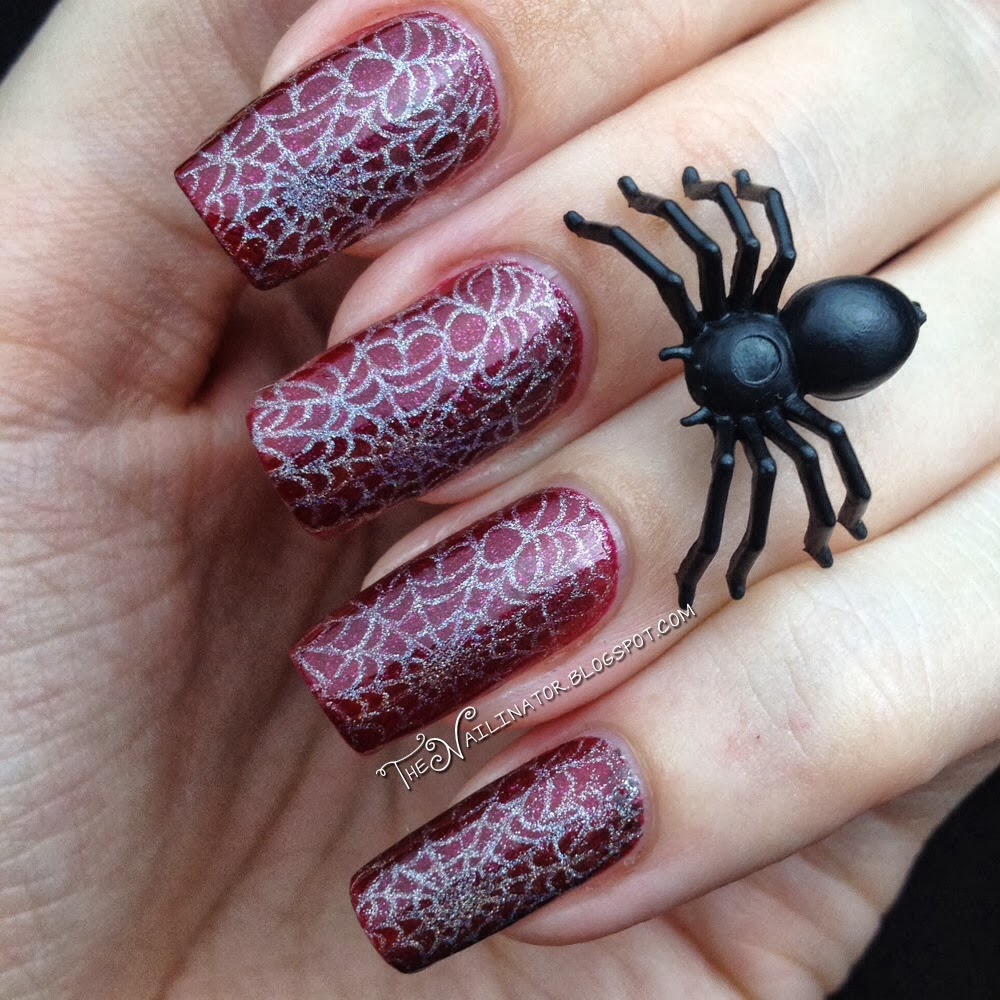
The polish I used as my base is Chic Shadow Crystal (PHP 34.75/US$ 0.78). It is one of the 5 shades in their Grainy Collection. The polishes in their Grainy Collection dry to what I would describe as a slightly textured semi-matte finish. This is two thin coats of Shadow Crystal over one coat of San San Cloudy Gray. I think Shadow Crystal would need 4 coats for it to be opaque on it’s own so I decided to use undies again. I really love this polish. It dries fast and I love the finish and the little sparkles. It reminds me again of glistening snow except with a grayish silvery tint. I received several compliments when I wore the polish on it’s own. If you look closely at the pictures with the decals, you will see that there is no visible tip wear. I had already been wearing it without topcoat for 2 full days when I added the decals so it wears quite well also. Cleanup was very easy for me. A few sparklies were left behind, but they came off easily when I washed my hands. This is another perfect holiday shade in my opinion.

I’m still getting used to doing actual reviews on polishes. I would really appreciate if you would tell me if there is any lacking information in this review that you would like me to include in future review posts. Or feel free to tell me what I did right. 😉

Mr. Nailinator convinced me to take the plunge and file my nails to a sort of pointy almond shape so the next time we meet I will be sporting a different look. I’ve had a lot of positive feedback so I hope you all love them too.

Christmas Lantern - Merry Christmas to you!

I’m singing off for bed now. Again, I hope you had/are having a very merry Christmas. May God bless you and yours.

Hugs,
Rachael

20 Dec

Swatch This – Cinderella by Sinful Colors

Hi all!
I hope this quick swatch post finds you gearing up for a relaxing weekend with family and friends instead of stressing out about last-minute shopping to do before Christmas day. Our family draws names each year for gift giving, so we don’t have a lot of shopping to do, and I was able to get my shopping done without too much stress. Now to bake goodies and wrap the gifts!

If you follow me on Instagram, you have probably already seen this swatch. Here is Cinderella by Sinful Colors (with San San Warm Blue for undies… ya know… because I’m a VNL-aphobe and Cinderella is what I would call a jelly). I love the shimmer in this polish. Pretty isn’t it? It is another perfect shade for the winter season. Despite spending my whole life in the tropics where temperatures are FAR from freezing, I still dream of a white Christmas and to see snow glistening on the ground. Cinderella’s glistening glow just has to suffice for now. Oh well! I’m off to finish some baking. I’ve got chocolate chip pumpkin bread in the oven right now. Yum! Mr. Nailinator even fired up the A/C so we are baking in comfort. Have a great day! Don’t forget to make someone smile. 🙂

12 Dec

Snowflakes on L.A. Colors Aztec Orange

Hey gals!

This has been a great day. My parents arrived today from their few weeks stay in the US and as if having them home safe and sound wasn’t great enough, they carried some epic nail mail with them from the lovely Jacqui of Craftynail (please do go check out her blog). My first nail swap was officially a smashing success! Thank you soooo much Jacqui! I love the polishes you sent… Especially Alcatraz Rocks! Lemming CRUSHED! 

It sure felt like Christmas opening up my package from Jacqui and I’ve got a Christmas themed mani to share with you today. Snowflakes! I’m so thrilled with how these turned out. What do you think of my artsy photo? I adore this snowflake ornament my wonderful mother-in-love sent me.

Snowflake stamping over L.A. Colors Aztec Orange
L.A. Colors Aztec Orange with snow stamping and dotting
Yeah, I know there are a lot of snowflake designs going around but I just had to do one of my own.
I started with one coat of Caronia Tea Rose which, by the way, I highly recommend if you are in search of  a great red for the holidays. (Note: Don’t confuse Caronia Tea Rose with Chic Tea Rose) I added two thin coats of L.A. Colors Aztec Orange which I received back in July when Pure Beauty came to Cebu for a promotional event. As soon as I laid eyes on it I knew I had to use it for a Christmas mani. Here it is by itself. Isn’t it gorgeous? 
 
Swatch of L.A. Colors Aztec Orange

I used the OB19 stamping plate which is full of Christmas themed images. I purchased mine from My Online Shop and I used the Fab Ur Nails white stamping polish which I won in a giveaway to add the snowflakes. I’m still getting the hang of stamping so it can be hit and miss with some attempts. I used a dotting tool and the same stamping polish to add the dots. With all that has happened in the past couple of months I have quite spaced out about taking pictures of the prizes I won the last few months. I will try to get them up soon. So much to do. 

I’ve also included a shot of the freehanded snowflakes I sported last year. I only have one shot of it as I wasn’t blogging yet at that time. I’m sharing in honor of throwback Thursday. Ha! So please bear with the poor quality photo. It’s nice to see how far I have come in the past year in the photo department. (By the way, I also post old manis and some non nail related stuff on my Instagram account. If you want to come check it out, the link is in my sidebar to the right.)
 

Well, that is it for me for today. I do hope you have a blessed day or evening depending on where you are in this big wide world. Make someone smile today if you can!

10 Oct

Klik Burgundy and Cobwebs

Hi everyone!
I’d like to say a special welcome to all the new faces *waves*! I’m thrilled to have you here.

I’m so excited to see all the entries coming in for the giveaway that started yesterday. If you haven’t already joined, you really should. There’s lots of great stuff up for grabs and it doesn’t cost a thing to enter. Not even much effort if you already follow me via Bloglovin, Twitter, FB, GFC, Instagram or anything like that.

What I have to show you today was a pain to create so you had better leave me a comment saying you love them as much as I do. Ha! Just kidding. (No really, you should say something nice. It would make me smile.)

I started off wanting to swatch Burgundy from Klik’s holiday collection, (swatch is at the end of the post) and it turned out to be a lot more work than I had anticipated. Upon my inspection of the polish, I thought it would need just 2 coats. But after 2 coats it was very streaky and showed bald spots. I waited quite a while before adding the third coat since it was raining in Cebu and the added humidity always seems to cause bubbling. Despite the long wait, I still ended up with bubbling after applying the third coat. Meh! On top of that, in certain light you can still see some thin spots and cleanup was a pain. After several hours, more bubbles showed up and I was so sad that my manicure had gone from pretty and polished to pretty awful.

As I sat down to remove this, I had an idea to try and salvage the look. I grabbed my awesome MJ XIII stamping plate that Meann of My Online Shop sent me and selected this cobweb design. After several failed attempts at color choice, I stamped with Color Club Harp On It. and I love how it turned out. Mr. Nailinator and the 4 year old boy both say this looks like a Spiderman mani. Do you love it? I do. I’ve included a shot under the lamp so you can see the holo shimmer. I’m pleasantly surprised how well the CC Halo Hues work for stamping.

Do you have a favorite non stamping polish to use for stamping? Do share and have a great day!

Over and out!

Under lamp
Swatch of Klik Burgundy before most of the bubbles popped up
03 Oct

L.A. Girl Black Illusion Gets Foiled

I’m so excited to show you what I’ve got on my nails today. It looks so stinking cool and was so easy to do!

I started off with 2 coats of L.A. Girl 3D Effects – Black Illusion. I wore it by itself for a day because it is beautiful and I just had to admire it for a while. Last night I needed something more so I grabbed my clear coat and my nail foil #22 that I purchased from Blooming Nail Cebu for only 8 pesos (that’s 19 cents US) for a 4 by 1 1/2 inch piece of foil. One piece is more than enough for a manicure. I don’t have nail foil glue so I just dabbed some clear coat on the nail and let it dry a bit and then I dabbed the foil onto the still sticky polish. I’ve added two layers of topcoat to smooth it over. It is so shiny and metallic IRL.

On another note, how do you like my crepe paper rose prop?

You can see my swatch of L.A. Girl 3D Effects in Black Illusion below. So purdy!

What do you think? Would you try this easy and awesome look? Check out Blooming Nail Cebu on their Facebook page to see what else they have to offer. They have tons of foils to choose from. If you live in Cebu and are into nails then you NEED to drop by. If you live elsewhere in the Philippines, they will ship to you. I stopped by there today to buy some of their new items and they sent me home with some goodies for a giveaway that will be live later this week. Yay!

By the way, I’m not being compensated at all for sharing about Blooming Nail Cebu. I’m just excited about what they have to offer and want to make sure other nail art enthusiasts like myself from the Philippines know where they can find supplies.

Here’s hoping you are all having a great week!
Hugs!

P.S. If you are interested, do check out my updated “About Me” section and brand new “Disclosure Policy“.

%d bloggers like this: