05 Jan

Girlstuff Joy and My Blogiversary!

Hi Gals!
Happy New Year! I hope you have had a fun 2014 so far. We were able to spend a week with some dear friends relaxing and laughing the days away. I did nails for several people and it was a lot of fun. That explains my absence around here these past few days.

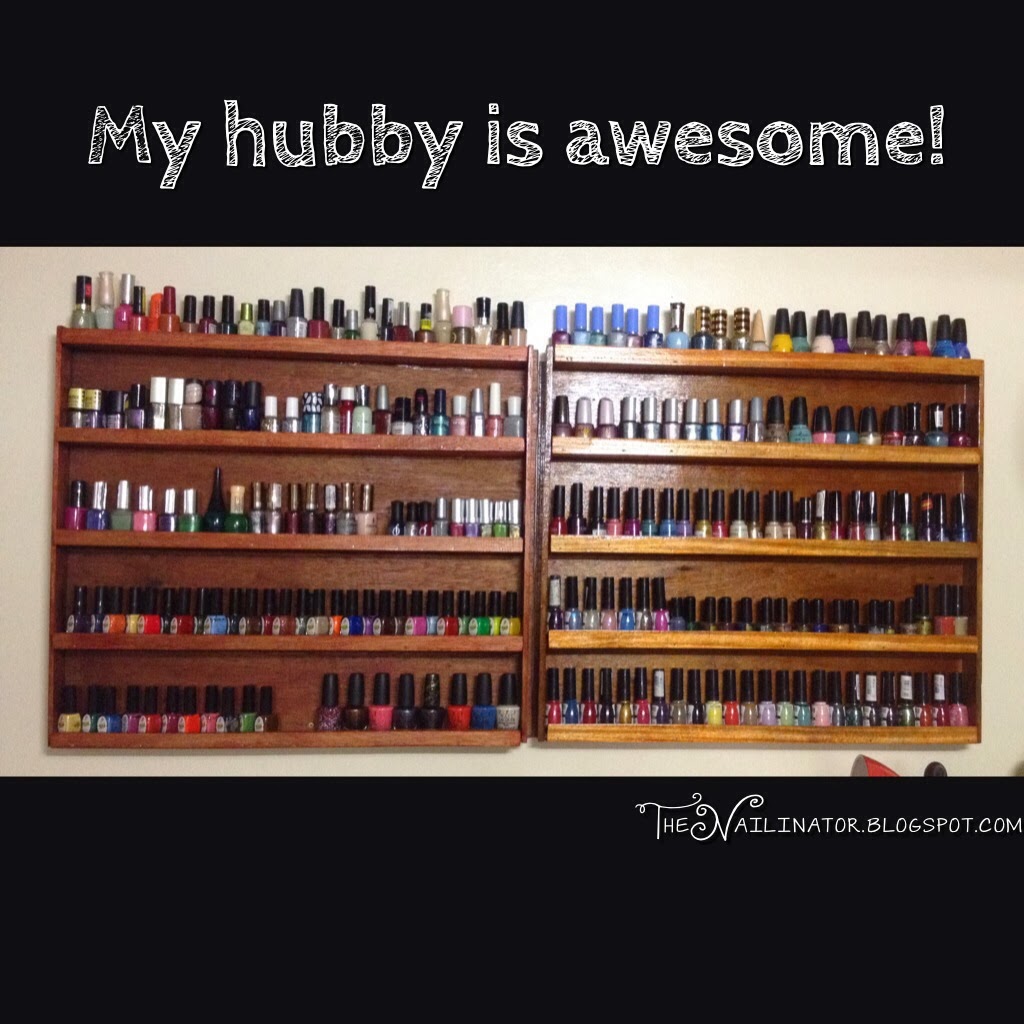
You may not realize it, but it was one year ago today that I decided to take the plunge and start my blog. Happy Blogiversary to me! You can check out my very first post here. I’m amazed at the feedback I have received. Thank you all for your support for me and my blog this past year. I am so glad to have such great gals (plus the handful of guys out there, yeah, I know you are watching, too) interested and inspired by my nail art. I have to thank my husband for being ridiculously supportive and willing to teach his tech-challenged wife about HTML and how to use different social medias. I also have to thank my mom and the Shutterbug for encouraging me to start this blog in the first place and not letting my self-consciousness and insecurity stand in the way of sharing my passion with the world. I have had so much fun getting to know you and making friends with many of you via email and FB. Your likes, shares, and comments mean so much to me. Here’s to more fun and fabulous nails in 2014!

Girlstuff Joy with gold studs

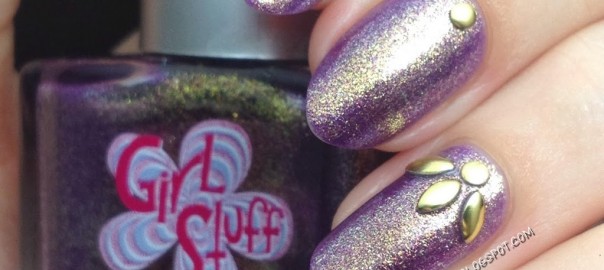
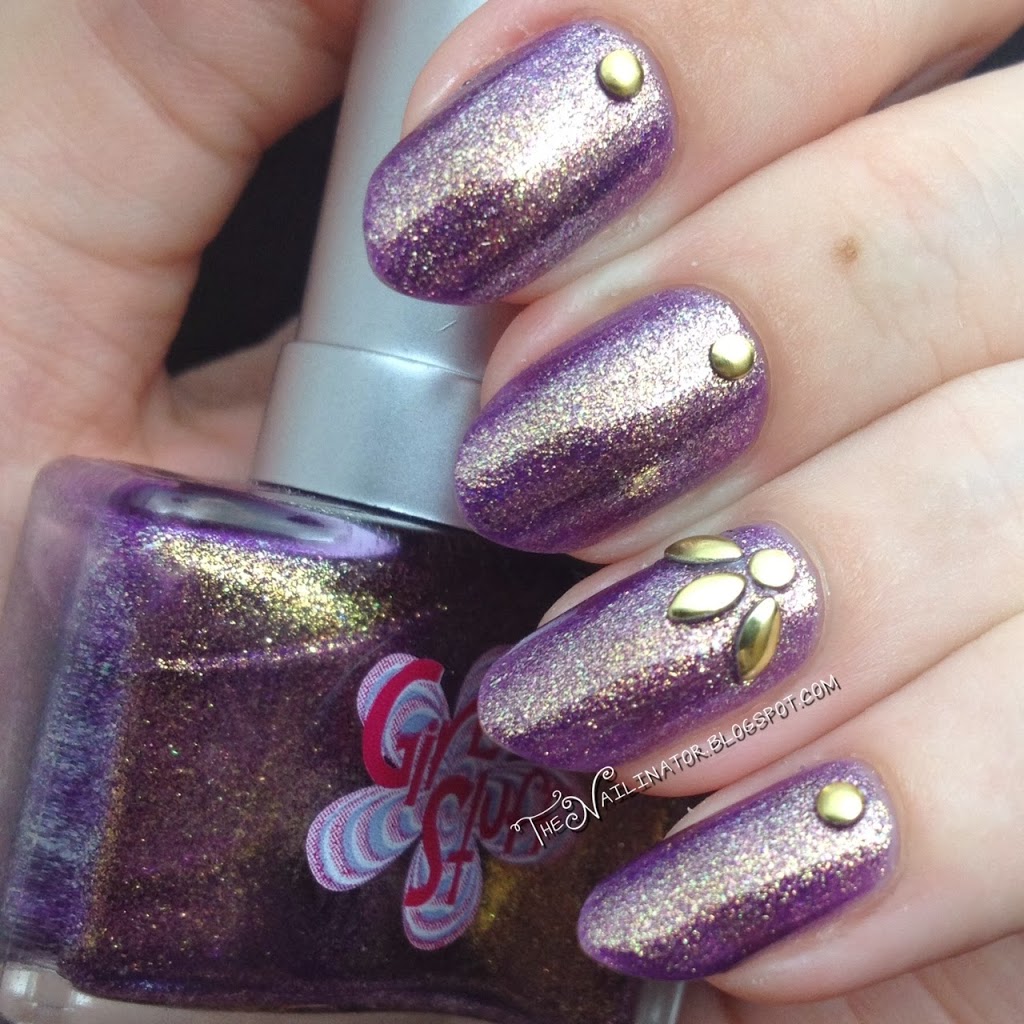
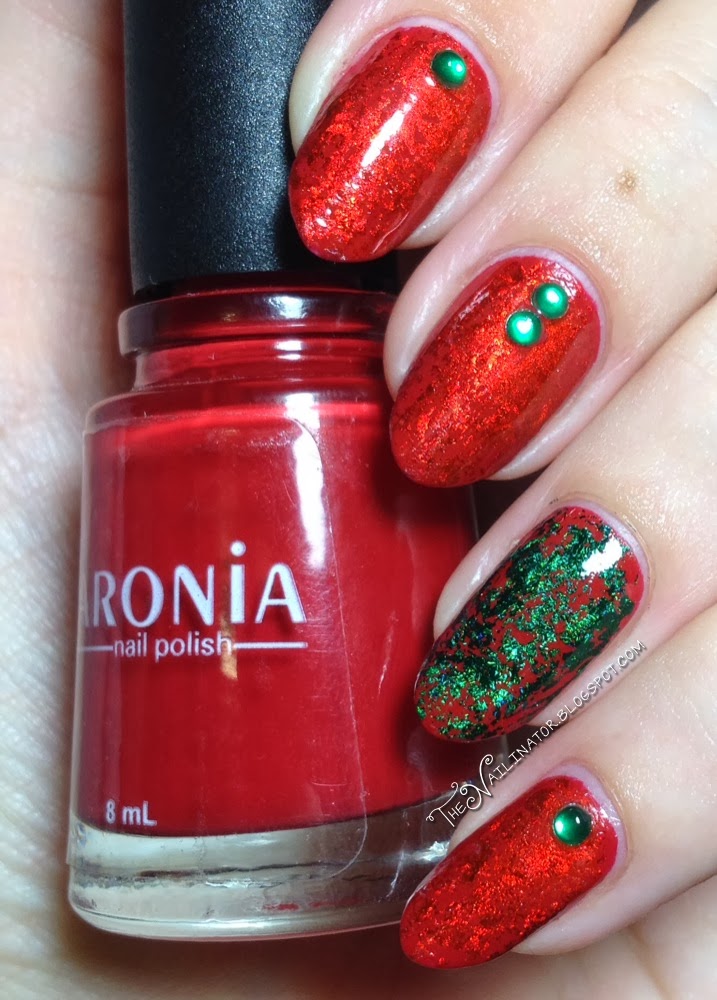
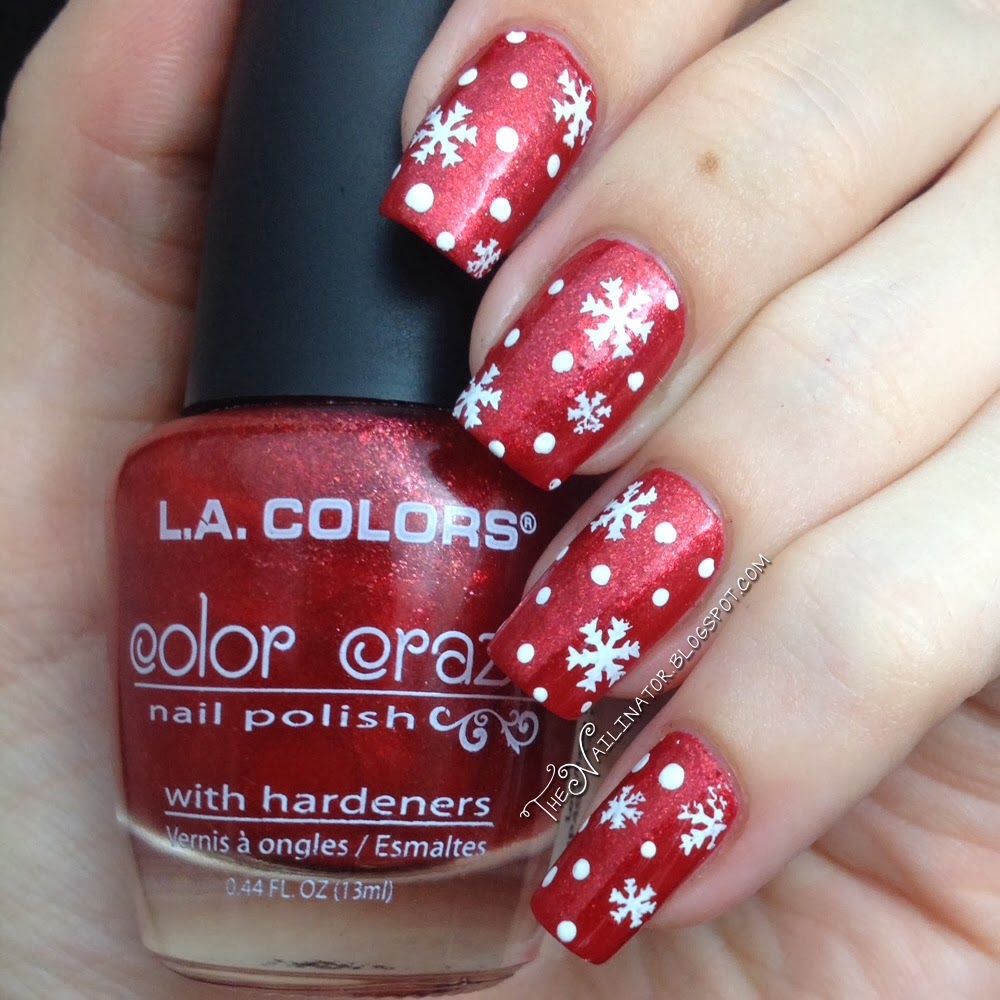
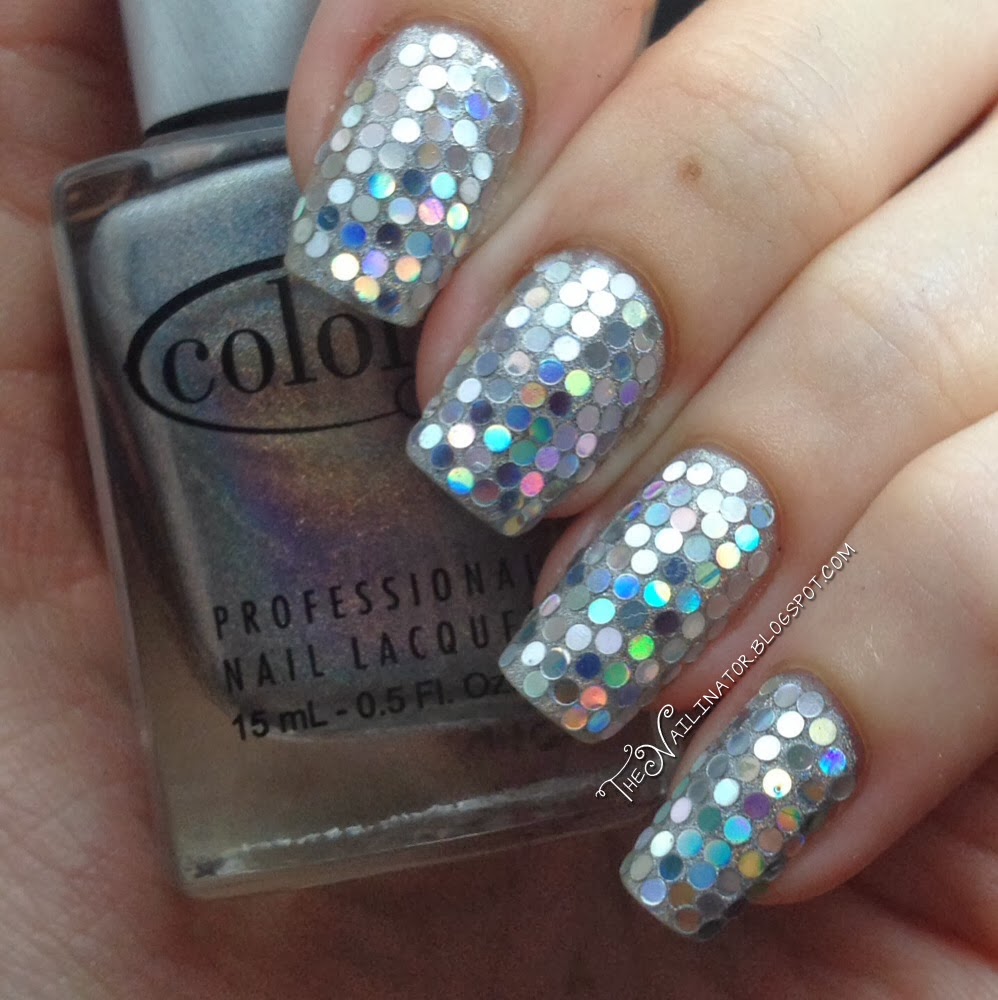
Hoping our year is filled with joy, the polish I’m sharing with you today is Girl Stuff “Joy”. Joy is a gorgeous purple with loads of shimmery gold. I’ve used two thickish coats as the formula is a bit on the jelly side. I LOVE this polish! The purple is a beautiful shade, but the gold shimmer just makes me flip over this polish. It is so interesting and sparkly. Application was easy, and cleanup was a breeze too. As you can see, I also added some studs I purchased from Blooming Nail Cebu. My nephew asked me why I had seeds on my nails. Ha!

Girlstuff Joy with gold studs 2

Aren’t they pretty?
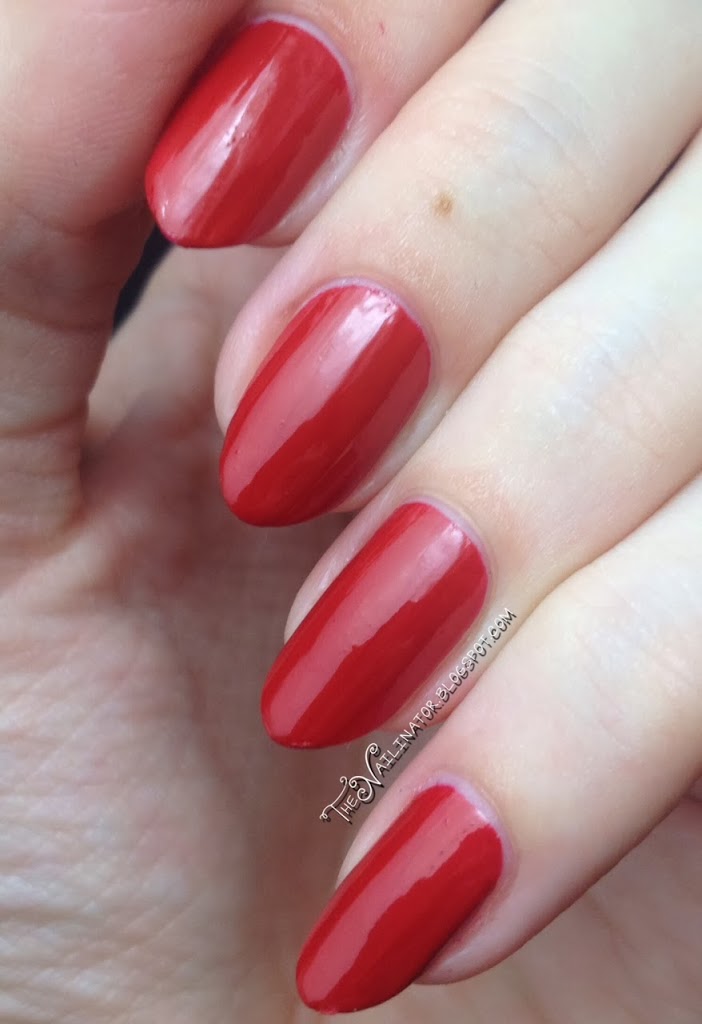
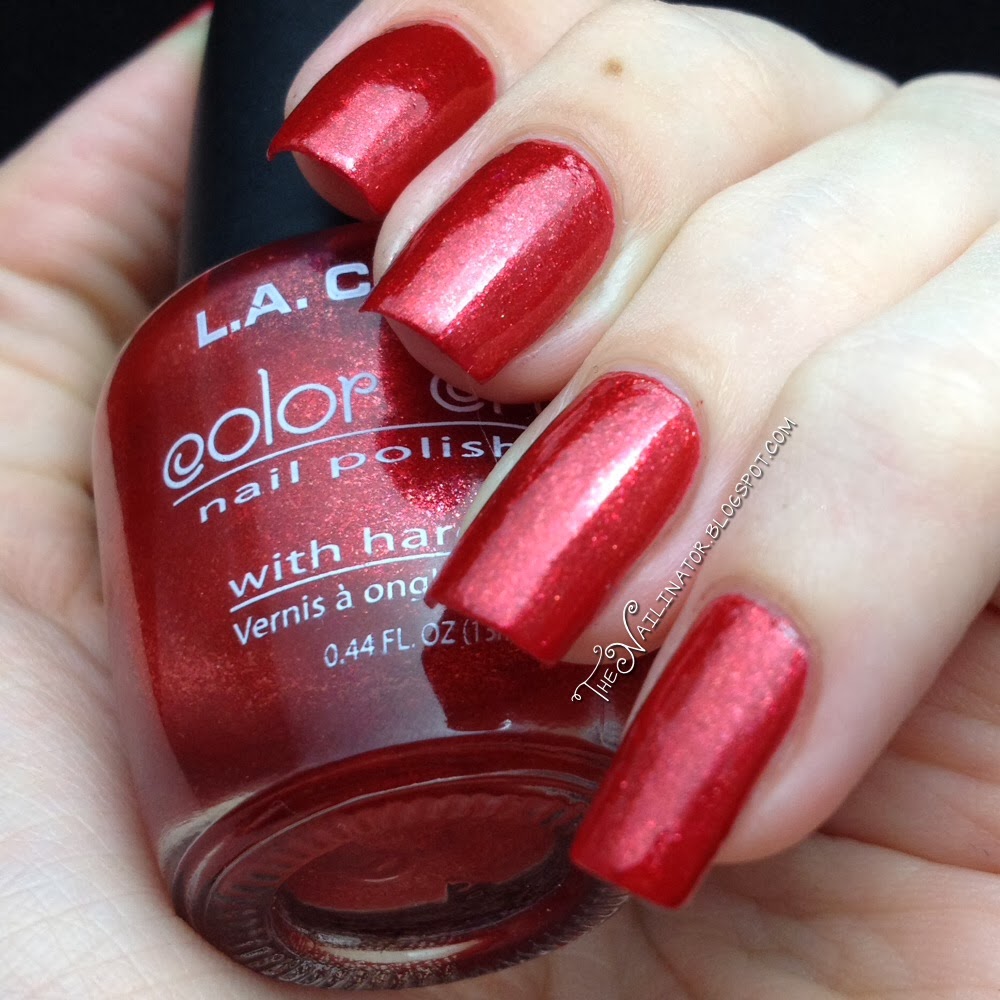
Here it is on its own.

Girlstuff Joy swatch

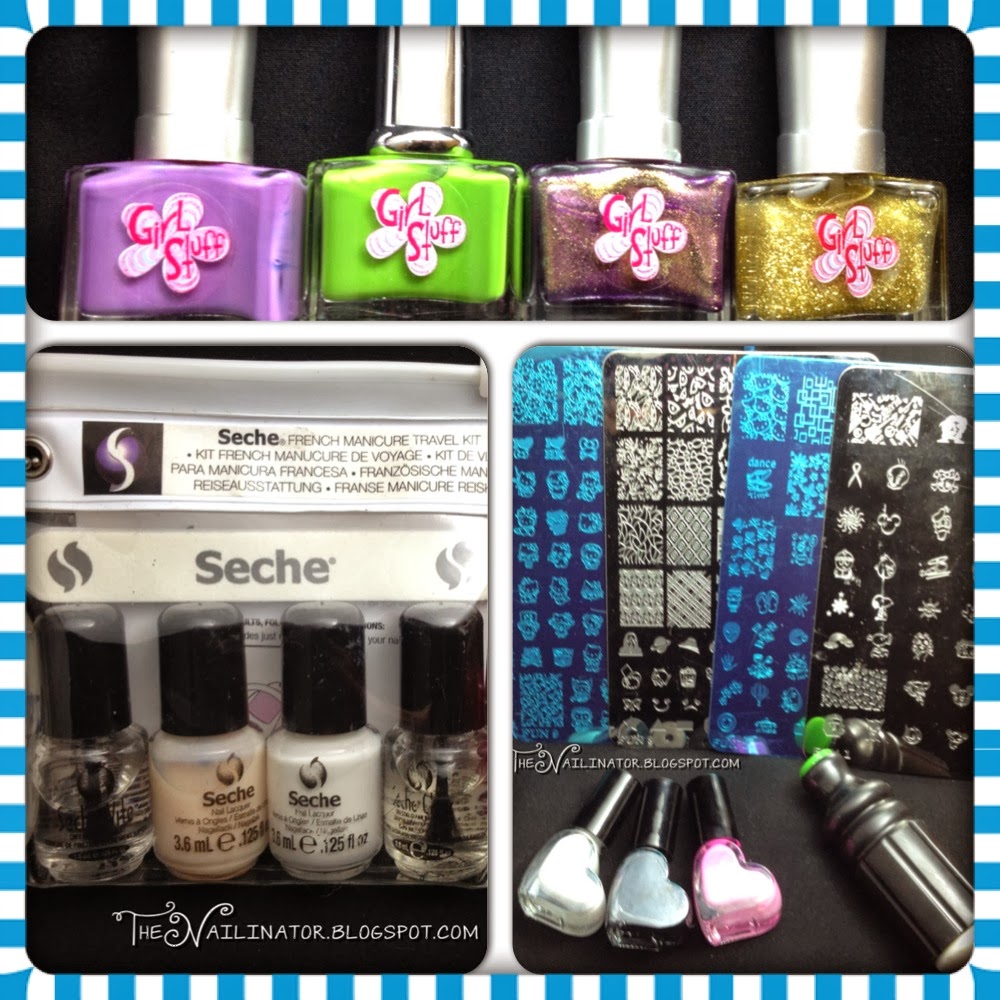
I acquired Joy when I won my very first giveaway a while back. I won Natalie Brookes’ Instagram giveaway and I love the prizes! I won 4 girl stuff polishes, 1 full sized Seche Polish (not pictured because I’m a goof and spaced out) and a Seche travel French manicure kit. I also won an XL Stamper and 3 special stamping polishes and four XL stamping plates. Lots of awesome goodies! Thanks again to Natalie for the giveway!

Giveaway contents
Well, that’s it for me today. I hope you have had a great weekend and that you have a great week ahead. Hugs to you all!
Rach
27 Dec

Caronia Tea Rose Christmas Nails (and My New Nail Shape)

Hi Gals!

I finally did it! I have been wanting to try a different nail shape for such a long time. It has taken me months to work up the courage to take the plunge and file away, but I finally did it! When I initially finished filing these I had them pointier than this, but I wasn’t quite ready for that yet so I filed the points down a bit. These are definitely an easier transition point. Tadaaaaaa!

Caronia Tea Rose with green rhinestones and foil
I do like them a lot, but I think I will like them even more when I get the shape just right. For this look, I started with just one coat of Caronia Tea Rose for my base. I have said it before and I’ll say it again… I LOVE this polish. How many reds are there out there that have this kind of coverage in one coat? Do you have one? Or a red that is a creme? All the other reds in my collection take 3 coats and are jelly-like or shimmery and thin. This is practically a one-coater. The formula is on the thick side so it makes application a bit tricky, but using a little care and taking your time makes all the difference. After Tea Rose dried, I took out my clear coat and after wiping most of the polish off the brush, I applied some over the red with random, splotchy strokes. Then after just a few seconds, I applied nail foils (#32-green on the accent nail and #17-red on the rest) that I purchased from Blooming Nail Cebu. I added some green rhinestones I purchased off Amazon quite a while back.
Caronia Tea Rose swatch
What do you think of my new shape? I’m not sure why the middle finger ended up looking so round compared to the others. Perhaps it’s due to my very limited skills in shaping nails. Here is hoping I will soon have perfected the shaping, and they will all look the same. A girl can dream, right?
These are the nails I sported on Christmas Day. They were perfect for the day, and my new nail shape was a big hit with the family. I wanted to share a couple of nail related gifts I received over the holidays too.
Colored feathers, glitter, and pearl studs
I was given these lovely nail art goodies by Blooming Nail Cebu. I am especially excited to try the feathers! Thank you Blooming Nail Cebu!
Nail polish racks built by Mr. Nailinator

Check out my new polish rack on the left! Mr. Nailinator was so sweet to make me another one since the one he made me in February was all filled up and even my overflow baskets were overflowing and cramping my style. As soon as he mounted it on the wall I filled it up and only had room for 2 more bottles. I bought my sister-in-law two polishes for Christmas, and she had them both already, so I let her trade them out for two polishes from my back up stash. I didn’t own either of the colors I picked for her so now my polish racks are completely full! Yikes! Believe it or not, those two are the only polishes I acquired for Christmas. I think I fit the category now where my friends and family don’t buy me polish because they don’t know if I already have a color or not.

Did you get any polishes for Christmas? I would love to hear what your favorite gift was that you received or gave to someone. I love getting little gifts, but I also love giving gifts.

I hope you have a blessed day.
Rach


20 Dec

Christmas Tree Accent Nail with Bobbie Star Gazer

Nothing says Christmas quite like a pretty tree filled with lights and sparkly baubles and topped with a glittering star. Right?

I wanted to do some Christmas tree nail art this year, but I didn’t really want to have a tree on every nail so I decided to go with an accent nail instead. I started with two coats of NYC Fashion Safari on all my nails and then applied  Klean Colors Military Green with a small brush and small strokes to make the tree for the accent. I decked it out with a dotting tool and a glitter star for the topper. For the rest of the nails, I added one coat of Bobbie Star Gazer over the base. Star Gazer was so pretty in the bottle, but I have to admit I was disappointed when I tried it. By itself, it was so faintly pigmented that I’m positive I would have had VNL even after 3 or more coats. The glitter may have been dense enough to cover everything up, but choosing NYC Fashion Safari as my base gave me the color I was looking for and everything ended up alright. Being a VNL-aphobe means I don’t play with jellies very much, but I will have to experiment more to make use of the pretty jellies I do have.

Anyway, this isn’t my best work and I don’t LOVE it like I did my snowflake nails. I’m not a huge fan of nudes on my nails so, honestly, it doesn’t really stand a chance. That being said, it IS cute and I still learned something important: Elmer’s School Glue Gel (the blue stuff) works as a fantastic peel-off base for glitter polish. I squeezed some into an clean polish bottle, applied one thick coat, and let it dry well before applying my polish. I only sported this look for a day before taking it off, so I’m not sure about the wear time.

That’s it for me today. It’s been a long week for me. I hope you are having a great one. Do you use anything as a peel off base for glitter polish? What polish/es have you used recently that looked the bomb in the bottle but bombed when swatched?

12 Dec

Snowflakes on L.A. Colors Aztec Orange

Hey gals!

This has been a great day. My parents arrived today from their few weeks stay in the US and as if having them home safe and sound wasn’t great enough, they carried some epic nail mail with them from the lovely Jacqui of Craftynail (please do go check out her blog). My first nail swap was officially a smashing success! Thank you soooo much Jacqui! I love the polishes you sent… Especially Alcatraz Rocks! Lemming CRUSHED! 

It sure felt like Christmas opening up my package from Jacqui and I’ve got a Christmas themed mani to share with you today. Snowflakes! I’m so thrilled with how these turned out. What do you think of my artsy photo? I adore this snowflake ornament my wonderful mother-in-love sent me.

Snowflake stamping over L.A. Colors Aztec Orange
L.A. Colors Aztec Orange with snow stamping and dotting
Yeah, I know there are a lot of snowflake designs going around but I just had to do one of my own.
I started with one coat of Caronia Tea Rose which, by the way, I highly recommend if you are in search of  a great red for the holidays. (Note: Don’t confuse Caronia Tea Rose with Chic Tea Rose) I added two thin coats of L.A. Colors Aztec Orange which I received back in July when Pure Beauty came to Cebu for a promotional event. As soon as I laid eyes on it I knew I had to use it for a Christmas mani. Here it is by itself. Isn’t it gorgeous? 
 
Swatch of L.A. Colors Aztec Orange

I used the OB19 stamping plate which is full of Christmas themed images. I purchased mine from My Online Shop and I used the Fab Ur Nails white stamping polish which I won in a giveaway to add the snowflakes. I’m still getting the hang of stamping so it can be hit and miss with some attempts. I used a dotting tool and the same stamping polish to add the dots. With all that has happened in the past couple of months I have quite spaced out about taking pictures of the prizes I won the last few months. I will try to get them up soon. So much to do. 

I’ve also included a shot of the freehanded snowflakes I sported last year. I only have one shot of it as I wasn’t blogging yet at that time. I’m sharing in honor of throwback Thursday. Ha! So please bear with the poor quality photo. It’s nice to see how far I have come in the past year in the photo department. (By the way, I also post old manis and some non nail related stuff on my Instagram account. If you want to come check it out, the link is in my sidebar to the right.)
 

Well, that is it for me for today. I do hope you have a blessed day or evening depending on where you are in this big wide world. Make someone smile today if you can!

10 Dec

Holy Holo Glitter Placement Nails

Hi beauties! Allow me to present to you my first glitter placement mani and I promise you that this WON’T be the last!

Holo Glitter Placement Nails
Holo Glitter nails and jar

Let’s get straight into it, shall we? I used one medium coat of Color Club Harp On It as my base and then I just started adding silver holo glitter pieces that I purchased from Blooming Nail Cebu. I used an orange wood stick to apply the glitter and used clear coat when the polish got too dry for the glitter pieces to stick. I topped it off with 2 coats of topcoat. Don’t look too closely at my placement or you will notice my mistakes. I didn’t even notice them until I saw the pictures. I guess I was just blinded by holo rainbows from Harp On It. Anyway, just enjoy all the sparklies!

Holo Glitter over Color Club Harp On It

It took a bit of time to finish all 10 nails but it was a very easy look to achieve. Just add glitter! It is soooo sparkly and fun to wear. I think it is perfect for a party or perhaps to welcome the New Year. I thought I would only want to wear it a while because it is so flashy but it is growing on me. I wore these to the Best Cebu Blog Awards night on Saturday. I didn’t win in my category but all the winners are very deserving. I still feel like a winner and am honored to have been nominated and to have made it as a finalist. The organizers of the event did a great job and I had a great time. It was fun to meet more bloggers from Cebu. Thank you to everyone who voted for me and who have made this a great first year so far. Y’all rock!

Have a great week!

%d bloggers like this: