04 Dec

Holly Jolly Christmas Stamping with OB19

Hello loves!

I’ve got another quick post for you this evening to share these super cute nails I have been sporting for almost a week now.

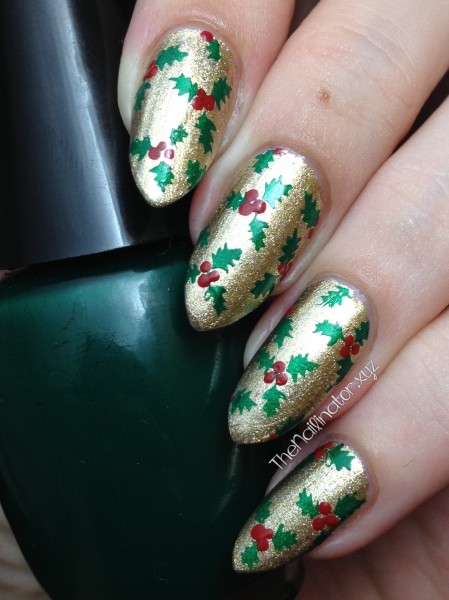
Holly Jolly Christmas Stamping nail art

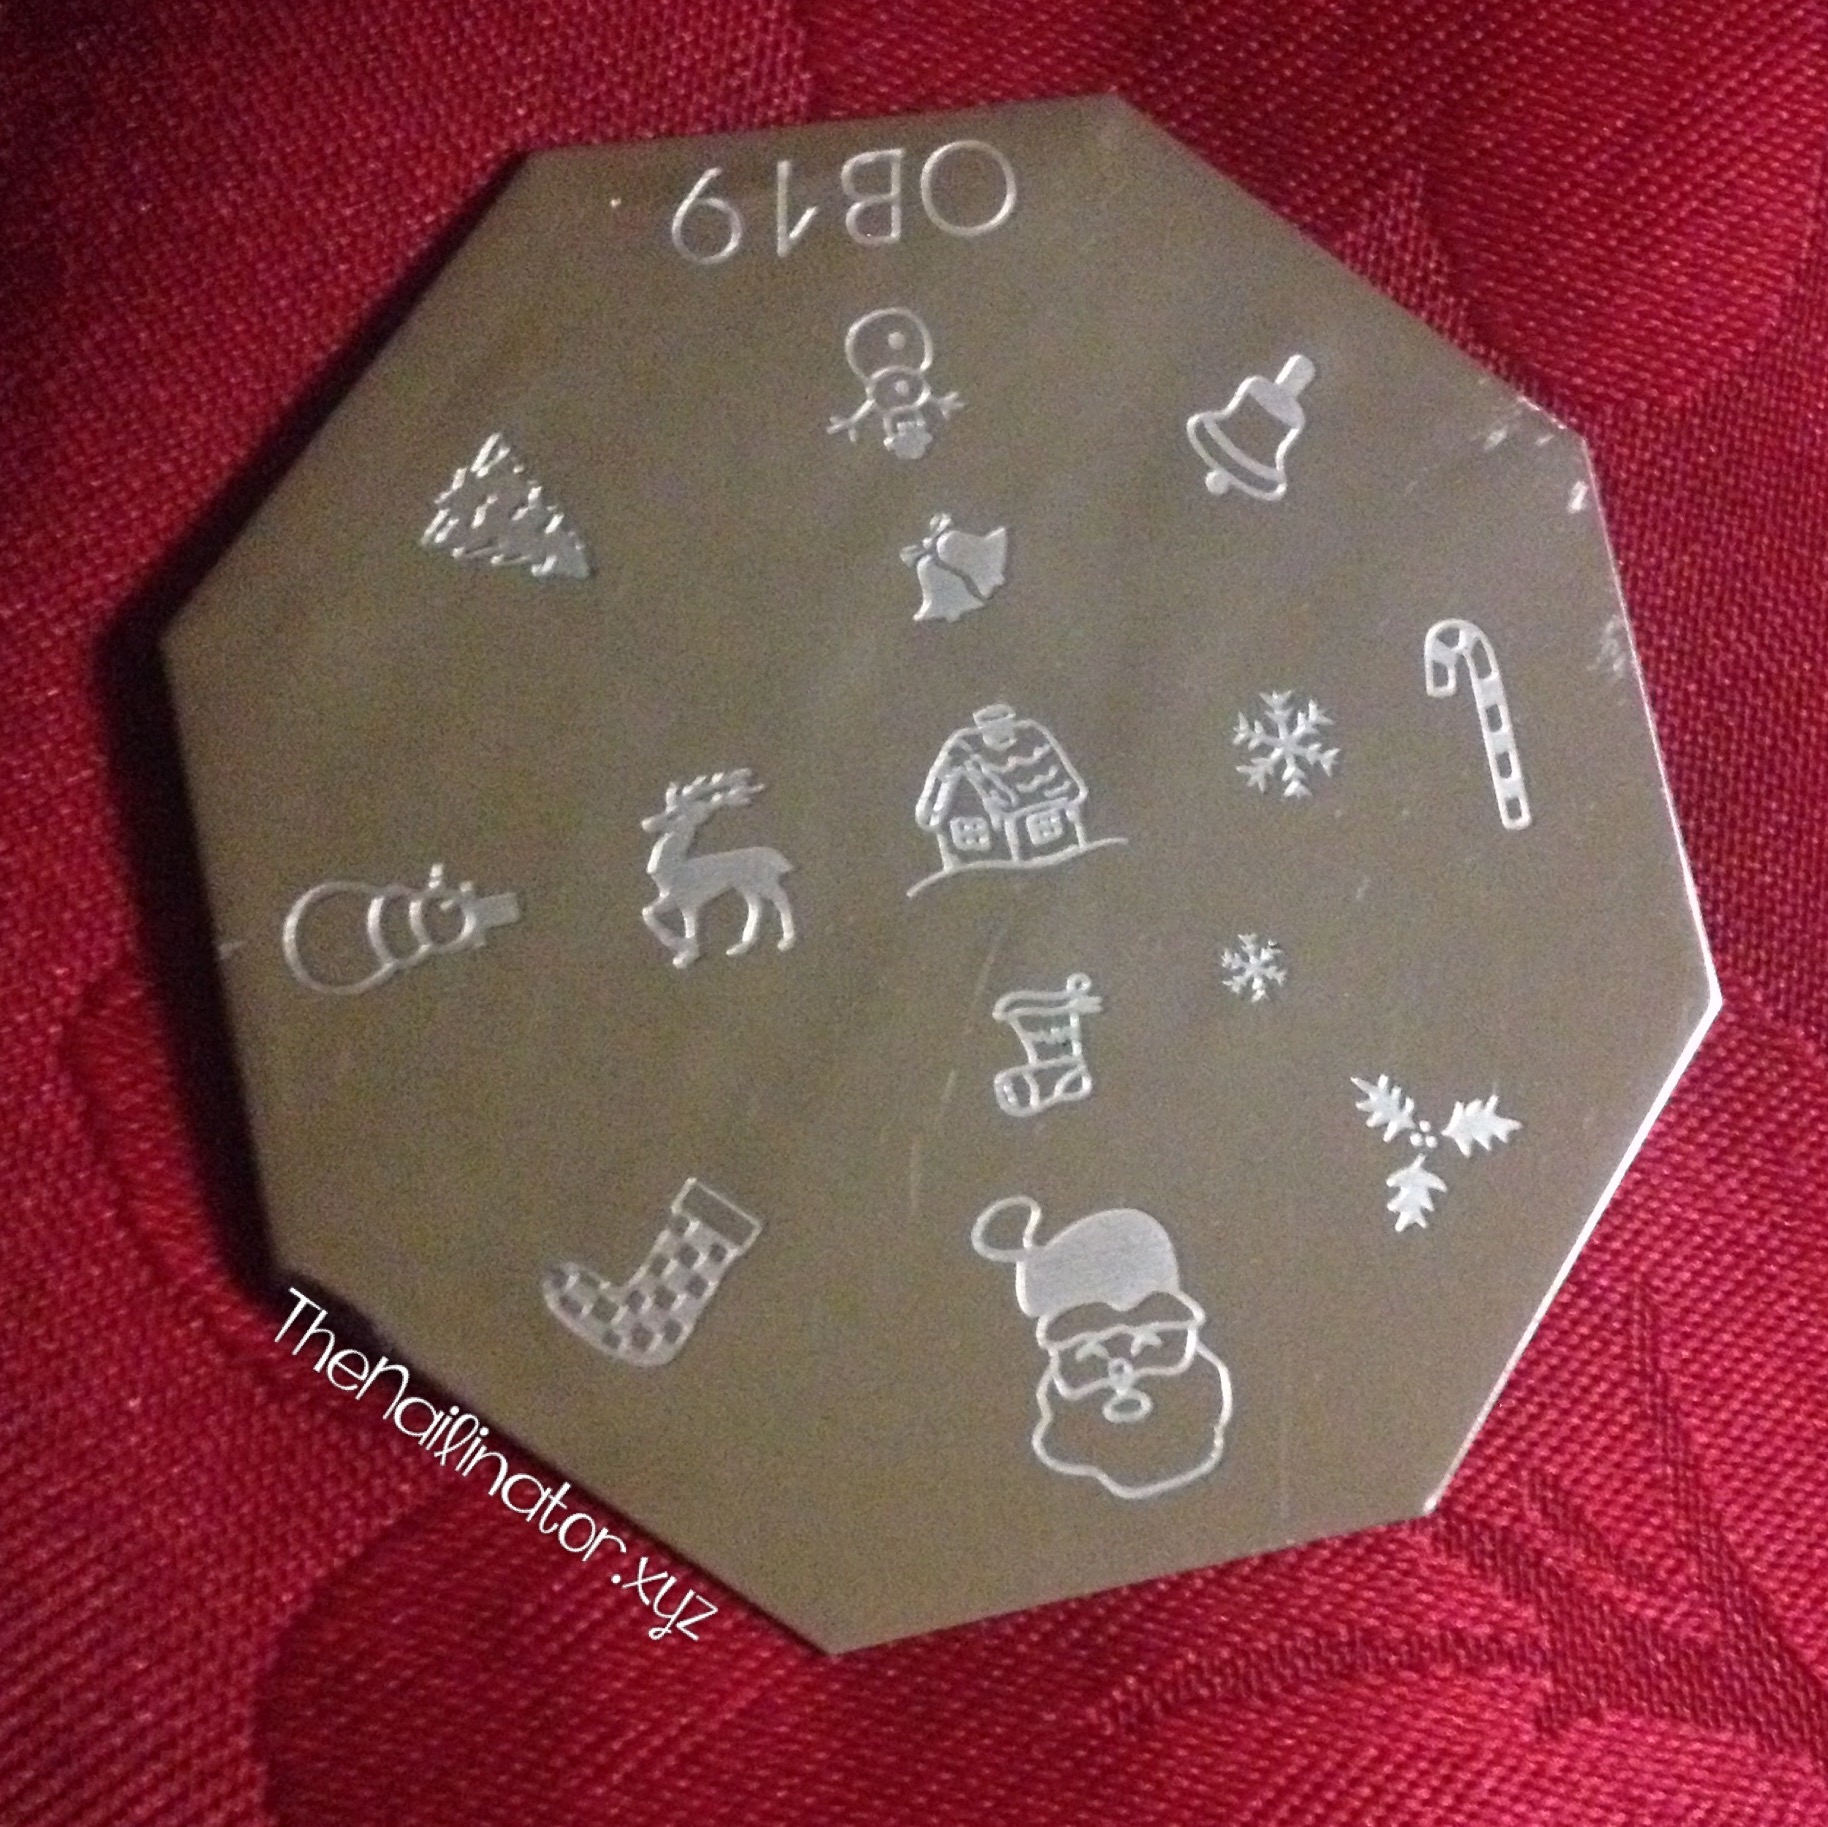
Don’t  you think they look like Christmas wrapping paper? They turned out so cute and were very easy to do. I applied my gold polish then added stamping using a no name brand opaque green polish I have in my stash. I used a small dotting tool to make the red holly berries. The holly image is part of the OB19 stamping plate which I purchased last year from Myonline Shop. This image is just perfect for Christmas nail art. It is loaded with great images. I used the two snow flake images for some nail art last December. I also used the Christmas tree image for some simple nail art on The Bookworm last night. You can see those if you check out my Instagram account.

OB19 Stamping plate - Christmas images

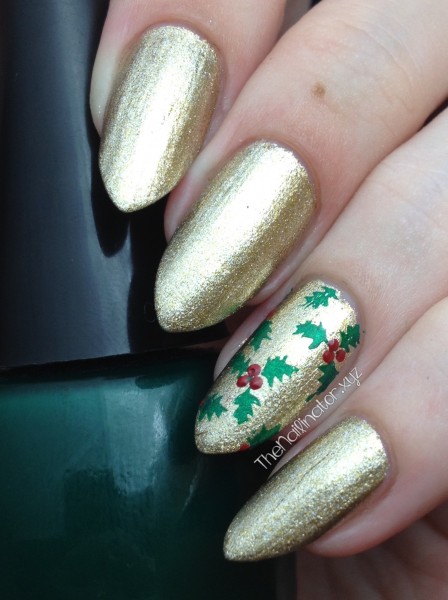
As you can tell, I chose to stamp the holly image multiple times to cover each nail. I did start off with this as a simple accent nail (see below). It was a couple of days and several compliments later that I decided I needed holly on all my nails.

Gold nails with Christmas Holly Stamping Accent Nail

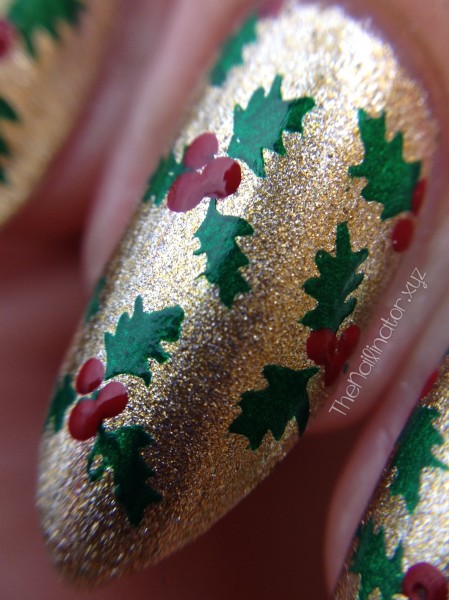
I finally got my hands on a clip-on macro lens for my phone. So I took a shot of these just for fun!

Holly Jolly Christmas Macro

Well, I hope you like these as much as I do and that they give you some inspiration for some fun holly-day nails. 🙂
Have a great day!
Hugs,
Rach

02 Dec

SanSan Warm Blue with Icy Ruffian

Hi ladies!

Just because it is Monday doesn’t mean we should feel blue. Of course, that is easy for me to say because Monday is my hubby’s day off, and we went out today, had a grand time with the kids, and got most of our Christmas shopping done. Win! Plus it is finally December 1, which means Christmas everything. Bring on the holiday nails!

Warm Blue Glitter Ruffian snowflake

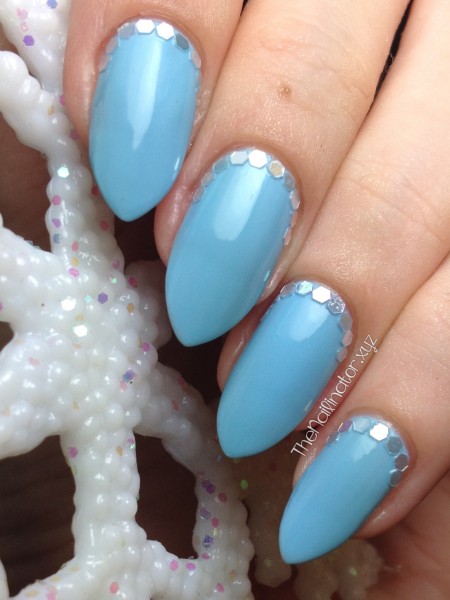
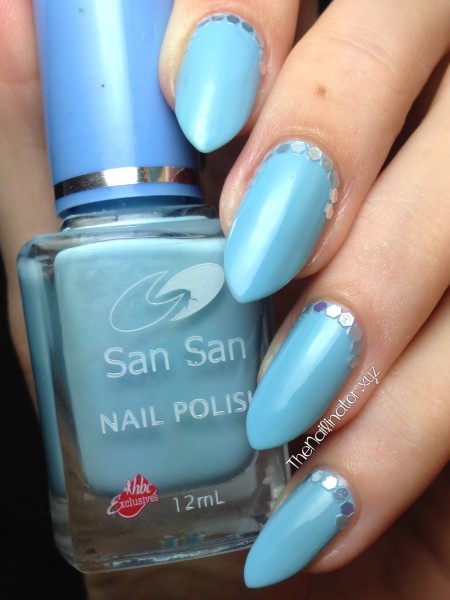
I’ve got a quick and easy look to share with you today. All it takes to do this is a pretty icy blue shade and some glitters. I started with couple coats of this lovely, light, icy blue polish, ironically named Warm Blue (by Sansan). I added a glitter ruffian flair with the pearly glitters from the hexagonal glitter set sent to me by Born Pretty Store. After applying the second coat of Warm Blue, I used a damp orange wood stick to pick up the glitters and place them where I wanted them. Then I finished with topcoat. Easy peasy!

Warm Blue Glitter Ruffian

This was easy to do and ended up looking so pretty! I will definitely be doing this type of look again. The glitter adds just the right amount of sparkle. The colors I chose are definitely winter appropriate. I had a couple of people tell me they looked like “Frozen” nails. I can totally see Elsa rocking these babies and singing, “Let it SNOOOOOW”! Haha!

Well, I hope you liked these. If you want to order the 12-color glitter set from Born Pretty Store (or anything else for that matter) you can use my coupon code for 10% off your entire order!

BornPrettySore Coupon Code TEAW10

I hope you have a great start to the week! Keep smiling!
Hugs,
Rach

18 Nov

Girlstuff Forever is in Cebu!

Hello Ladies!

I’m thrilled that one of my favorite polish brands is now available here in Cebu City, Philippines.  Girlstuff Forever has just opened a kiosk at Ayala Center Cebu on the 2nd floor along Paseo Ciudad (near What A Girl Wants and Converse).

I was invited to attend the press event for the opening, and I wanted to share the nail art I wore for the event and to tell you more about Girlstuff and why I love it so much.
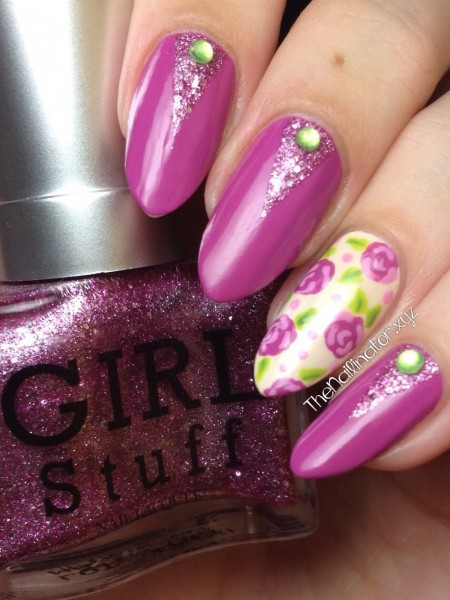
Girlstuff Wild Berries with Floral Accent Nail

Aren’t these adorable? I started with Girlstuff Wild Berries as my base and used striping tape to tape off the triangles and filled them in with Girlstuff Enchantè. I added the rhinestones with a dab of nail glue and finished off with topcoat. For the accent nail, I used my biggest dotting tool with Wild Berries to make the big blob parts of the rose. Then I used a tiny dotting tool and some light pink for the swirly parts of the flower. I used a small nail art brush for the leaves and the tiny polka dots.

Mommy & Me manicure featuring Girlstuff Forever polishes

My little one wanted her nails done “like mommy’s”. It was fun to have matching nails.

About Girlstuff Forever

Girlstuff is the first 5-free nail polish brand in the Philippines. The polish is actually made in France but only sold here. I love this brand because, in addition to being safe for my little girl to wear (which she does quite often), there is a wide selection of colors and finishes to choose from.
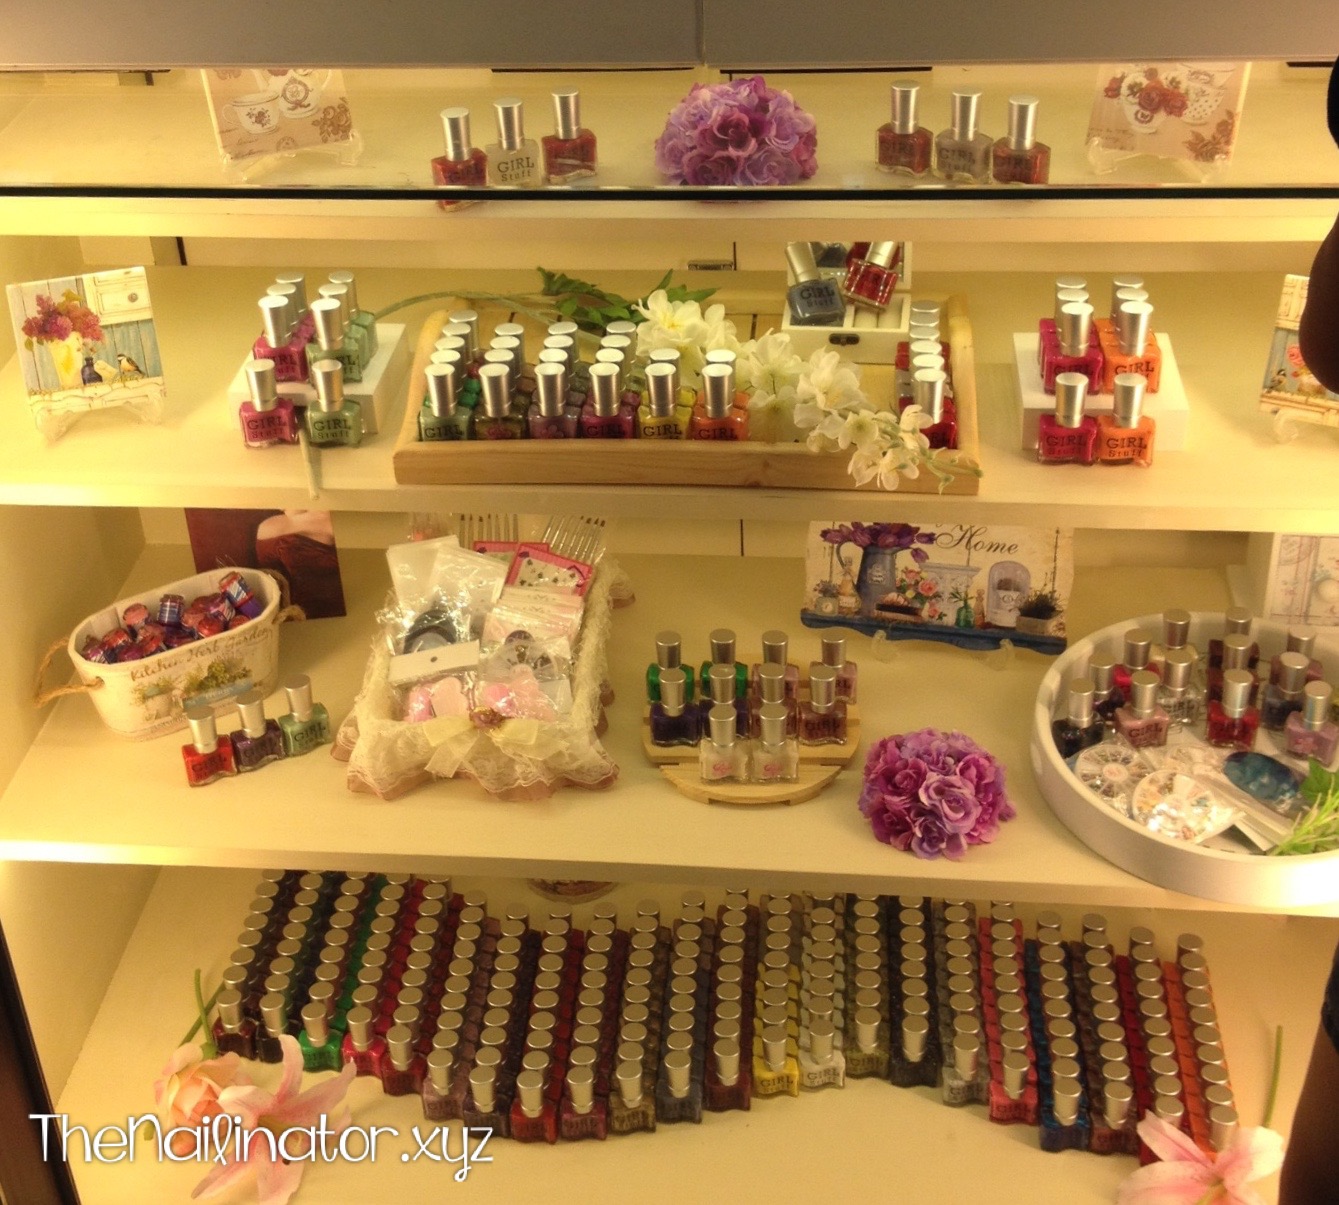
Girlstuff Forever kiosk at Ayala Center Cebu

The selection includes textured and magnetic polishes, cremes, jellies, metallics, shimmers, duochromes, glitters, and an awesome matte topcoat! They are also quick-dry, kid-safe, and affordable (100-150 per bottle). This is a cruelty-free brand which means that they don’t test their products on animals. Here is my personal collection so far. ♥  (Check out my Girlstuff tag archive to see other blog posts I’ve made featuring Girlstuff polish.)
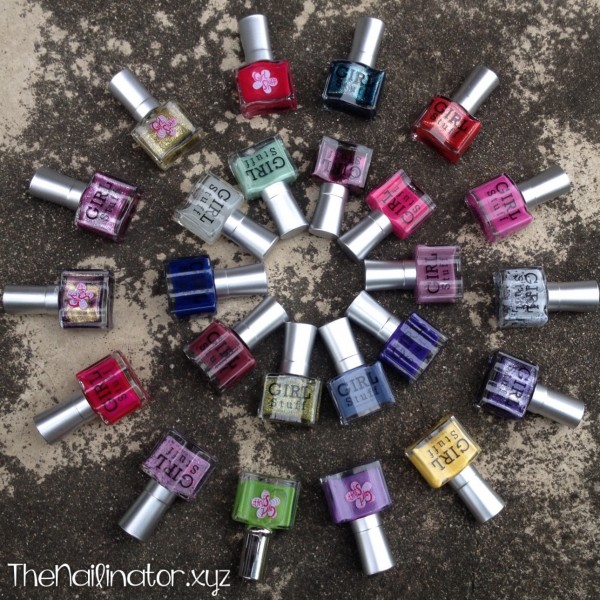
My Girlstuff Forever polish collection

I’ve included a swatch shot of Red Velvet, which is part of their newest “Redilicious” fall collection. It’s so pretty and shimmery. I used 3 thin coats and no top coat for this shot. They will be releasing a Christmas collection soon so keep an eye out for that as well.
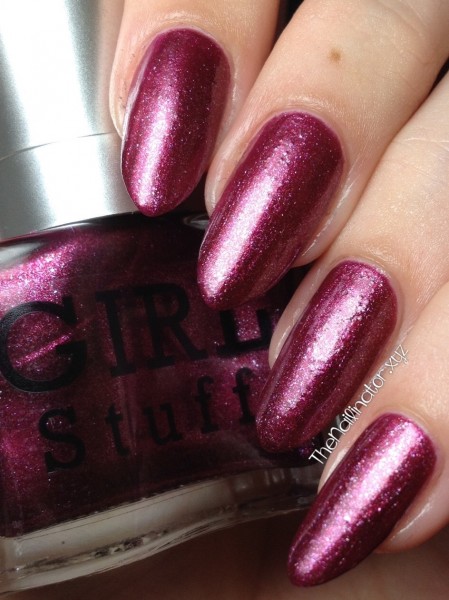
Girlstuff Forever Red Velvet swatch

Girlstuff also carries a variety of nail art tools and accessories like rhinestones, dotting tools, brushes, stickers, and the like.  They even have washable polishes which can be removed with soap and water. I will be getting my little girl some of those when she is a bit older and wants to do her own nails.
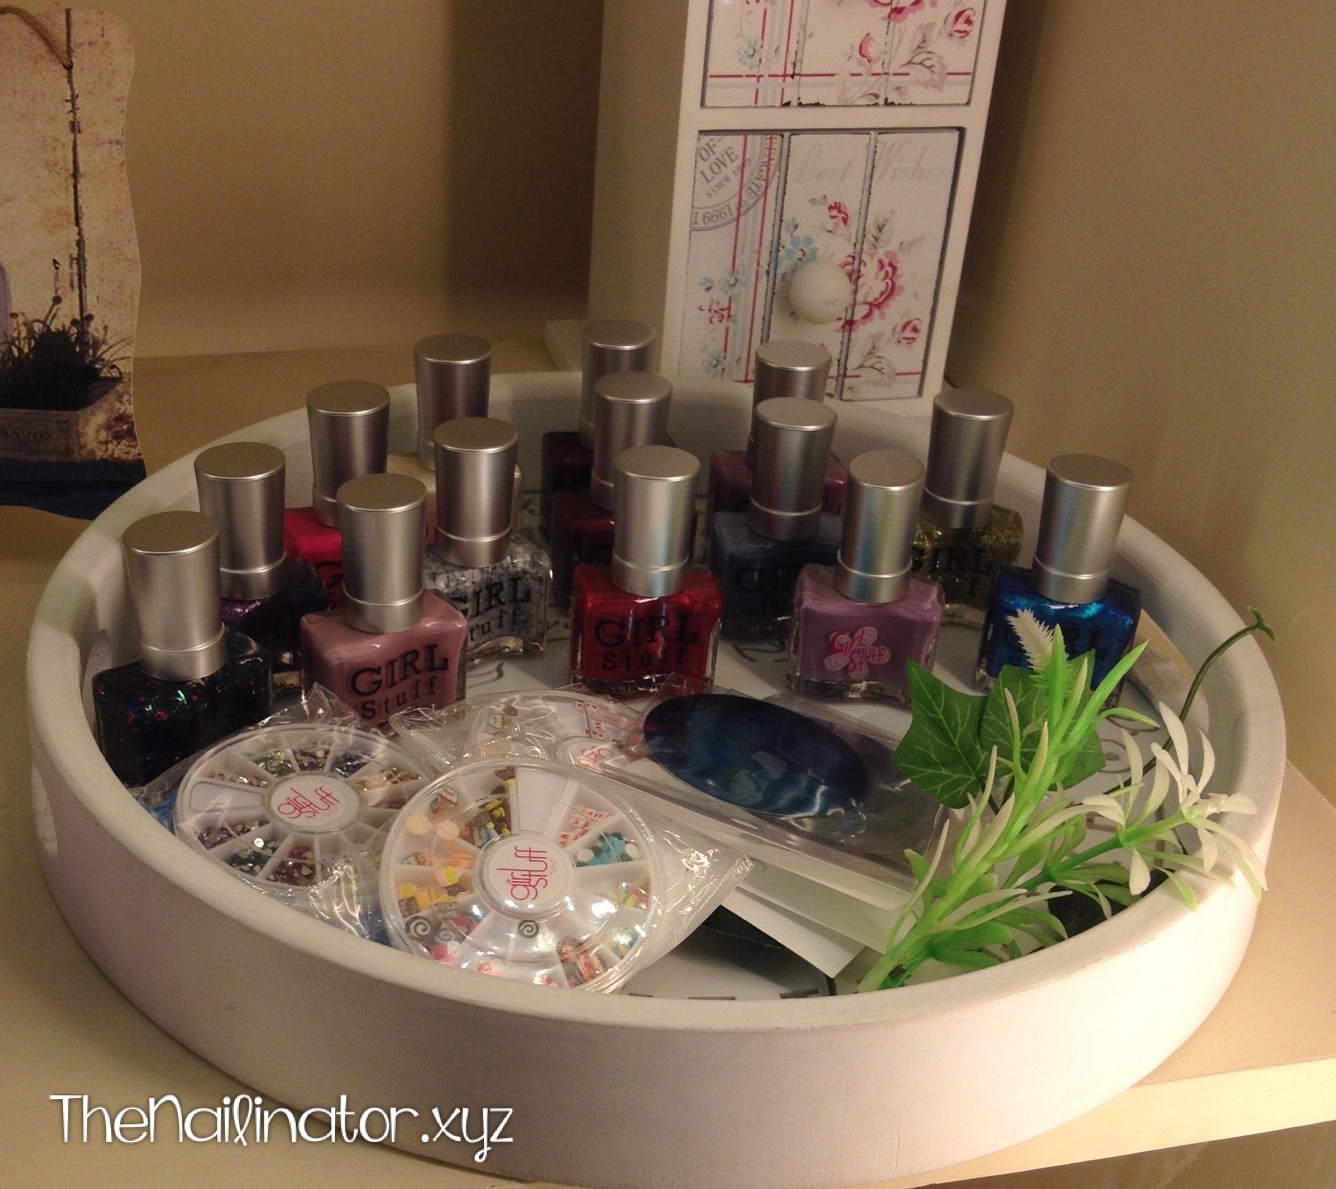
Photo of Girlstuff nail polish and nail art supplies on display

The owner and founder of the company, Janina, is a chemist-turned-SAHM. She started off making colognes and other products for little girls that are free of harmful chemicals. Eventually she started making nail polishes. Janina told me that each product is tested multiple times during production to ensure that the finished products are safe for us and especially for our little ones. Here’s a shot of me at the opening (on the right) with Janina (middle) and Ging, (on the left) who is the operator of the Cebu branch.
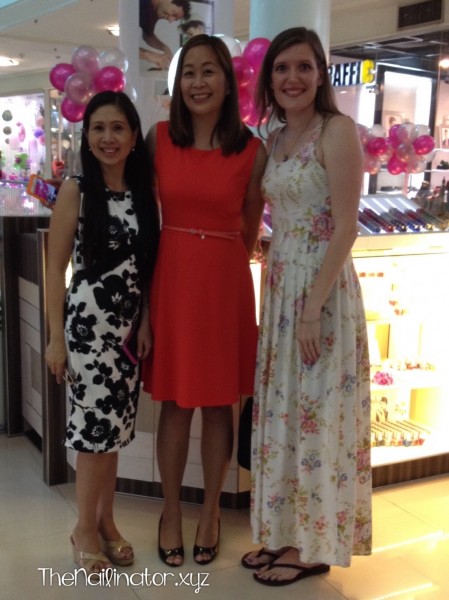
Ging, Janina, and I in front of Girlstuff Forever Ayala Cebu

If you want to get your hands on some of this lovely polish for you or for the little girls in your life, you can find them here in Cebu on the 2nd level of Ayala. The other branches are located at SM Mall Of Asia, SM North Edsa, SM Megamall and SM San Lazaro. You can also contact them directly and they can ship to you.

You can keep up with Girlstuff through Facebook, Instagram, or their brand new website.

I hope you have a great day!
Hugs,
Rachael

10 Nov

Born Pretty Store Hexagonal Glitter Review

Hi there!

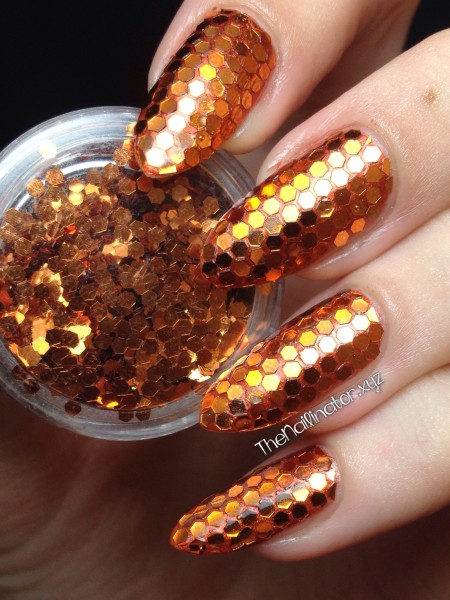
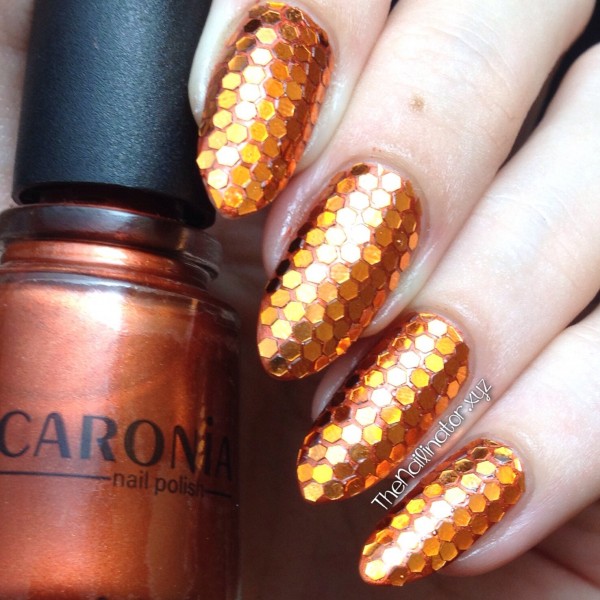
I’ve got another product review to share with you. When Born Pretty Store contacted me a while back asking me to review some of their products, I knew immediately that I wanted to get my hands on their 12-Color Hexagon Glitter Set I’ve heard so much about. When I received the package, I immediately set about putting tons of glitter all over my nails! I was thinking of doing something pumpkin related with these. But after I finished with the orange glitter, I realized that they looked more like koi fish scales. They were so fantastically glittery, I decided to leave them as is. Aren’t they pretty?

Orange Hexagonal Glitter Placement mani

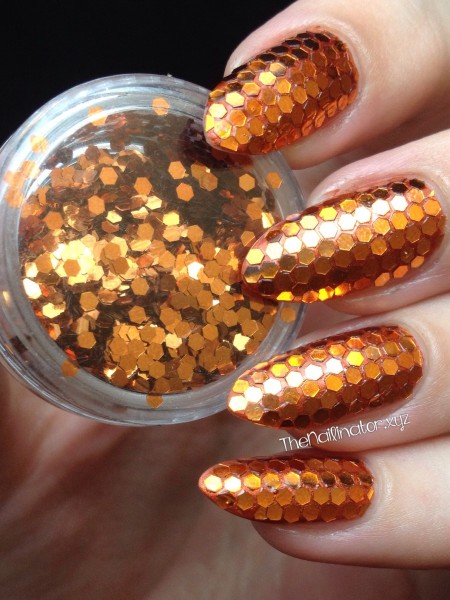
To achieve this flashy look, I started with two thin coats of a similar base color (Caronia Bourrée in this case). After my base color was dry, I applied a bit of clear polish down the center of my nail and, using a damp orange wood stick to pick them up, carefully placed the glitter piece by piece in a straight line down the middle of my nail. Then I worked out towards the sides of the nail, applying clear coat column by column to get the glitter to stick. Using my cuticle nippers, I cut some glitter in half for the edges of my nails. After the nail was covered to my liking, I applied a generous layer of clear coat to seal it all in.

Orange Hexagonal Glitter Placement mani 2

I can’t believe that it has been a year since I did a full glitter placement mani! They are so pretty and fun to wear.

Hexagonal Glitter Review

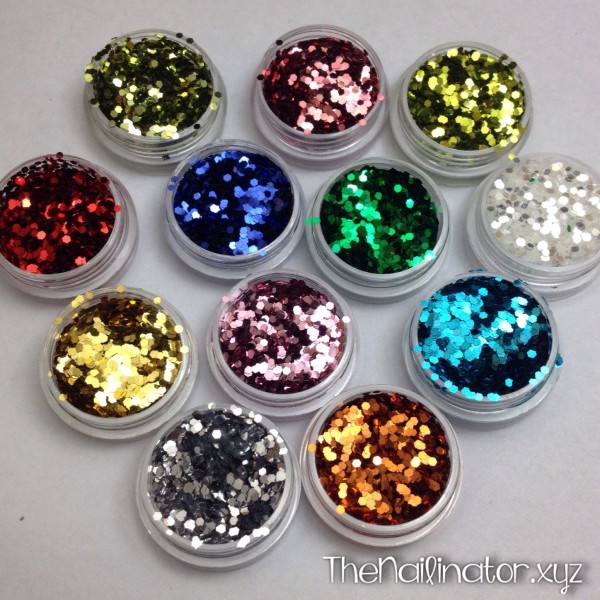
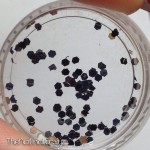
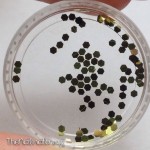
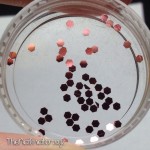
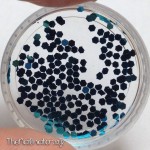
Let me tell you more about the 12-Color Hexagonal Glitter Set from BPS.  The pack comes with 12 different colors each packed nicely in a clear pot with a screw top lid. There is a ton of glitter in each pot and the colors are very pretty.

Born Pretty Store 12 Color Hexagonal Glitter set

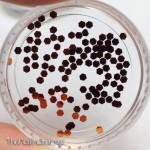
I have to say that some of the hexes are cut very well , like these orange ones for instance. There may have been one or two oddly cut pieces that I found while I was placing these bits, but most of them were just right. The silver ones that I used for another look, on the other hand, were not so perfect. I had wonky hexes, half hexes, and wonky half hexes (you get the picture). If you plan to use these on a matching base then the wonky shapes won’t be such a concern. But if you look closely at my other mani, you can tell clearly that they are shaped a bit off—a contrasting color makes it a little more obvious. In reality though, I wore that design for several days and had many compliments on it with no one noticing anything amiss. Maybe it’s just my OC self making note of the shape issue, but the silver hexes are the oddest of the bunch. The rest are significantly better.

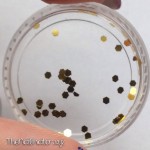
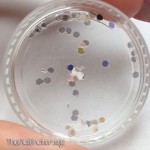
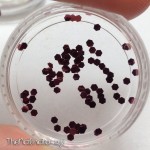
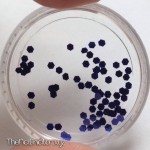
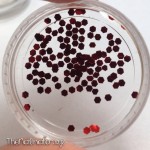
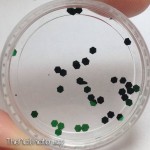
I decided to include a little gallery with a sample from each pot of glitter so that you can see for yourself the general quality of the glitter. The color is hard to make out on some of these, but the silhouettes show just how well-cut (or not) each color is. Just click/tap an image to enlarge it and then flip through them one-by-one.

Overall, I think this is a great product. This 12-color hexagon glitter set usually goes for $6.85 on Born Pretty Store. They are having a sale at the moment, and you can get this set for $5.48, but the sale ends in just a few hours. If you live in the Philippines, I want to remind you again that, though there are no shipping costs from Born Pretty Store, you WILL have to pay customs fees (about 150 pesos) on any package coming from outside the Philippines. Delivery is also slow if you choose their free shipping option. So don’t expect your package soon. If you plan on ordering something from Born Pretty Store, you can use the coupon code below to get 10% off your entire order.

Coupon

Glitter placement manis are sooo eye-catching and versatile. I need to try a gradient type one soon or try different colors on each nail.

Orange Hexagonal Glitter over Caronia Bourrée

Have you done any glitter placement nail art? I would love to see! Please feel free to share a  link below in the comments if you feel like it. 🙂

I’m off to play some video games with my boy! Have a lovely day and keep smiling!

Hugs,

Rach

31 Oct

Nightmare Before Christmas Nail Art

Happy Halloween!

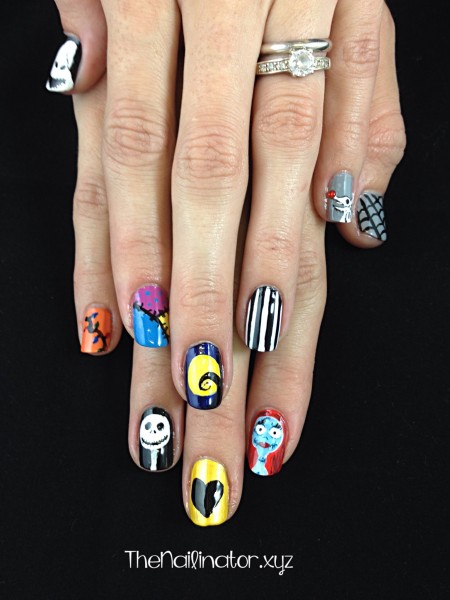
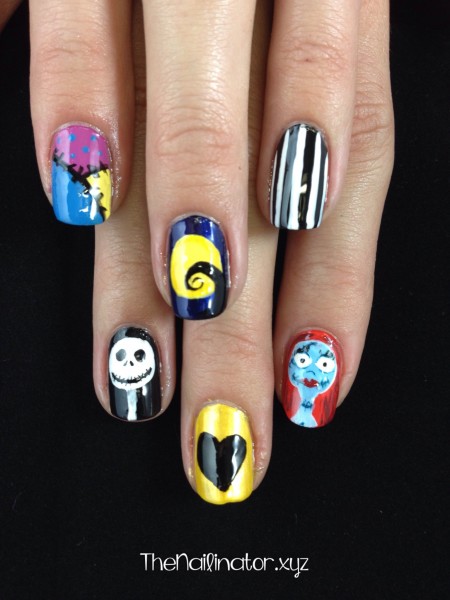
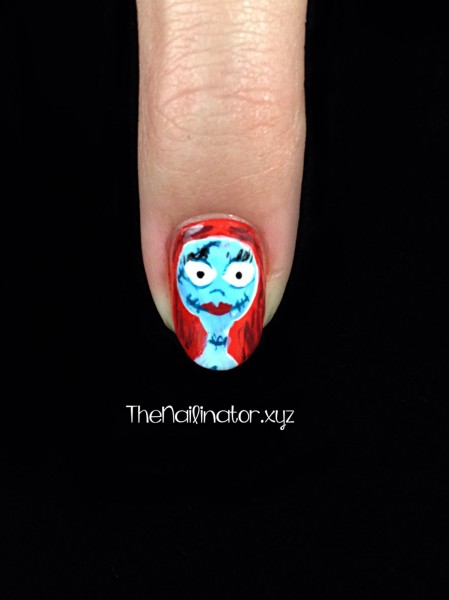
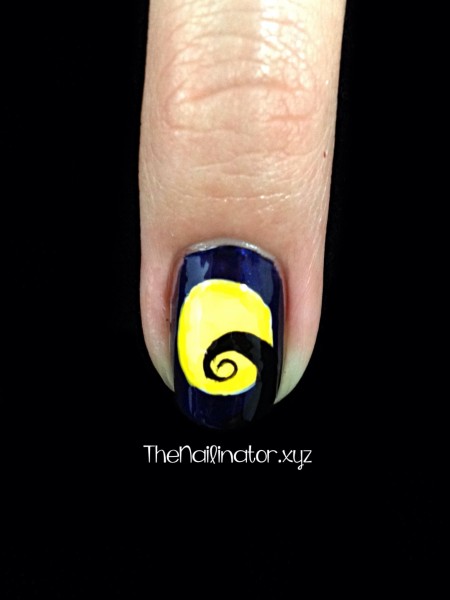
The kids were super cute in their costumes, and they had a blast trick-or-treating. As of today, there are a bunch of sales girls at Park Mall that have photos on their phones of an adorable Mario and Elsa. I had a lot of fun with them. I never did get around to doing any Halloween nail art for myself aside from my stamped spiderwebs from last week.  My baby sister (aka The Shutterbug) asked me to do her nails last week though, so I do have another design to share. I knew she needed some Nightmare Before Christmas nail art for the season. I looked online for some screen shots from the movie and did some doodling and came up with a few nail ideas. I asked her for some input as well since I’ve never seen the movie, and this is what we came up with. To do these, I used brushes from the 8 pc. nail art brush set I reviewed yesterday. I did use a striping brush and one of my other brushes that I cut down to a teensy size (like 8 strands) to do the stitches and lashes on Sally. But everything else was done with those brushes from Born Pretty Store.

Nightmare Before Christmas Nail Art - both hands
Cute huh? We got out the lightbox out to take pictures of these and Mr. Nailinator took the liberty of taking the photos for me since I wasn’t feeling well at the time. They turned out too bright and a bit fuzzy because he didn’t check them before he released sent The Shutterbug off to enjoy her nails. Anyway, he tried to sharpen the close up shots for me a bit so that they would be as clear as possible. Though the pictures don’t really do them justice (IMHO), I still wanted to share these with you as I’m pretty darn proud of them.

Nightmare Before Christmas Nail Art - Jack and Sally

Nightmare Before Christmas Nail Art - Sally Close-up

Nightmare Before Christmas Nail Art - Moon/hill

I’m not really into gory, bloody, and creepy stuff, and I don’t like scary movies. I’m a mom of two little ones who mostly watches Winnie the Pooh and The Magic School Bus, so don’t expect much nail art like that over the years. What you can expect are Christmas nails when it’s the season. Because I. LOVE. CHRISTMAS! Seriously though, it makes me ridiculously giddy.

Have a faBOOlous day!
Rach


%d bloggers like this: