17 Aug

Guest Post by Eeeek! Nail Polish!

Hey gals!

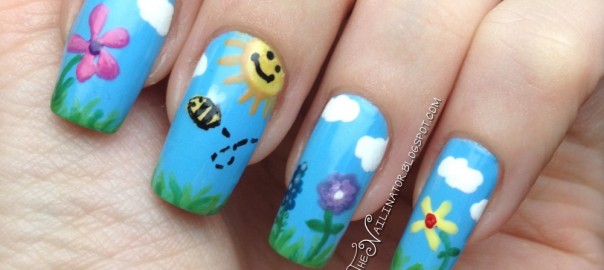
I am ridiculously excited about today’s post. I’m welcoming my very first guest blogger to the blog and boy is she a good one! If you don’t already follow Jemma’s blog, Eeeek! Nail Polish!, then you are missing out on some of the best nail art out there! I was so excited when she agreed to do a guest post for me. On top of her nail art talents, she is a sweetheart. Now I’ll stop my waffling (did I use that word right Jemma?)and let you see her work her magic.

*********************************************************************************

Hey there fellow Nailinator fans! My name’s Jemma aka Eeeek Nail Polish! and I’m so pleased to be here! When Rachael asked if I’d like to do a guest post for her lovely blog I said yes immediately! Not only are Rach’s manis awesome (if you missed her Van Gogh Starry Night mani for the OMD challenge do it right now as it’s just amazing!) but Rach is one of the most sweetest bloggers I’ve had the good fortune to meet! I asked Rachael if there was any particular theme she would like me to do and she cleverly suggested that as it was her Daughter’s birthday in August perhaps I could do a mani based on one of her favourite things and Rach’s little one loves….ladybugs! Or ladybirds as we call them in the UK – don’t know why as they look nothing like birds lol ?!

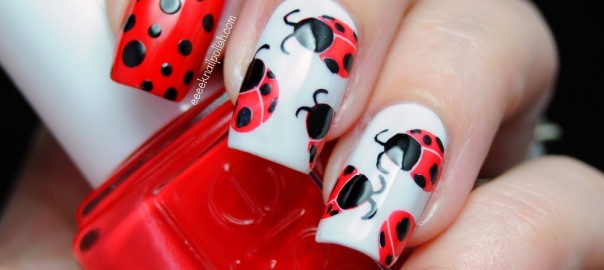
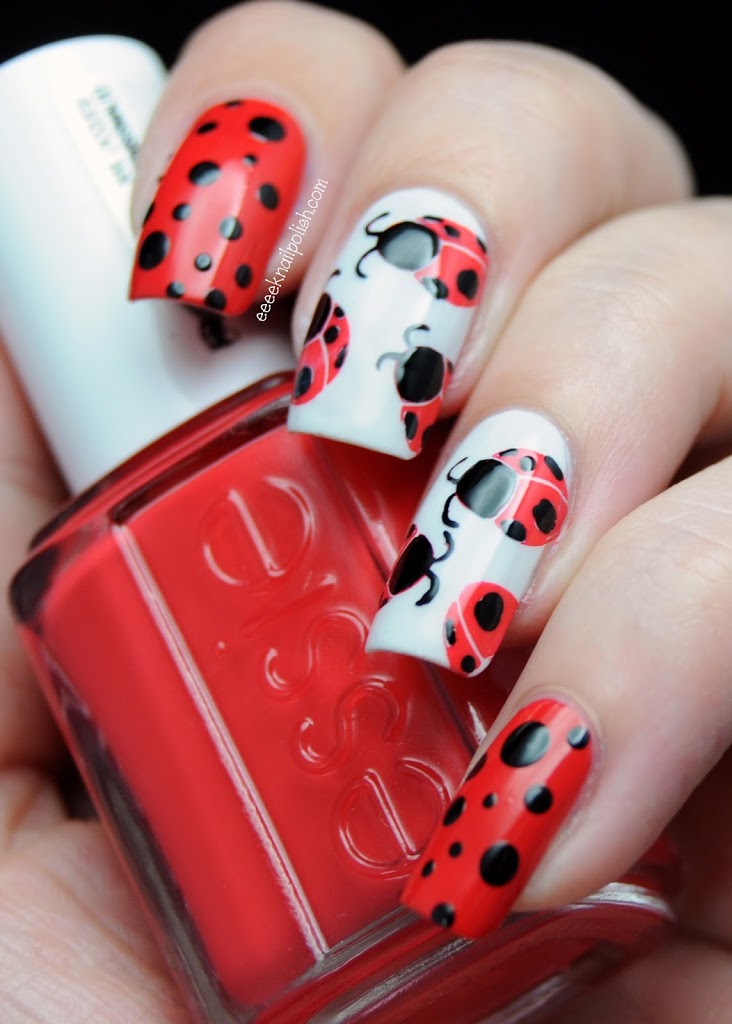
Ladybugs for a Little Lady

For this mani I used

  • Essie ‘Hip-anema’ (red base coat) 2 coats
  • O.P.I ‘My Boyfriend Scales Walls’ (white base colour) 2 coats
  • Bundle Monster Stamping plate BM 13 ( ladybug design)
  • BarryM Gelly ‘Blood Orange’ (stamping colour)
  • China Glaze ‘Liquid Leather’ (black detailing)
  • Dotting tool and fine paint brush
  • Seche Vite


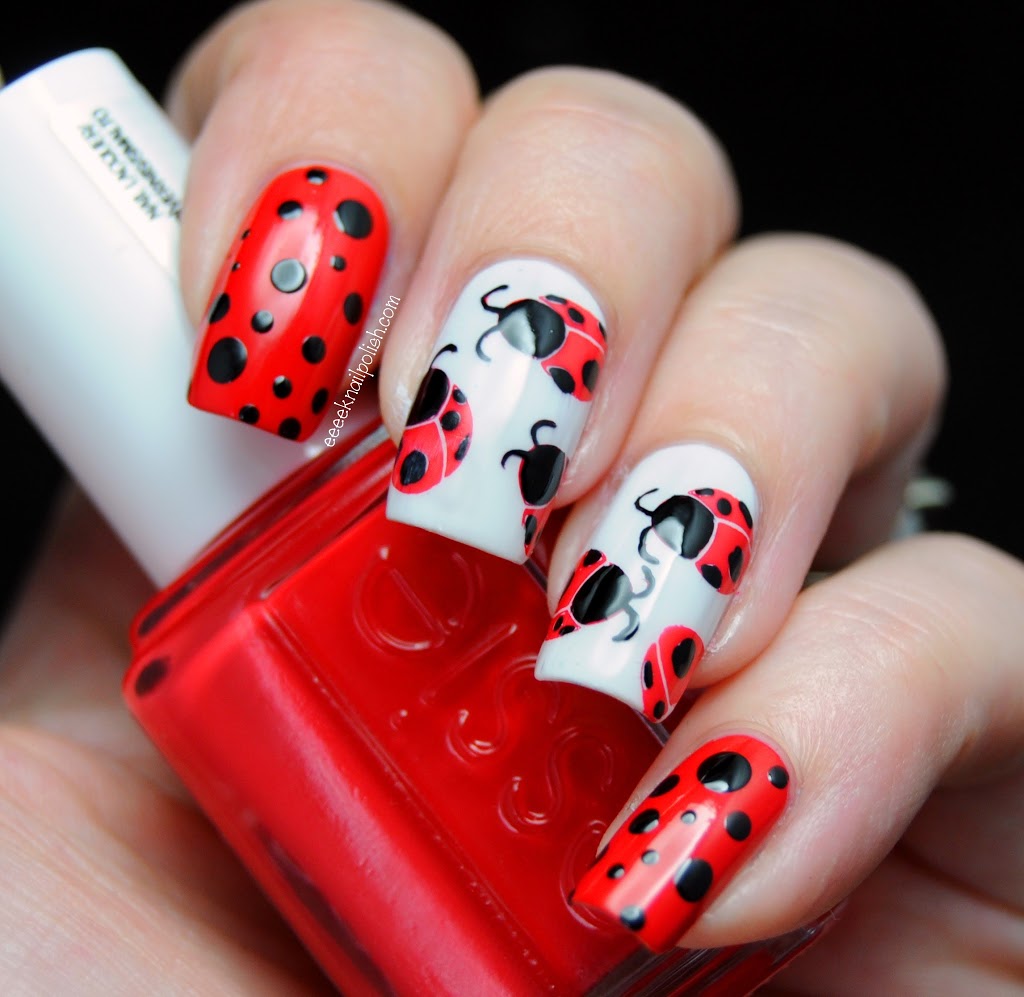
First of all I painted my base colours; My Boyfriend Scales walls is probably my favourite off white creme. It only takes 2 coats and isn’t streaky or patchy at all 🙂 Essie’s Hip-anema (it’s probably just me but I keep reading that as anaemia :-/ …) was pretty much a one-coater, I only did two as there was just the slightest visible nail line after the first coat. I then added a layer of Seche Vite. I did this for two reason, firstly to speed up drying time and secondly to allow me to wipe off any stamping mistakes; if you get a cotton pad with some remover on it and swipe once over the nail it will remove the stamping mishap without taking off the base colour. It won’t be as shiny as before but as you would put more topcoat over the finished stamping it doesn’t matter :-).

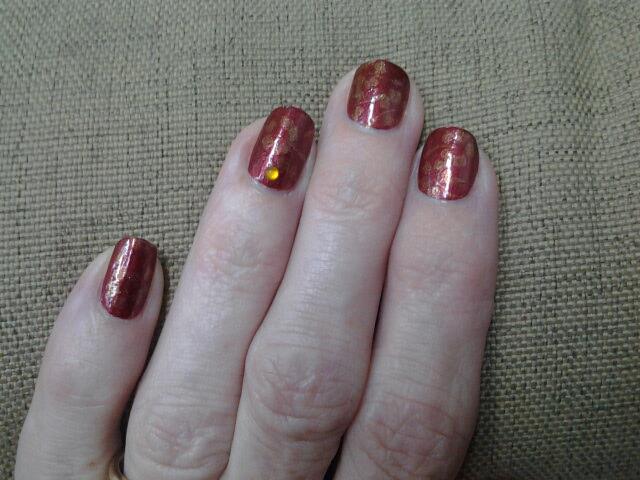
The BarryM Gelly Range of polishes are mostly all highly pigmented (there are a couple that aren’t) but this means they are great for stamping! So I used Blood Orange to stamp the ladybugs onto my nails. However this did leave me with a problem; all of the ladybugs were red and were missing their black spots and black antenna and heads. So, using a fine paintbrush and a dotting tool, I added the black details using Liquid Leather . To finish it off I used a dotting tool again and made different sized dots on my index and pinky fingers. Then I added another coat of Seche Vite to seal it all in.

I hope you liked it and big thank you to Rachel for giving me the chance to guest post!

Take care!

EeeekNP x

**********************************************************************************

What did I tell you? I cannot get over how cute these little lady bugs are! Great work Jemma! When my little lady saw them she said “Ooooh! Pahlish nails! Pretty ladybugs. Pretty dot dots (that’s what she calls polka dots).” Then she asked me to do her nails too. Thanks so much Jemma!

You can see much more of Jemma’s brilliant work on her blog or on Facebook.

Have a great weekend!

11 Aug

Sun and Flowers Nail Art

Hi gals!
Let me start by pointing out that, although this would be more appropriate as a spring time design, we don’t have four seasons over here in the Philippines. All we have are wet and dry versions of hot, very hot and ridiculously hot times of the year. :/ So my”Sun” inspired mani is all about the sun and pretty flowers in bloom. I’ve even got a cute little bee with his tiny wings flying around doin’ his thing. Aren’t these adorable? I am quite pleased with them. My almost 2 year old girl thought they were cute too.

I used a whole bunch of different polishes to do this and don’t particularly want to get my bum off the couch to list them all (it’s been a long day). Sorry. I guess it’s one of those days.

On a more exciting note, I’ve got a great week lined up for you gals. I’m going to be guest posting on not just one but TWO great blogs this week and hopefully I will have my very first guest poster come visit to wow us with her amazing skills! I am excited so stay tuned!

Just in case you missed it, I joined instagram a couple of weeks back and I would love to connect with you there especially if you want to see more pictures than what I share here or on FB. 🙂 Find me @thenailinator (I’ve got a link in the side bar) and let me know you follow my blog too. 🙂

I hope you are having a fantabulous weekend. Talk to you soon!

08 Aug

BK Holo 21 and Rose Water Decals

Hi everyone! I hope you are having a fabulous week. I’ve been busy and keeping it pretty simple with the nail art this week as I’ve been reorganizing everything in the house that got disorganized while I went all crazy with the nails during the Rather Awesome 31 Day Challenge. It was a load of fun but I’m happy for a bit of a break. Ha! My hands are enjoying it too. 🙂

I’m showing you another simple but pretty look today. It’s very feminine and I’m loving how quick it was to do. I started with two coats of BK Holo #21 which I purchased from MyOnline Shop.Then I added some black rose decals I purchased from Blooming Nail Cebu (only 10 pesos for the full sheet). I finished off by adding some dots with my dotting tool and sealed it with top coat.

I’ve got several shots so you can see what it looks like in my light box and in warmer indoor lighting which makes the holo show better. The warm lighting shows the color and holo rainbows more realistically. I love me some holo polish and feel so very happy when I’m wearing my BK holos. I can’t wait to compare these to my CC Halo Hues that will be making their way to me in just a few more weeks. 🙂

Any tips on photographing holographic polish? Enjoy the pictures and have a great week!

lightbox
lightbox
05 Aug

Blurple Floral

Good evening ladies!

I’ve got a simple look for you today. I was going for purple and found this gorgeous blurple in my untried stash. So I slapped on Klik Navy Blue and added a delicate floral detail to my accent nail and thumb by stamping an image from the MJ plate XIII using Oh My Golly Stiletto.

Here is my swatch of Navy Blue. It is a gorgeous shade. I was surprised to find it sheerer than I expected it to be. I thought It might be a one coater but I needed 2 coats plus a little touch up. Still, it’s a lovely shade.

Bonus: Today is my lovely mother’s birthday (waves to mom). So I’m sharing a picture she took of the nails I did for her a few months back before I really took pictures of my nail adventures.

We were going for pretty but not busy. She loves hibiscus flowers. I think this look suited her very well. Next look she wants me to do on her is my Hat Box Nails. Let me know when, Mom. 😉

I hope you all had a great weekend.

31 Jul

Copycat Stripes

ORLY Nite Owl was provided to me for my honest review. 
All opinions are my own. 🙂

Today is the last day of the Rather Awesome 31 Day Challenge Giveaway, and we are tasked to recreate a manicure done by someone else. I want to take a moment to thank Brijit of Brijit’s Digits, Jacqui of Crafty Nail and Jemma of Eeeek! Nail Polish! for hosting this challenge. It has been loads of fun!

Now, before I show you what I’ve come up with, I’ve got to tell you about the very first blogger event that I was able to join. Last week, ORLY Philippines had a small get together, and I got to go and meet some of the ladies working with ORLY Philippines along with several other beautiful ladies from Cebu who have beauty and fashion blogs. I was so excited to finally connect with other bloggers in my city, and I hope to get together with them again soon.

At the event, we were given loot bags with samples, and when I saw ORLY Nite Owl, I knew exactly what I wanted to do with it.

 
With all the great designs I’ve seen during the challenge, I was hard-pressed to pick an absolute favorite. So I decided to recreate the first manicure that I saw that made me think, “I haven’t done a look like that and I’d really like to try that.” And that brings us to this lovely look done by Jacqui of Crafty Nail for the “stripes” theme on day 11. (Please do check out her blog. She has some skills and she is super sweet to boot!) I’ve never done this look before so I had to give it a go, and ORLY Nite Owl was the perfect base for this look. I added somewhat random stripes using a striping brush and Jocarste Silver (26), Oh My Golly First Date, and Sally Hansen Mint Sorbet. My finished product makes me think of ice cream. What do you think?

Here’s a swatch of ORLY Nite Owl. I’ve got 2 1/2 coats on and it’s just gorgeous. I adore the shimmer, and I love how it’s work safe without being boring. Have a great day girls!

Here’s a swatch of ORLY Nite Owl. I’ve got 2 1/2 coats on and it’s just gorgeous. I love the shimmer, and I love how it’s work safe without being boring. Have a great day girls!

%d bloggers like this: