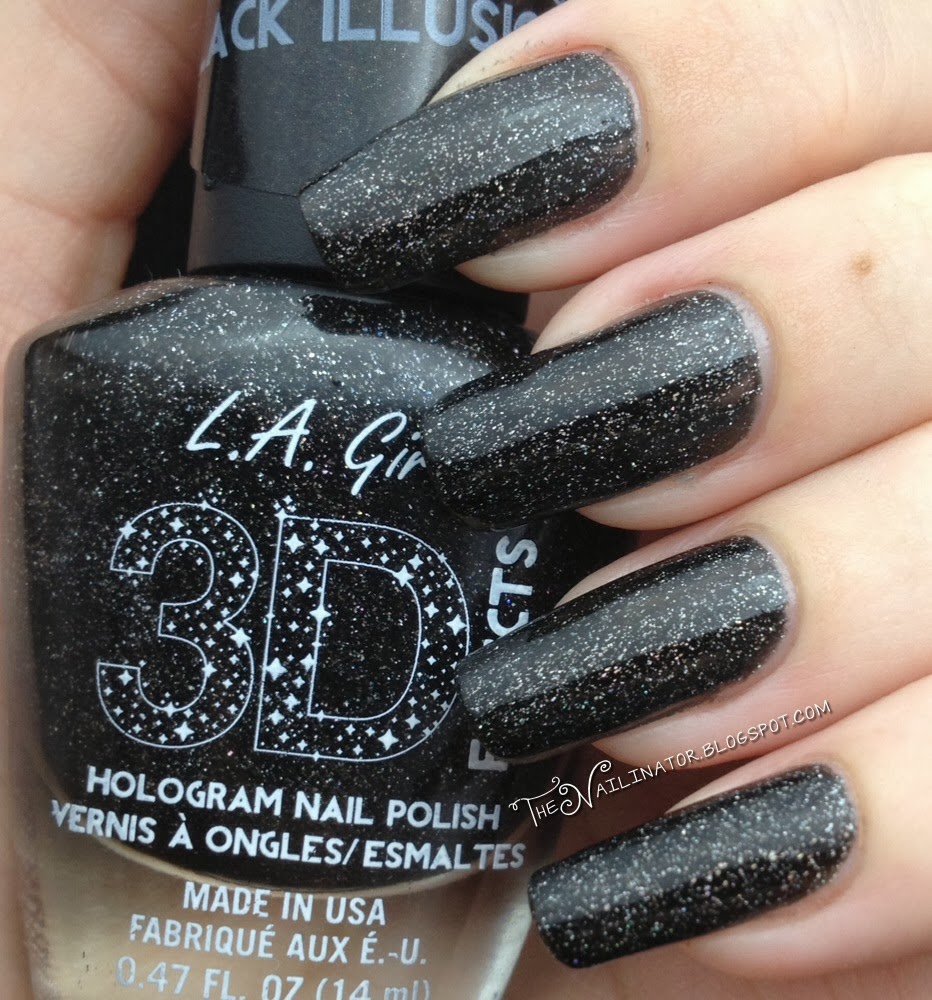
Hi everyone!
I’d like to say a special welcome to all the new faces *waves*! I’m thrilled to have you here.
I’m so excited to see all the entries coming in for the giveaway that started yesterday. If you haven’t already joined, you really should. There’s lots of great stuff up for grabs and it doesn’t cost a thing to enter. Not even much effort if you already follow me via Bloglovin, Twitter, FB, GFC, Instagram or anything like that.
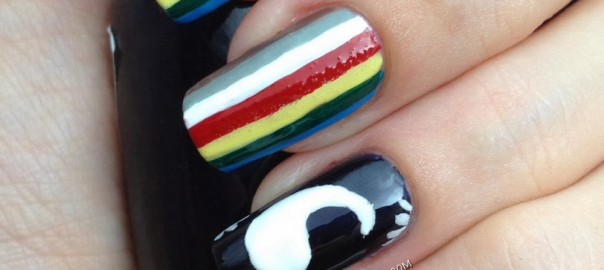
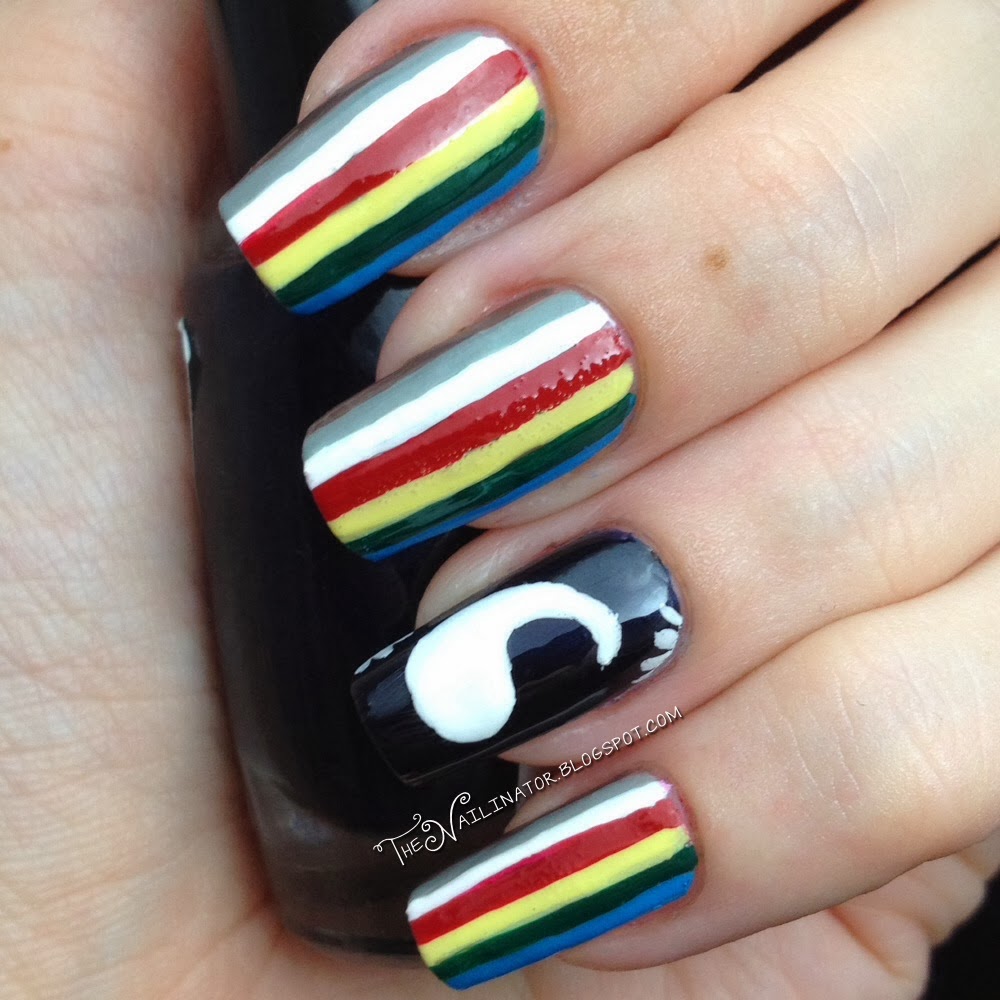
What I have to show you today was a pain to create so you had better leave me a comment saying you love them as much as I do. Ha! Just kidding. (No really, you should say something nice. It would make me smile.)
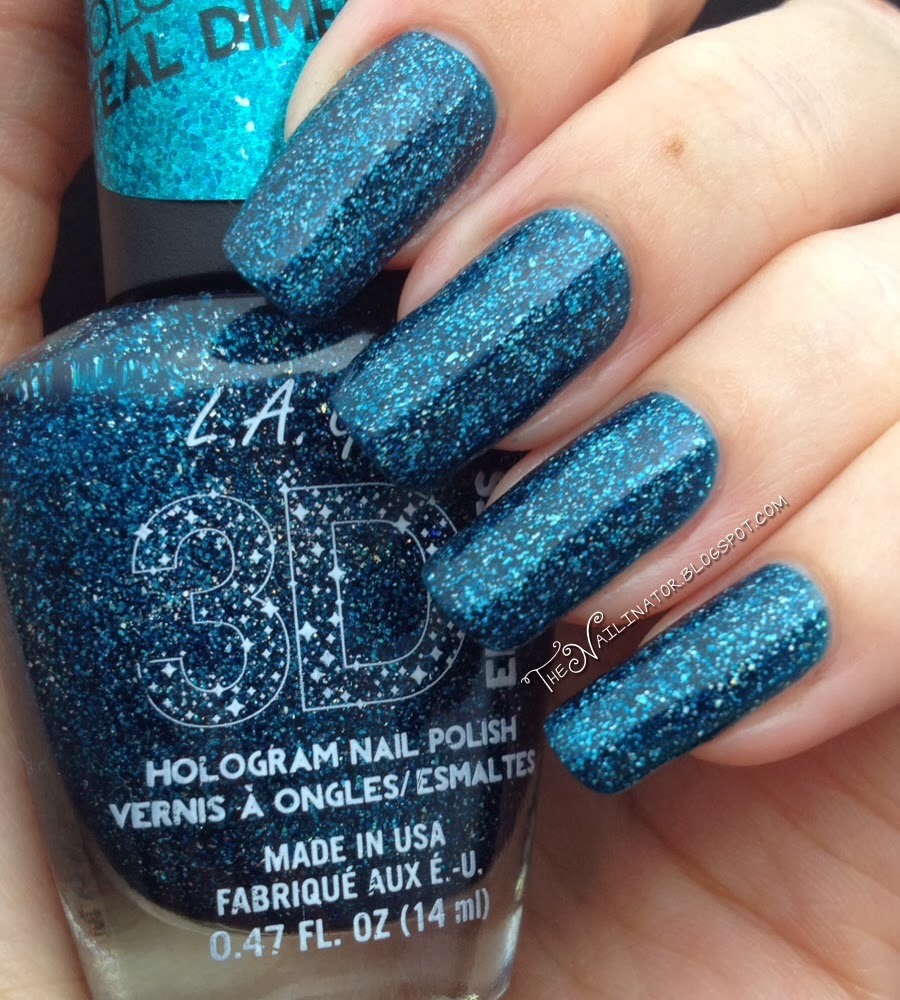
I started off wanting to swatch Burgundy from Klik’s holiday collection, (swatch is at the end of the post) and it turned out to be a lot more work than I had anticipated. Upon my inspection of the polish, I thought it would need just 2 coats. But after 2 coats it was very streaky and showed bald spots. I waited quite a while before adding the third coat since it was raining in Cebu and the added humidity always seems to cause bubbling. Despite the long wait, I still ended up with bubbling after applying the third coat. Meh! On top of that, in certain light you can still see some thin spots and cleanup was a pain. After several hours, more bubbles showed up and I was so sad that my manicure had gone from pretty and polished to pretty awful.
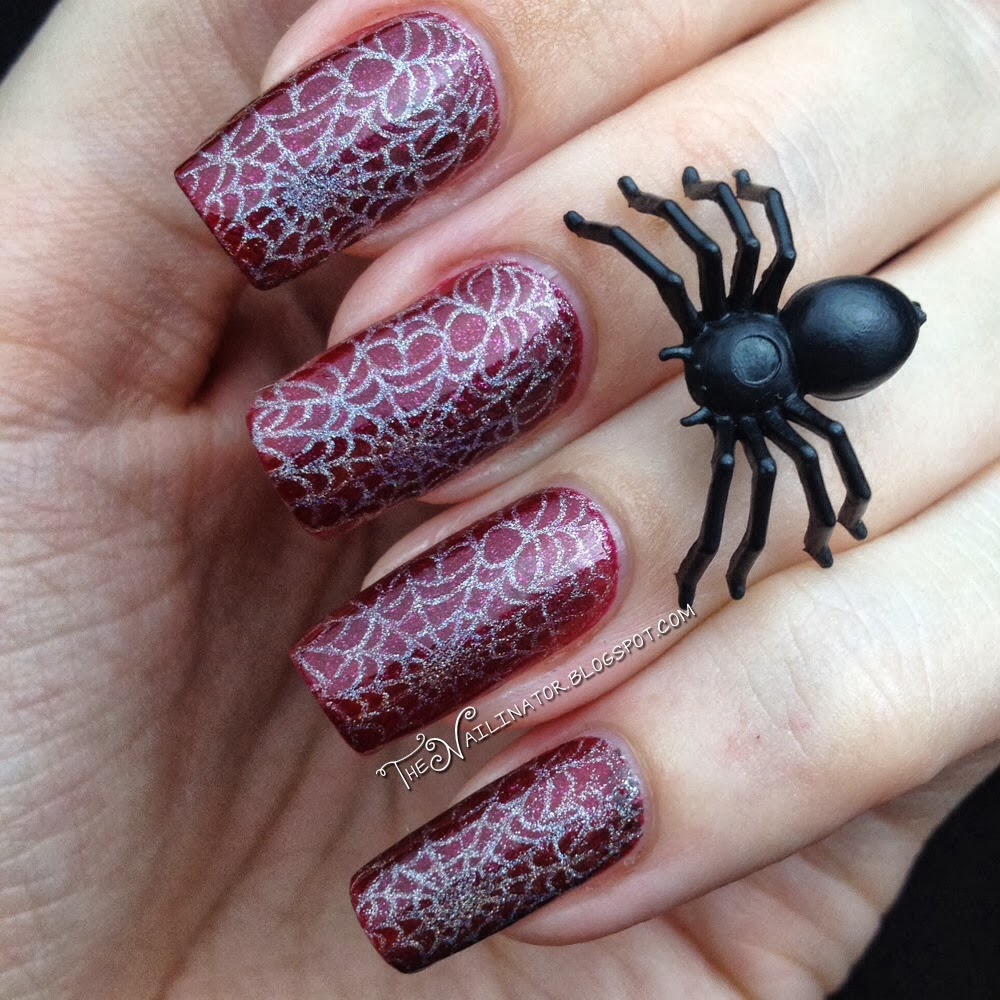
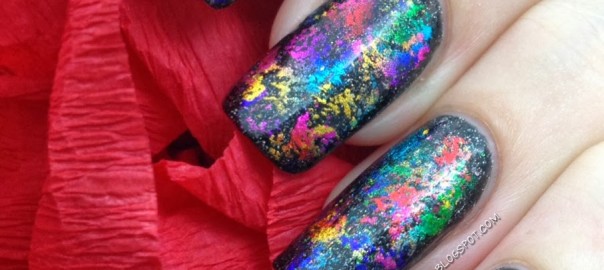
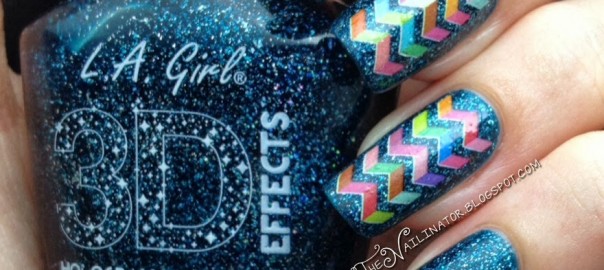
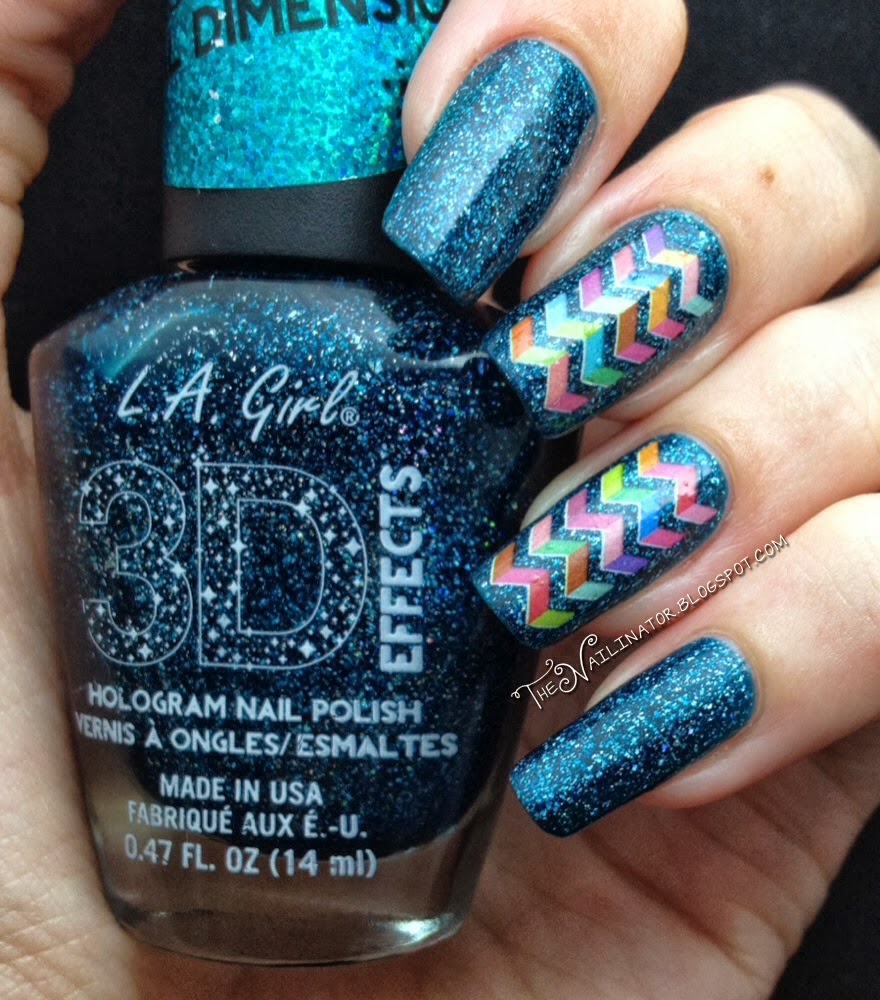
As I sat down to remove this, I had an idea to try and salvage the look. I grabbed my awesome MJ XIII stamping plate that Meann of My Online Shop sent me and selected this cobweb design. After several failed attempts at color choice, I stamped with Color Club Harp On It. and I love how it turned out. Mr. Nailinator and the 4 year old boy both say this looks like a Spiderman mani. Do you love it? I do. I’ve included a shot under the lamp so you can see the holo shimmer. I’m pleasantly surprised how well the CC Halo Hues work for stamping.
Do you have a favorite non stamping polish to use for stamping? Do share and have a great day!
Over and out!
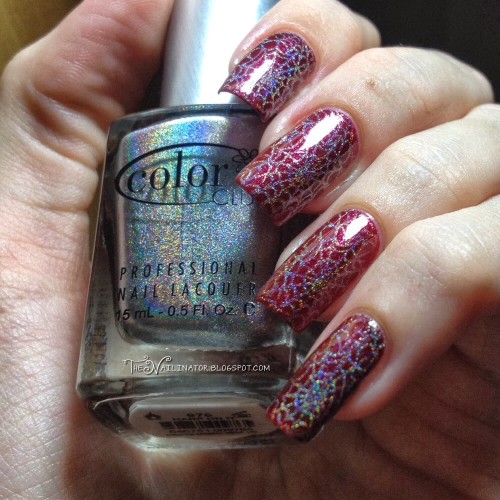 |
| Under lamp |
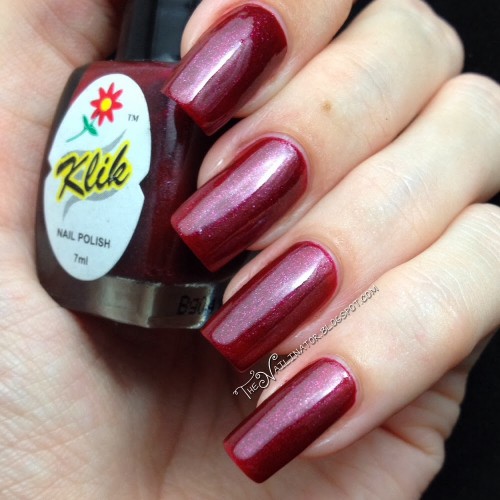 |
| Swatch of Klik Burgundy before most of the bubbles popped up |