02 Jan

The Nailinator Does Nails

Hi Gals!

Happy New Year! I’ve got a scheduled post for you today as our plans to go out of town pushed through. Hopefully the weather will have cleared up and we have had the chance to soak up some sun while we are by the beach. If not, I’m sure we are having a grand time anyway.

I thought I would do a quick post sharing some of the nail art I have done for friends and family last month. I did a few designs that are seasonal and a few that would be great for any time of the year.

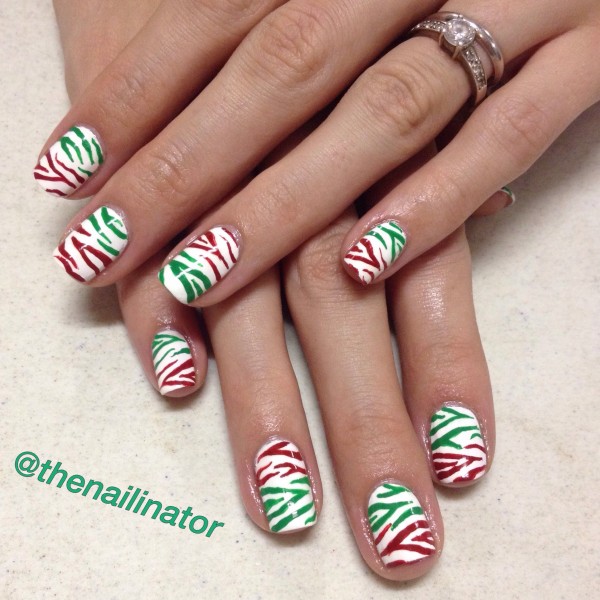
First up we have some fun zebra stripes in Christmas colors that I convinced The Shutterbug (my youngest sister) to let me try on her. If anyone can pull of this look, it’s her! I did the stripes with acrylic paint and a striper brush.

Christmas Zebra Stripes

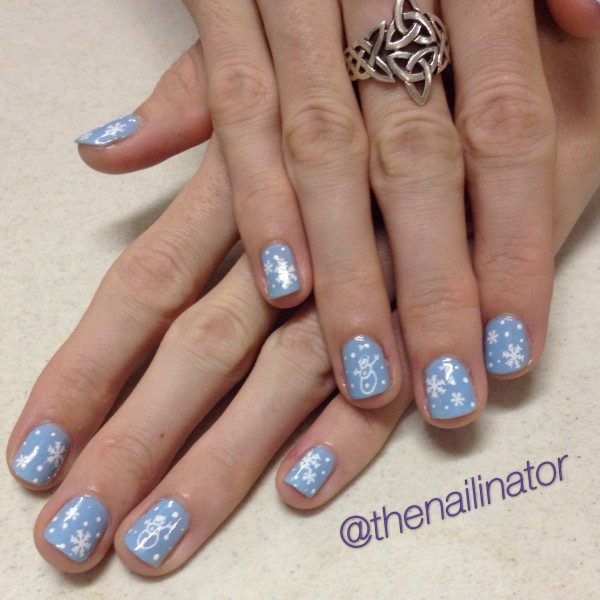
Next we have some super cute and easy winter wonderland nails I did for The Bookworm (my other younger sister). We started with a light blue base (Sansan Warm Blue), and I stamped snow flakes and an adorable snowman from my OB19 plate that I purchased last year from MyOnline Shop. I added a few tiny dots for a finishing touch.

Winter Wonderland Nail Art

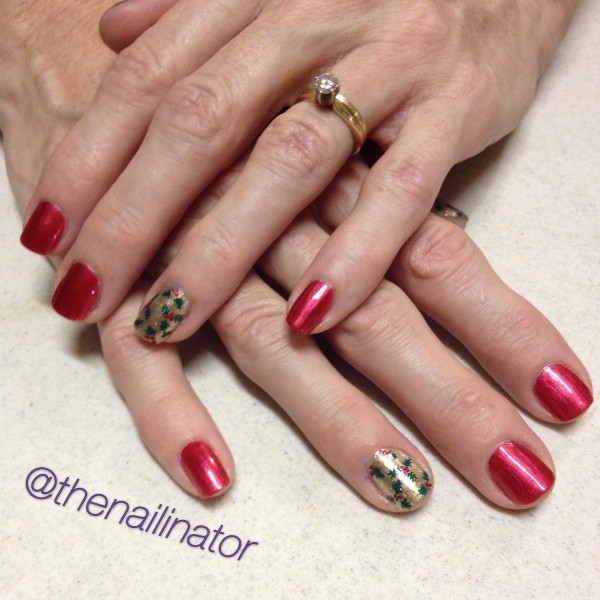
Next up is a look The Queen Mother requested after seeing my Holly Jolly nails. She wanted my holly stamped accent nail with all the other nails in red. I wish I could remember the name of the red she brought along. It is a stunner. I will check with her and update this (then I’ll probably go out and buy it!).

Holly Accent Nail

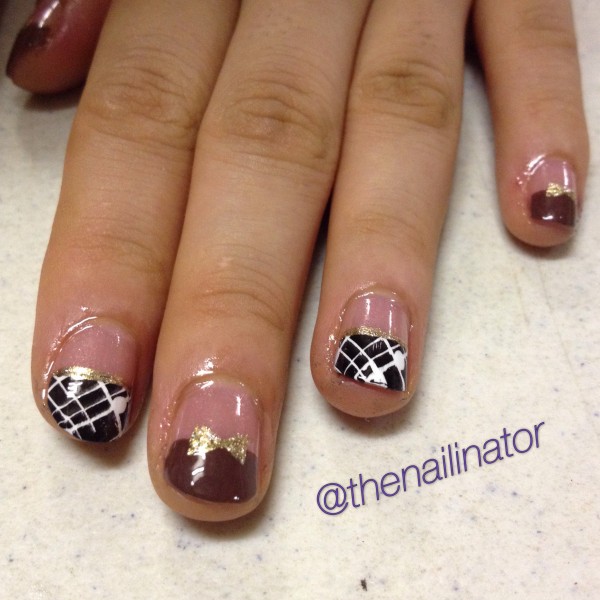
Next, I’m showing you a look that I was surprised to find I ended up really liking. A friend showed me a picture and I did my best to replicate what she was asking for. First I painted the whole nail in a very light jelly pink. Then I added color to just half of each nail (alternating brown and white). On each brown nail I painted a tiny gold bow. On each white nail I taped off the non-white part of the nail and stamped an image in black over the white. The tape kept the stamping on the white part I had painted before. I added a gold stripe across the nail and was finished. I had never tried a half nail design like this and had also never tried a stamping technique like this. It is always fun to try new things.

Gold Bow

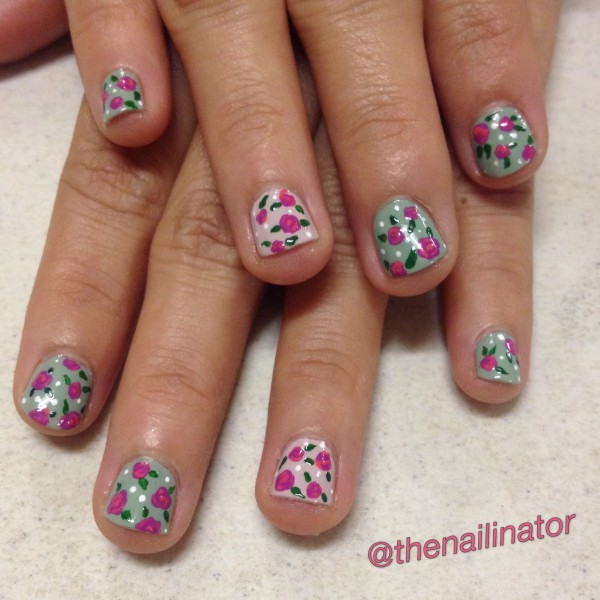
The next look is a floral design, something I’ve done several times before with different color combinations. This lovely lady picked mint green and off white as her base colors and wanted small roses and leaves. This was my first time painting such tiny roses which proved to be a challenge. I did my best, though, and she liked them so that is what counts after all.

Floral Nail Art

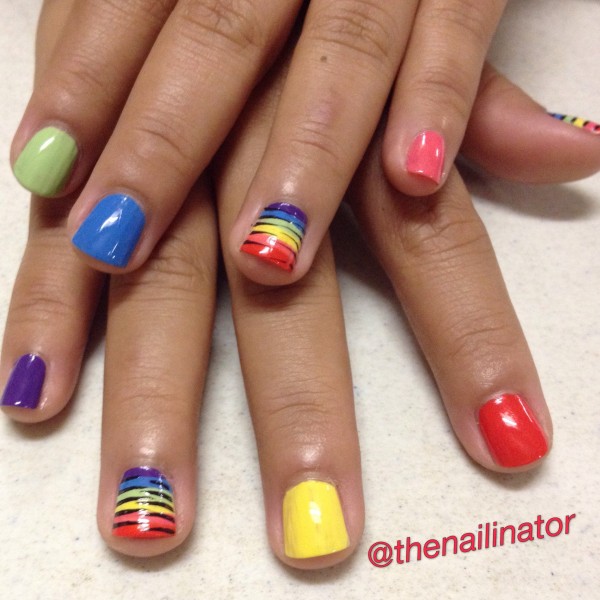
The last look I have to share with you is so fun and colorful! My friend wanted rainbow stripes with black strokes. I used a striping brush to paint each color in rows starting from the cuticle out toward the tip (purple, blue, green, yellow, pink and orange). I used black acrylic paint and added the black marks. We did this on her accent nails and thumbs. Since we used 6 colors I suggested we paint the other nails with those colors. They look suuuper cute!

Rainbow Nails

I love doing nails for other people. It is fun to take on the challenge of suggesting things that will suit them and colors that will go with what they have in mind. Do you do nails for family and friends? If you follow me on Instagram you have probably already seen these as I share them there most of the time.

I hope you have had a wonderful holiday vacation so far. Mine has involved lots of food and laughs with my family which is just the way I like it. I’ve been under the weather with a crazy cold that won’t go away. But on the bright side, my hubby has been a darling taking care of me and the kids most of the time. I’m a lucky lady for sure!  Whatever you ended up doing for the New Year, I hope you have had a great time and blessed year ahead!

Hugs!
Rach
30 Sep

L. A. Girl Teal Dimension with Decals

Hey girls!
I hope everyone is having a great start to the week. I have been having so much fun with my new polishes that my sister (The Shutterbug) brought back with her from Texas.

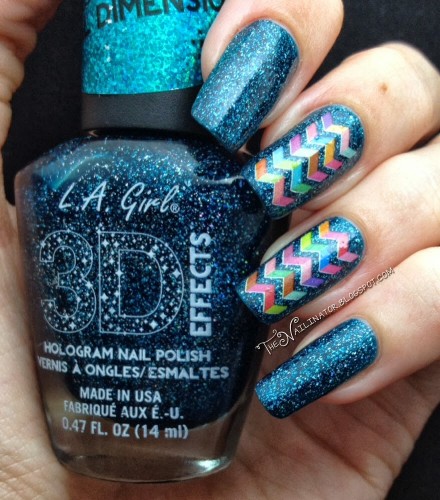
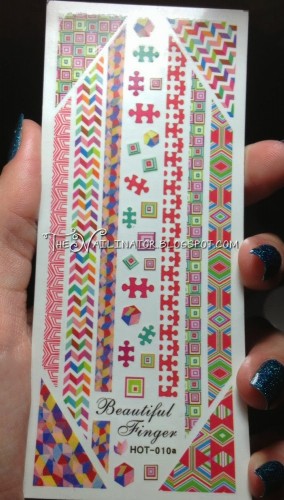
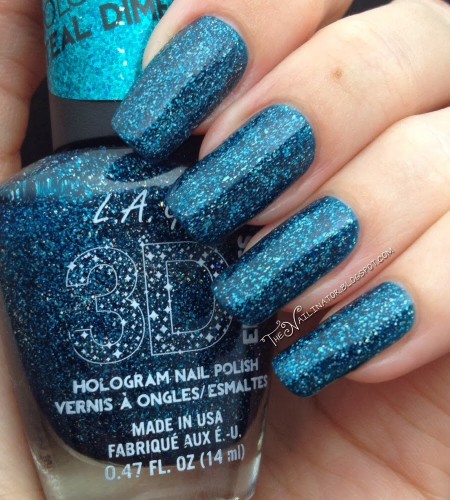
I’ve got a cool look for you today that was so easy to do. I started with 3 thin coats of L. A. Girl Teal Dimension. I’ve added some water decals I purchased from Blooming Nail Cebu. This whole sheet (Hot-010) cost me 15 pesos (about 35 cents USD) and has a variety of decals on it to choose from! They have some great stuff available for very affordable prices and they ship internationally for the best price available.

I’ve said it before and I’ll say it again… I LOVE these L.A. Girl polishes. The base for their 3D Effects line is a tinted jelly but when you remove the polish there is absolutely no glitter nightmare left behind like a typical glitter polish. So I’m not sure exactly what makes up the holo glittery magic they have got going on. But I appreciate not having a difficult time cleaning up after wearing it. In addition to that, it is so easy to apply and is extremely forgiving. It dries quick too! Win win win! If live outside of the US, you can order these from Cherry Culture as they ship internationally (Philippines included! Whoop!).

I hope you have a great week!

25 Sep

Doctor Who Nail Art

Before I get to the nails  I want to take a moment and thank you all for the wonderful comments and for liking my photos on FB and Instagram. Y’all make this so exciting. I even got a couple of award nominations over the weekend! Yay! I’ll have to get to that soon. I have been so bad about keeping up with those. :O oopsie!

Great news girls!
I’m officially out of the nail art funk! (and the crowd goes wild)

My submission for the 31 day challenge today would be considered a stretch for many but not so much for me. The theme is “Inspired by a book”. While Doctor Who is obviously a TV series, I have never seen the show. The Shutterbug, on the other hand, is an avid fan and I happened upon a collectors item book at a used book store and flipped through it to familiarize myself a bit. So you see how this qualifies as “inspired by a book” for me. The Shutterbug has been aching for Doctor Who nail art and she came up with what she wanted and told me the ten nail designs she wanted and we went from there. I have never watched Doctor Who so she had to explain most of them and show pictures.

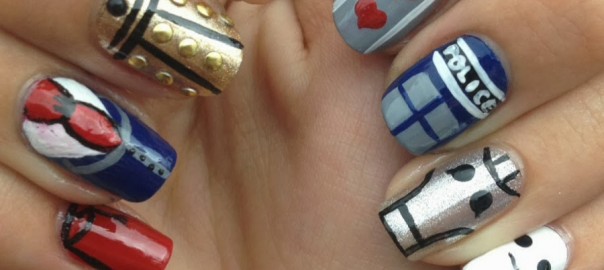
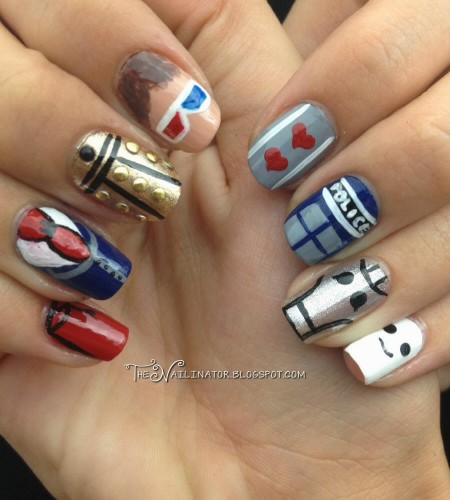
Doctor Who nail art: fez, blue suit, dalek, 3d glasses, two hearts, TARDIS, Cyberman, andipose

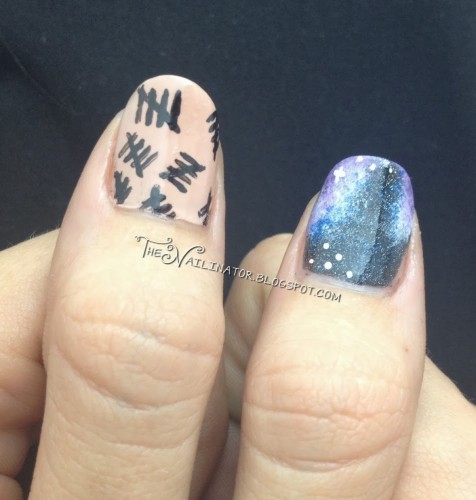
From left to right we have The Doctor’s (Matt Smith) fez, The Doctor’s (David Tennant) blue suit, a gold Dalek, The Doctor (Tennant) and his 3D glasses, two hearts representing The Doctor’s two hearts, the TARDIS, a Cyberman and a little andipose guy. On the thumbs below we have tally marks from the episode with The Silence and a galaxy nail.

Doctor Who nail art: tally marks from "The Silence" and galaxy nail

Do you like them? My favorite is the gold Dalek. I think they all look cool and The Shutterbug keeps saying they are the most awesome nails ever so I think I executed her dream look well. Hopefully those of you who are Whovians (????) like them too.

This is my first time photographing someone else’s nails in the lightbox so the pictures are a bit different. I think you get the picture.

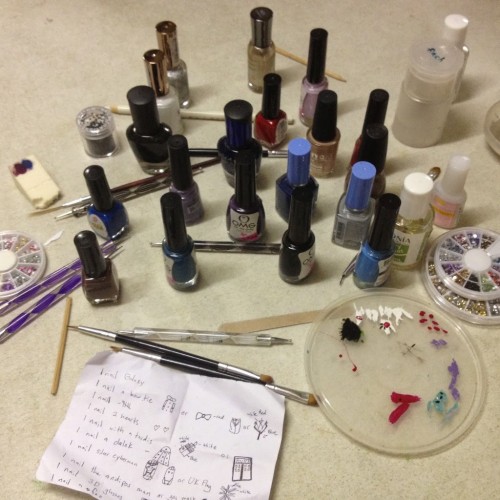
I used a ton of supplies to do these and I’m not going to list them all but here’s a picture…

doctor who nail art supplies

I hope you are all having a great day. Today was our day off and we got to go out and run some errands and play with the kids. Good times!

Hugs!

20 Aug

Neon Leopard Print

Hi ladies!
Before we get to the nails I’d like to let you know that it recently came to my attention that the “word verification” was set to ON for my comment section. Which means those of you who have been commenting are absolute darlings for enduring those stupid captchas all this time! I’m so sorry about that! Anyway, I’ve changed it and hopefully we are past that. Let me know if it pops up again because I remember turning it off when I first started the blog since I knew what a pain captchas can be especially on smartphones.

On to the good stuff!

RAWR!

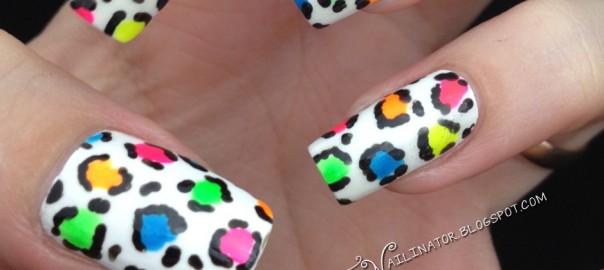
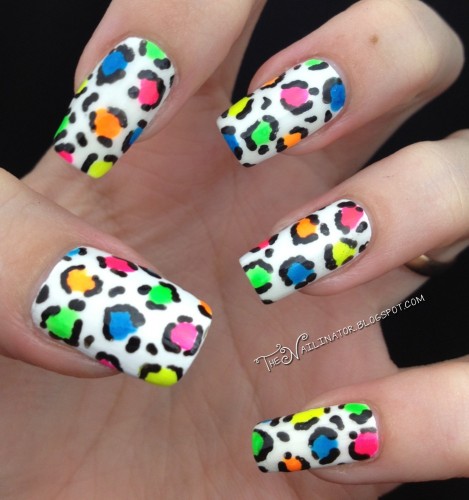
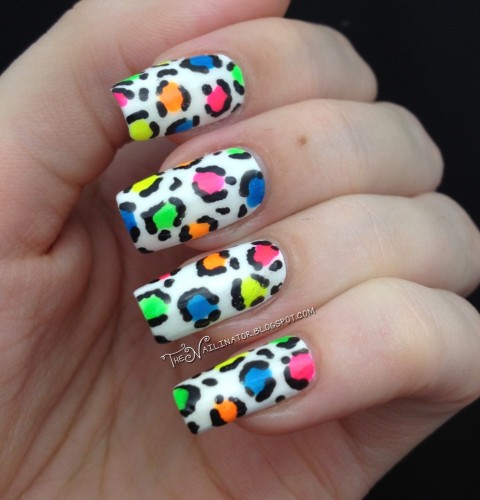
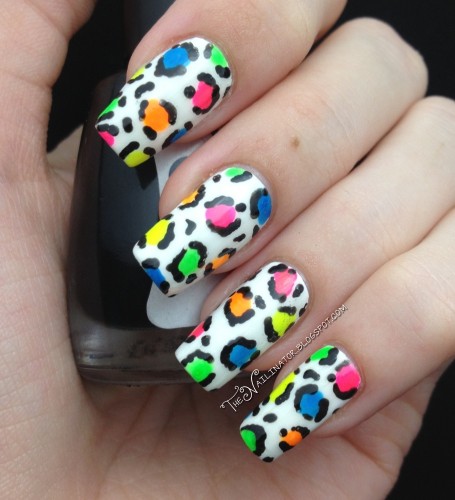
So I have been feeling pretty low the past few days and decided I needed a really fun mani to cheer me up. So I incorporated my one of my favorites (leopard print) with the Shutterbug’s favorite thing (neons) and came up with this. What do you think? These are so fun and flashy! If you have been around, you already know I have a tough time going full blown neon on my nails. But I think this works for me for a fun day off.


I started with two coats of Jocarste white. Using a medium-large dotting tool, I added oddly shaped dots with Klik Neon Pink, Neon Green, Neon Orange, Neon Blue and Neon Yellow. Then I took my tiny dotting tool and added all the black with Oh My Golly Blackout. The colors actually look more highlighter-esque IRL.

I hope you are having a great week. Keep smiling!

27 Apr

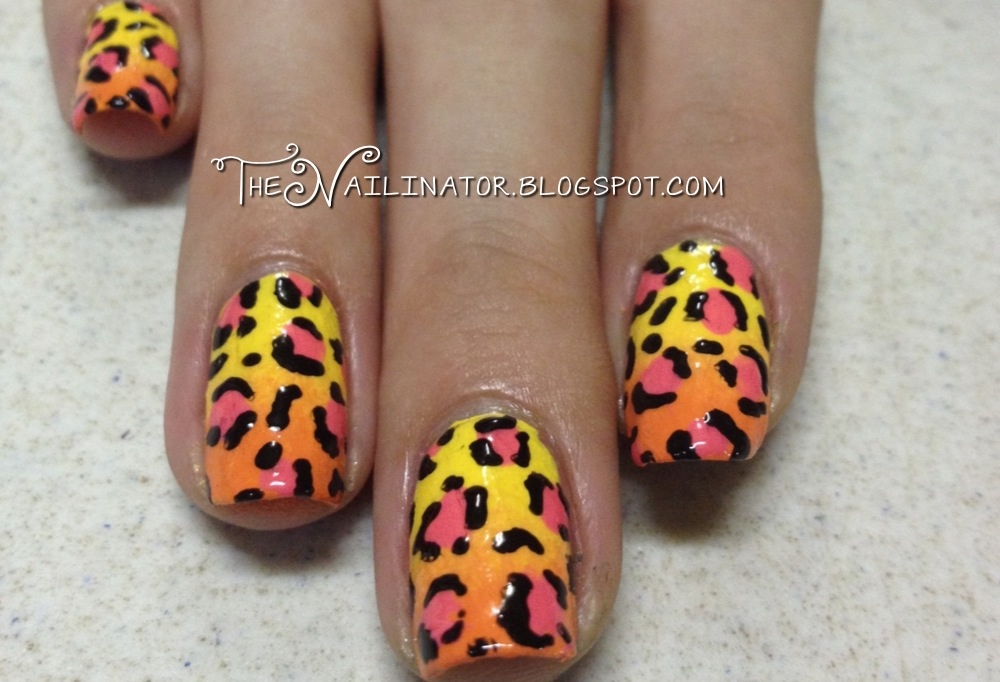
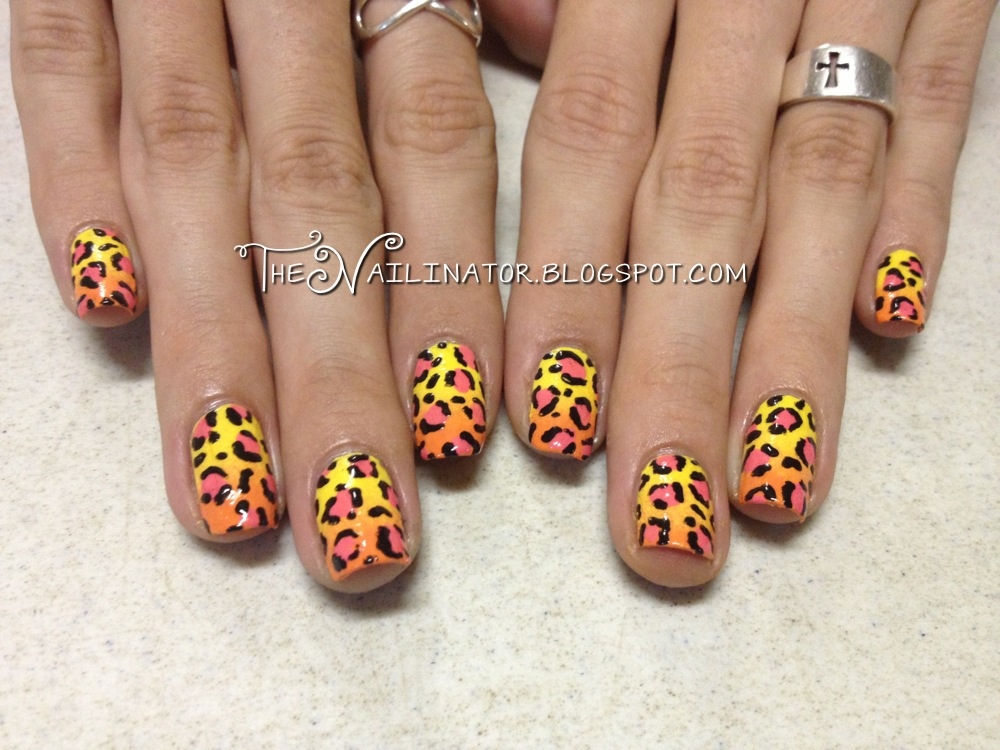
Summer Leopard Gradient

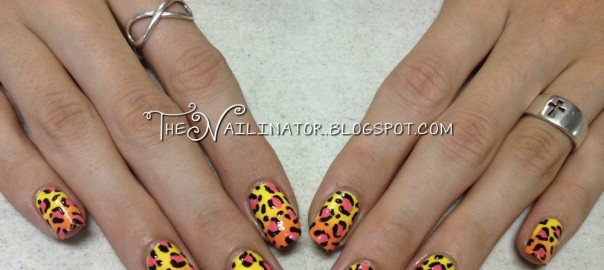
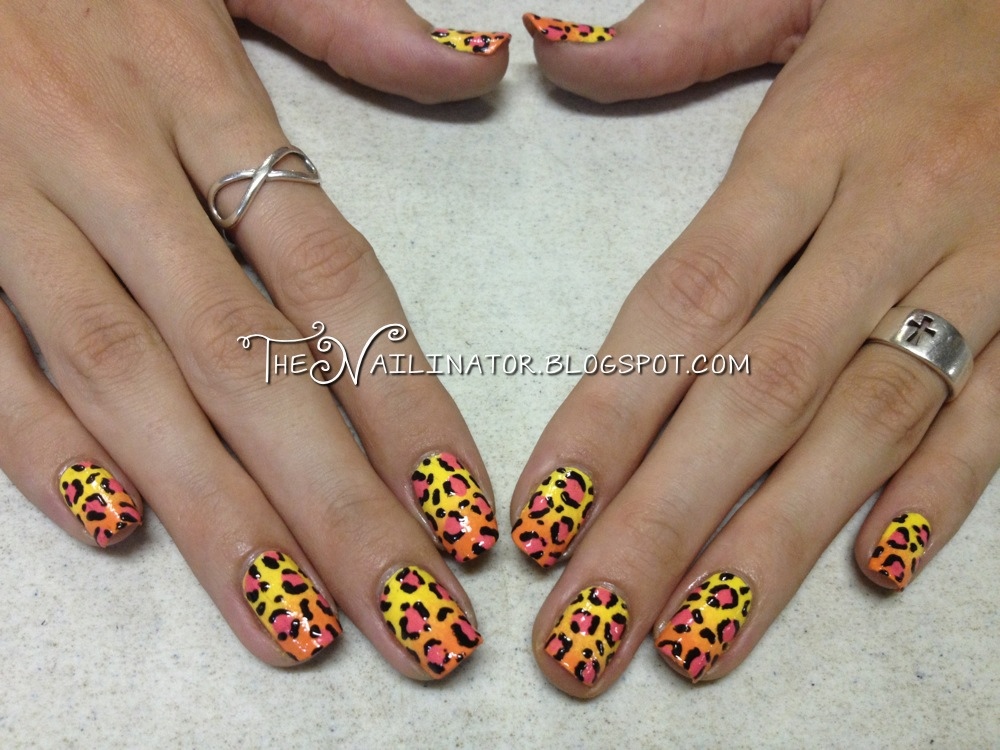
The Shutterbug said I could use bright colors as the weekend is upon us so here is the design I came up with for the Gradient challenge. I knew I wanted to do animal print with a gradient background but couldn’t decide on a color scheme until I saw this picture.

These are so cool looking! I would never wear them myself I don’t think, but on my younger sister they work very well. I used Caronia products for this mani. I started with two coats of Sweet Surprise (yellow) and then sponged with Sweet Surprise and Sun Kissed (orange). Then I used Baby Pink and Black Velvet for the spots. Aren’t they neat? We think so!

%d bloggers like this: