26 Dec

OPI Alcatraz Rocks with Snowflake Stickers

Hello Lovely  People!

I hope you all had a merry Christmas with your nearest and dearest. I’ve been so busy the past two weeks baking goodies to give away, doing nails for some friends and family, and finishing up school with my kiddos. We’ve also been dealing with some sniffles in the house so that slows things down a bit. There is my explanation for why is has been a bit quiet around here. We had a wonderful day with the family yesterday, though. We fixed Mexican food and had everyone over at our house. It was a lovely day for sure! God has blessed us so!

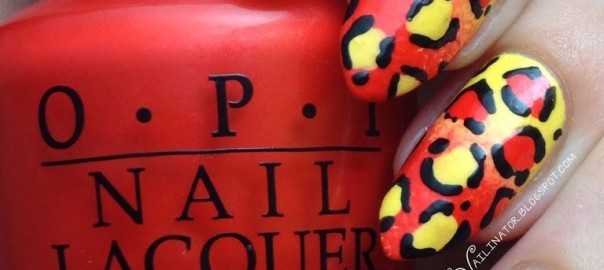
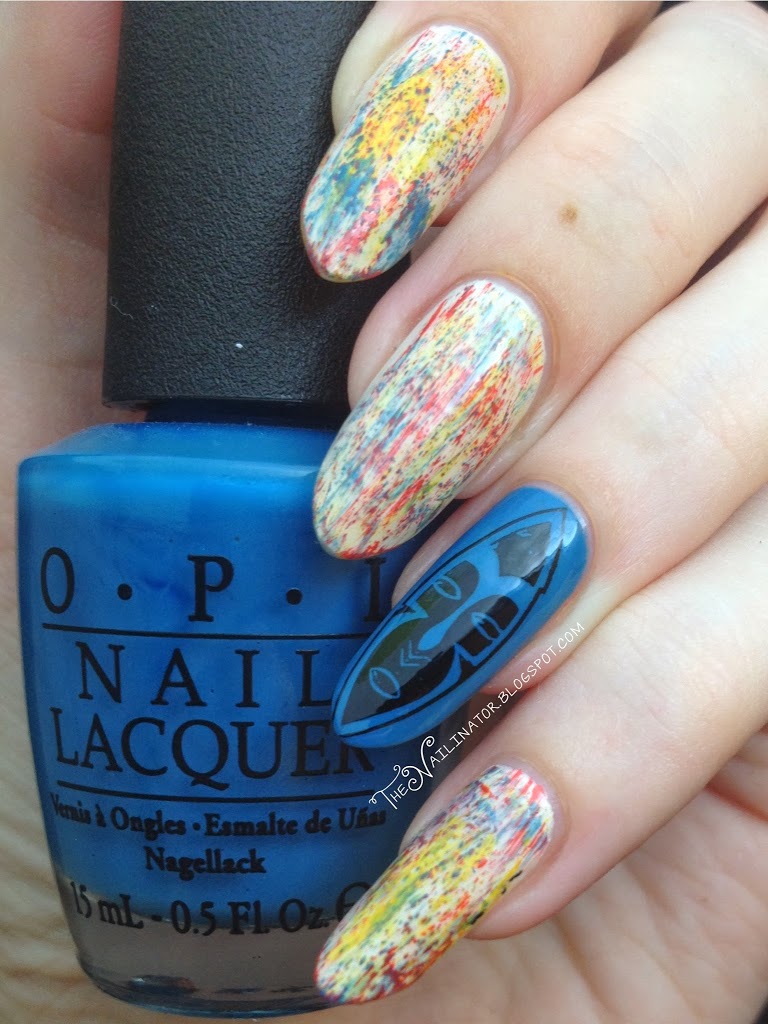
Today I’m showing you one of my favorites, OPI Alcatraz Rocks. This is another polish I saw swatched by Jemma of Eeeek! Nail Polish! and I just HAD to have it. The super sweet Jacqui of Crafty Nail sent me this in our nail swap last year and I have worn it before but I haven’t posted it with any nail art yet. So here it is in all its pretty glittery goodness. Thanks again Jax!

Alcatraz Rocks with snowflake stickers

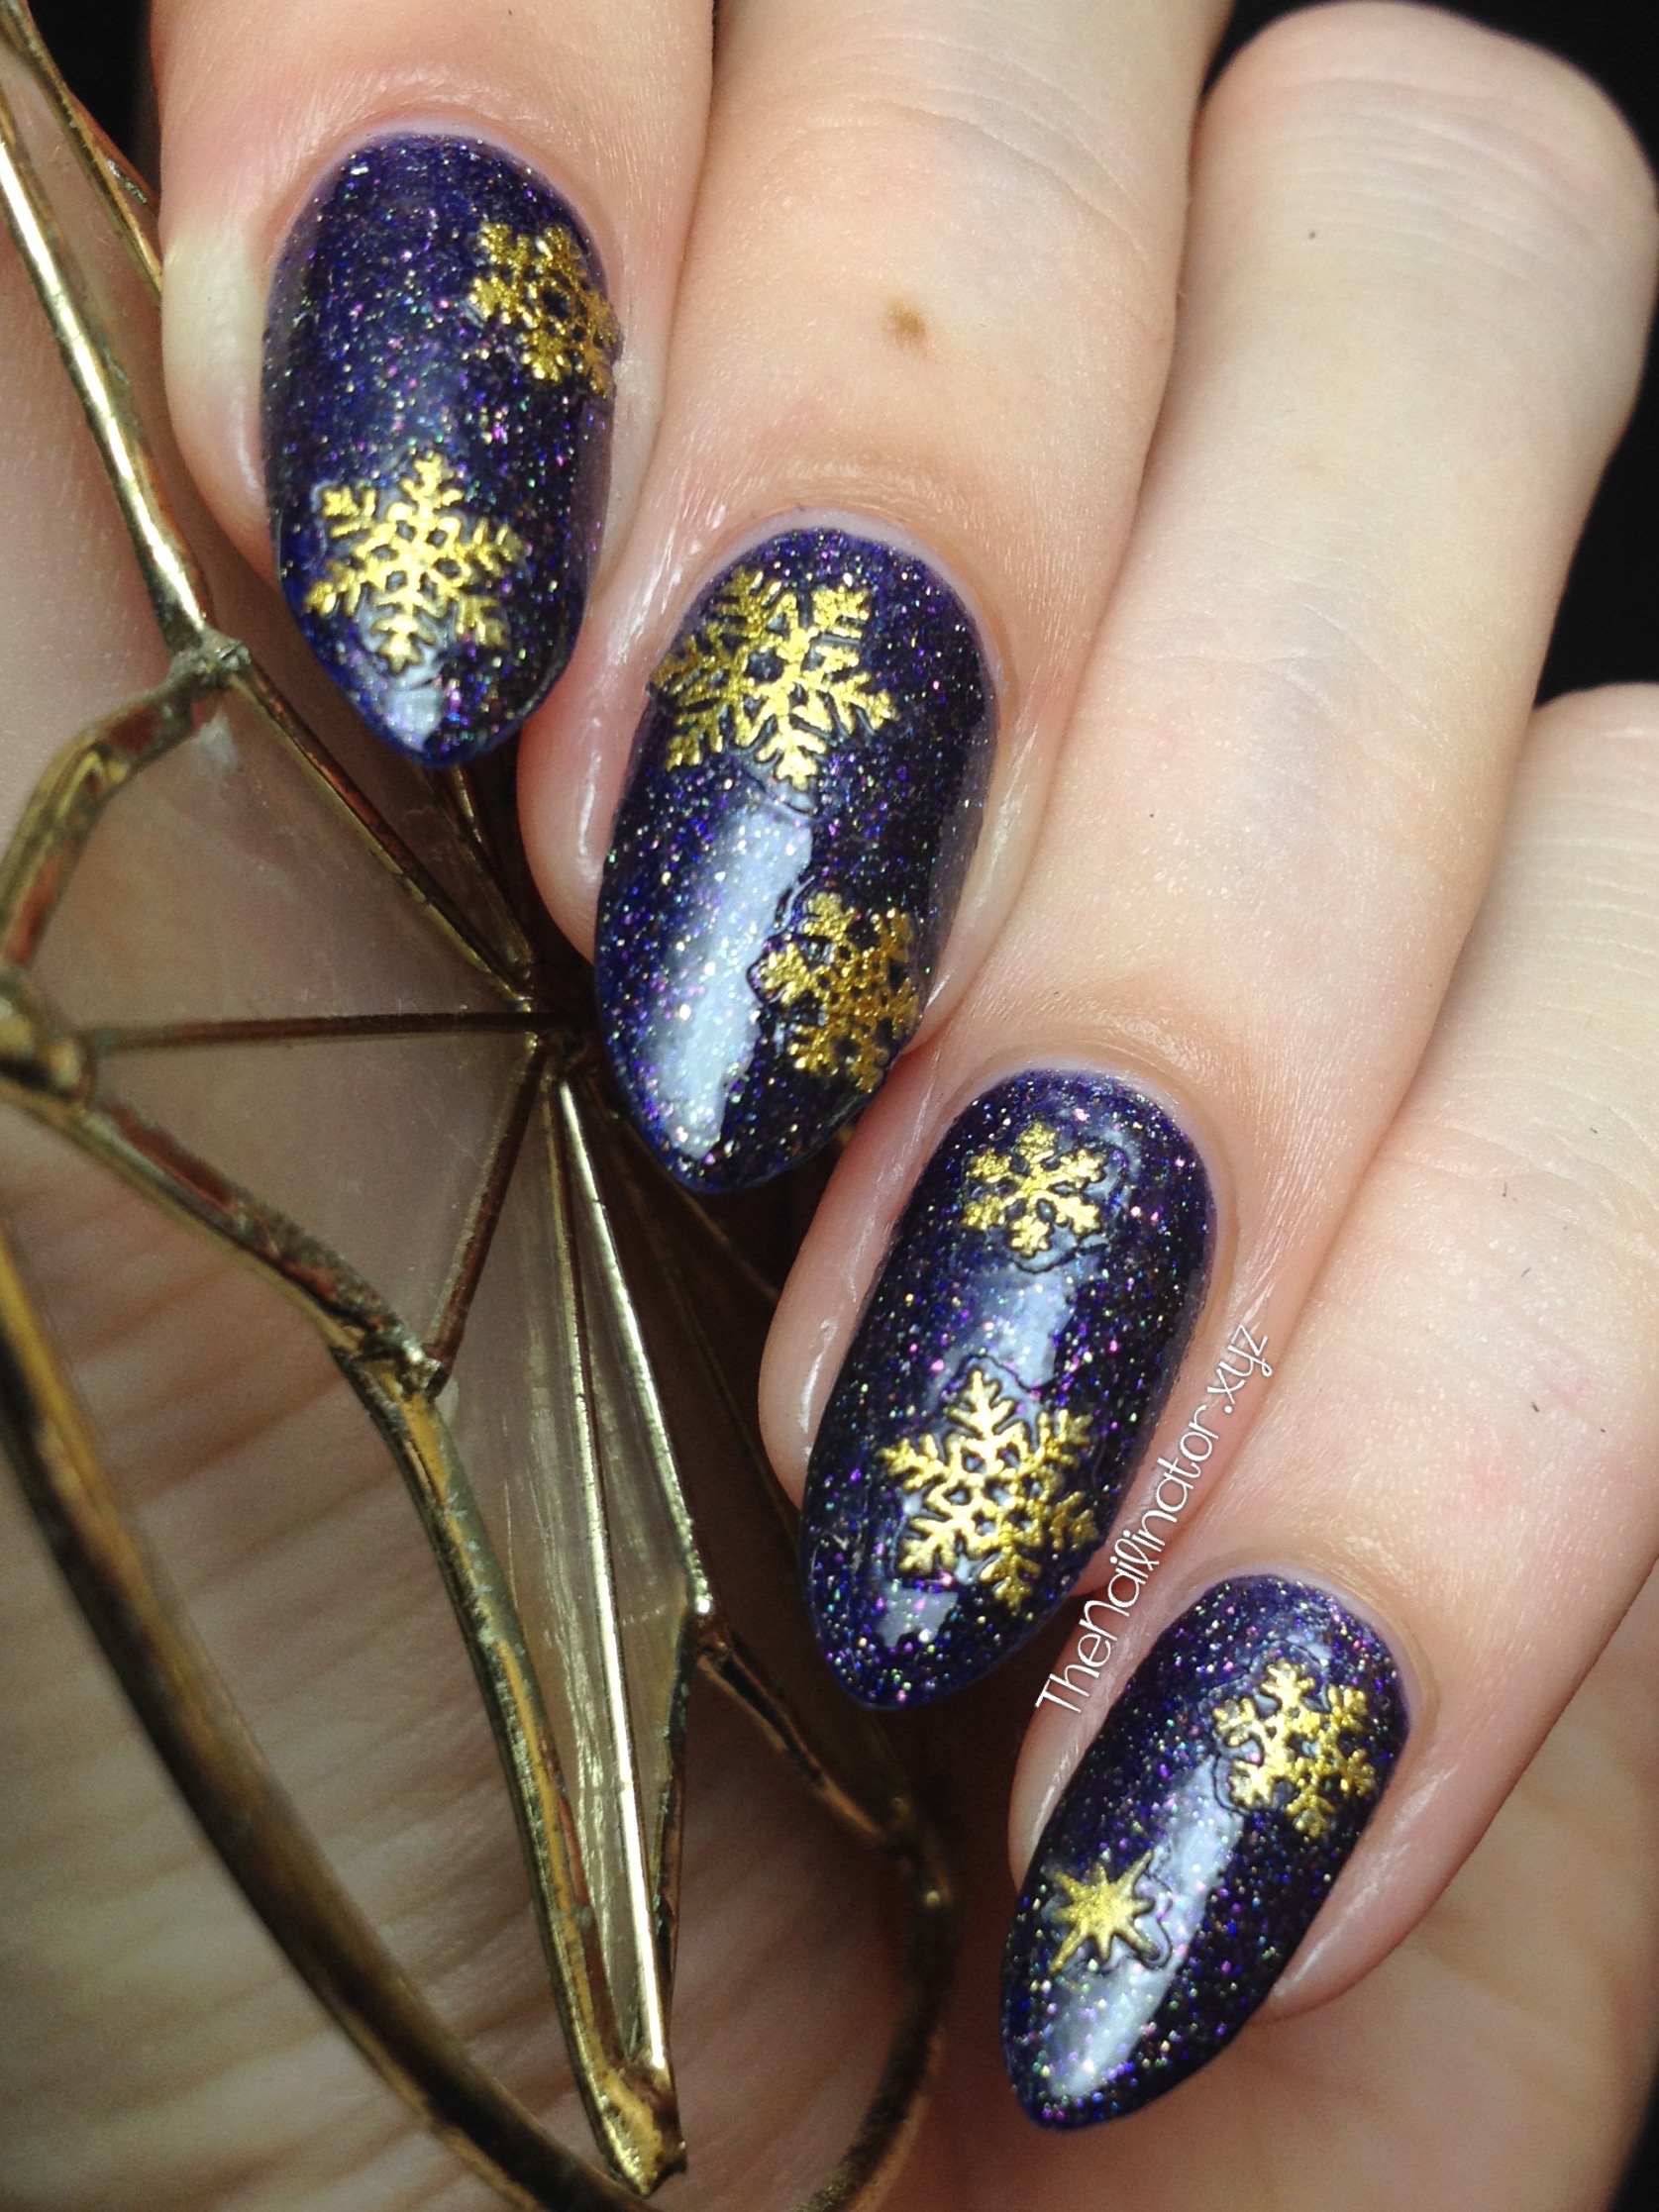
I added some snowflake stickers to make the look more festive. The stickers are super cute but they peeled up a bit along the edges when I added topcoat. I really like having smooth nails so little bits sticking out really annoy me. I usually end up picking at stickers that peel up. So these didn’t last too long.  I do have a tip to share for using nail stickers. Do NOT apply them to wet polish thinking that they will stick better since they will dry with the polish. It doesn’t work. What I figure is that the solvent in the polish messes with the adhesive on the stickers and just makes them gooey and not stick properly. It is much better to wait until the polish is dry.

OPI Alcatraz Rocks

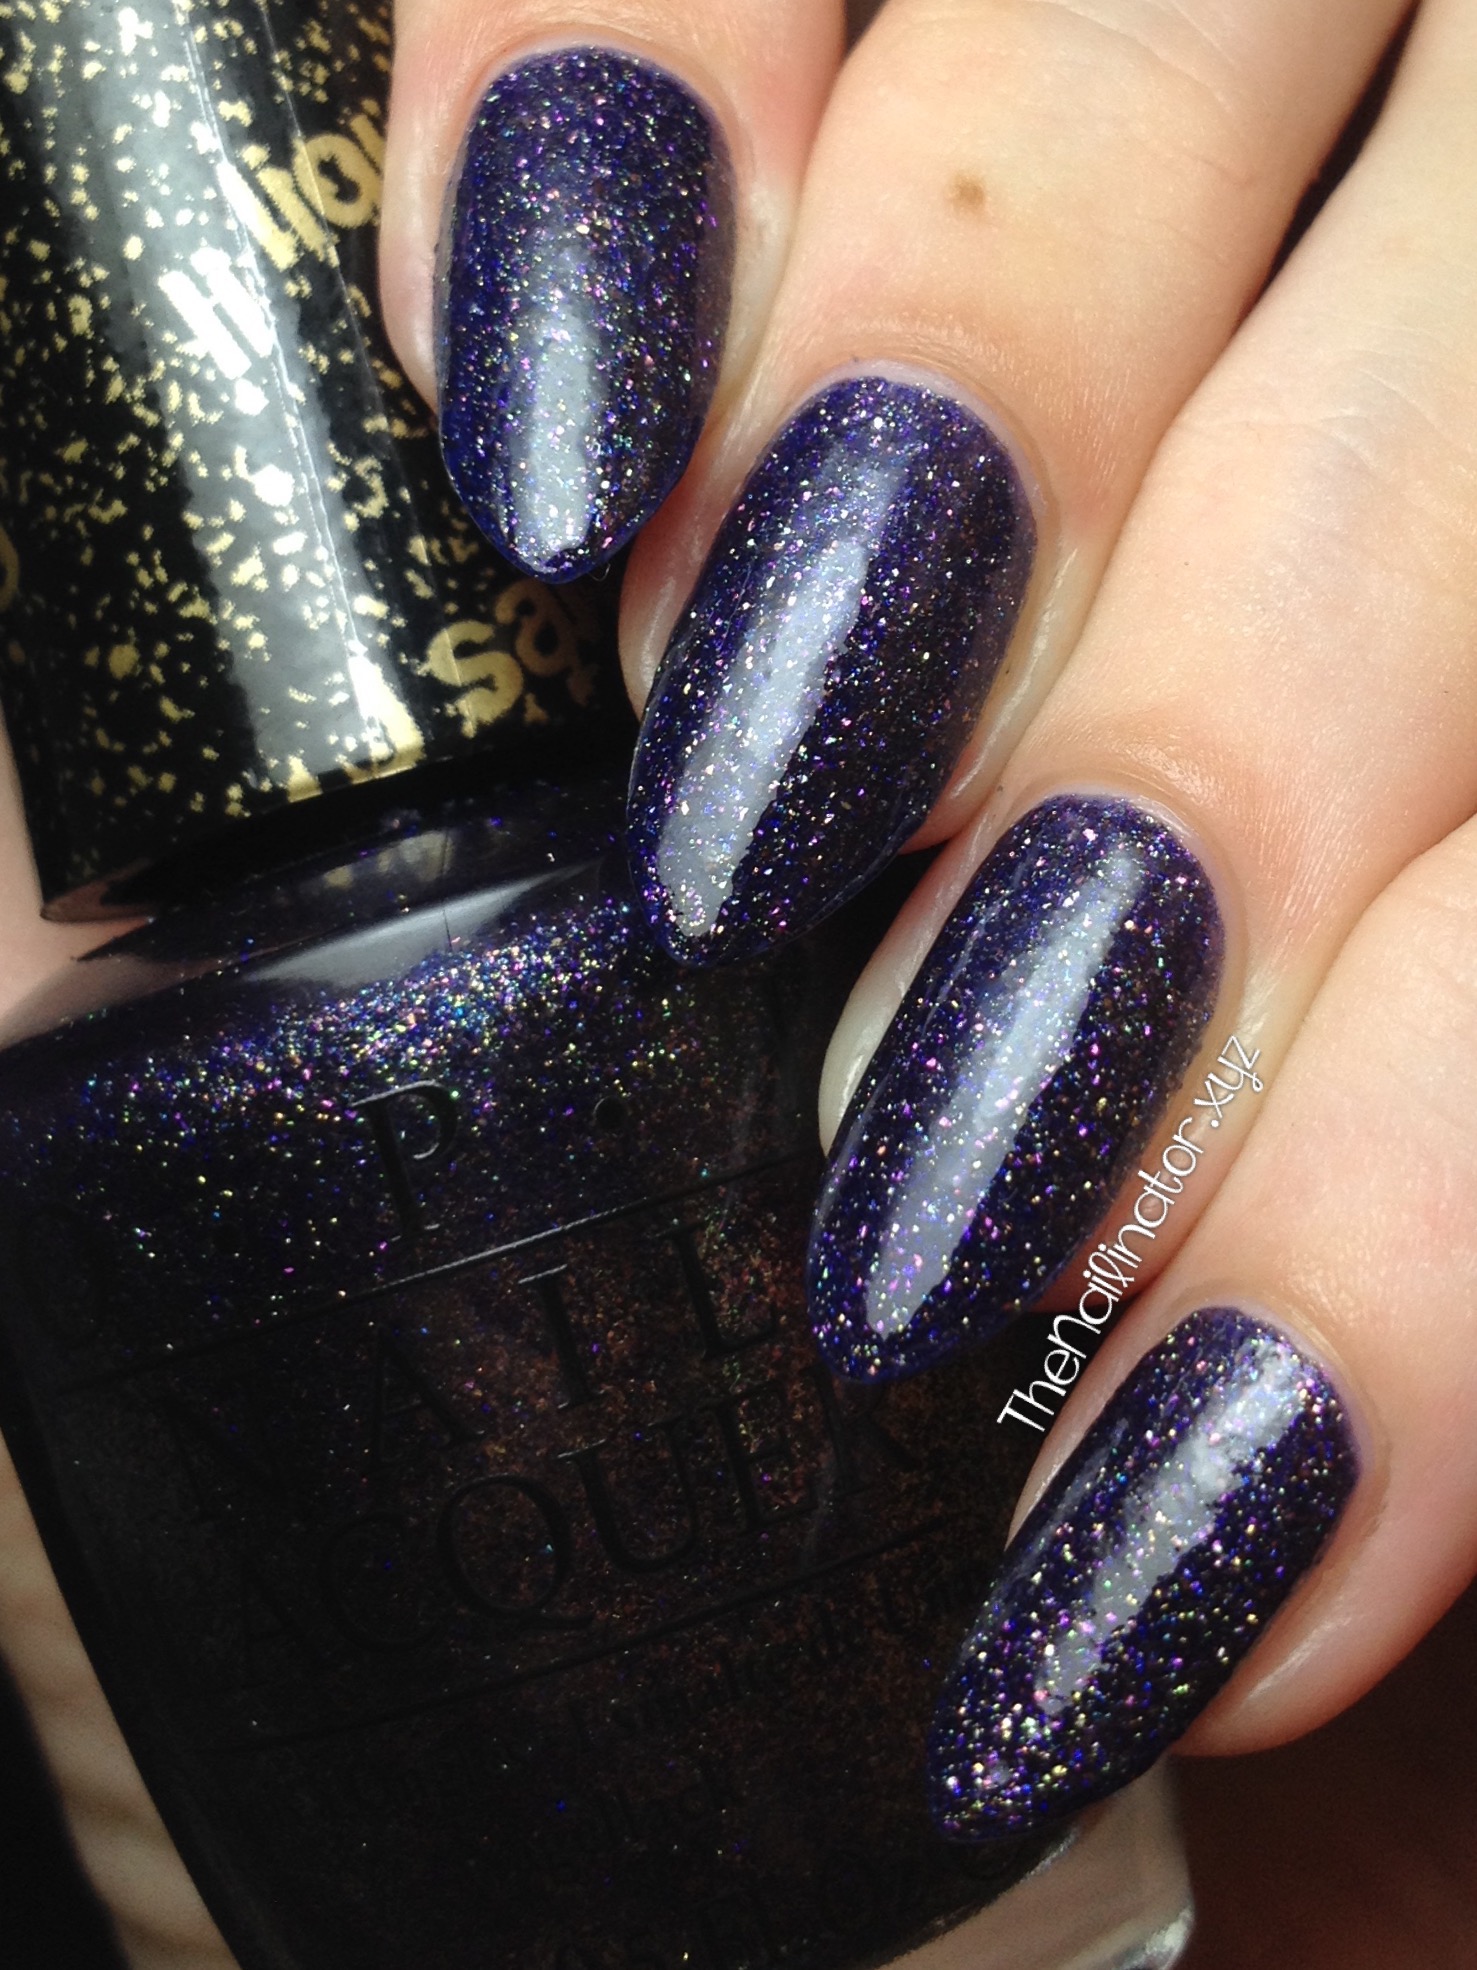
Alcatraz Rocks takes two coats for full coverage. It is a gorgeous blurple (bluish purple) liquid sand polish which means it dries  to a very textured finish. I added two coats of topcoat for this smooth finish. I prefer Alcatraz Rocks with topcoat as it really brings out the glitter. I’m ALL about the glitter y’all! That being said, since it is a glitter polish, this takes a bit of effort to remove. So worth it though!

Well, that’s all for me today. I’m off to play with the kids and I’ve still got a bit of cleaning up to do. I hope you are all having a great holiday and that you get to spend some quality time with those you love most.

Happy holidays from my family to yours!
Hugs,
Rachael

03 Sep

I’m Guest Posting at Simply Rins!

Hey all!
I’ve whipped up something bright and fun for a guest post at Simply Rins. Rina is an uber talented nail blogger from the Philippines. She is a super sweet gal as well and I’m thrilled that she asked me to post for her. Perhaps you recall that she did a guest post for me back at the beginning of this year. It’s so fun to have friends that share your passion. Please go check out her blog! You won’t be sorry you did. Thanks again, Rina!

I’ve included some instructions and tips in my post on how you can get this look.

Go check out my guest post now!

Rawr! Summer isn’t over just yet. Thanks for dropping by. Have a fabulous day/night!

Hugs,
Rach

05 Mar

Dry Brush Nail Art and Stamping with JR17

Some products used were sent to me for my honest review.
All opinions are my own. 🙂

Hello!
It’s late in the evening and I have been up working on a crazy jigsaw puzzle my sister gave me as a gift. TWO THOUSAND pieces! Seriously? The person who thought of making a puzzle over 1000 pieces has a very sick mind. Rant over!


I thought I’d make a quick post for you to share these fun nails I did last weekend. I received two of the new JR Stamping plates from My Online Shop for review. Thanks again, Meann! I picked JR17 and JR2 because I don’t have anything quite like them. I decided to start with an accent nail mani.

I used 4 colors for my base and dry brushing. All of these were sent to me by the very lovely and talented Jacqui of Craftynail. (Thanks again, Jax!) I started with 3 coats of OPI My Vampire is Buff and then used the dry brush technique by Chalkboard Nails and The Lacquerologist to add strokes of OPI Suzi Says Feng Shui, My Paprika is Hotter Than Yours and Sinful Colors Pull Over. I used 2 coats of Suzi Says Feng Shui for the accent nail and stamped an image my son picked out for me from JR17. The little mess up you see with the stamp was total user error. I was trying to hard to center the stamp on the nail and ended up accidentally touching it on a part and then moving it a bit. Oops! But the plate worked perfectly. I played around with several of the stamps on this plate and they all looked great. I’m still working the kinks out of my stamping to my nails skills. Any tips on perfect centering would be very welcome. 😉

You can get your own JR Stamping plates along with awesome stampers and accessories at My Online Shop. They are on Instagram too.

I hope you are having a great week.
Hugs,
Rach

%d bloggers like this: