15 Dec

Ruby Pumps Candy Cane Nail Art (with tutorial video)

Hi gals!

I’m sorry that I didn’t get this posted during the weekend as I had planned. It took longer to prepare the post than I had anticipated, and we had a very busy weekend.

Only 10 days to go until Christmas! I’ve got some serious baking to do this week! My boy has been learning fractions in math, so we will to work together on the recipes and baking as an extra fun school activity. Homeschooling rocks!

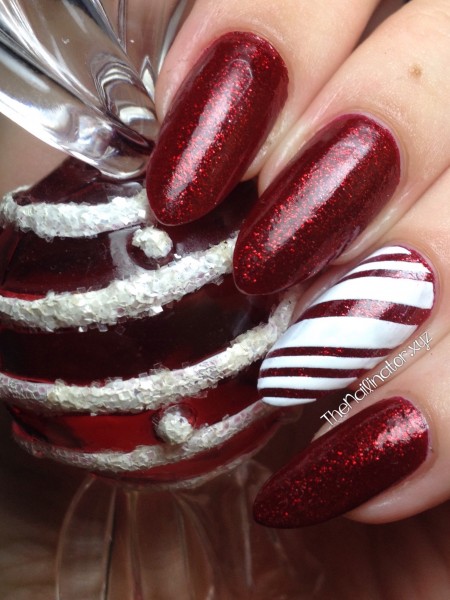
While I was in the US this summer, I got my hands on China Glaze Ruby Pumps which has been a lemming of mine since I saw Jemma of Eeeek Nail Polish post her swatch of it. I have been saving it for Christmas time. I added a nice little candy cane accent nail just for fun. I planned to do all the nails like this, but I just couldn’t find the time.

Ruby Pumps Candy Cane 2

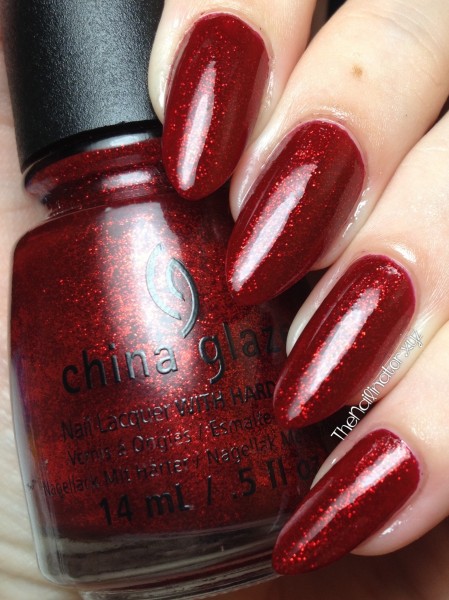
I have seen loads of nail art using Ruby Pumps. It really is the perfect red! I would describe it as a dark red jelly loaded with teeny tiny red glitter. The glitter is not as dark as the jelly so it has a nice bright shine from within. I love a good red, but red with gorgeous glitter is even better!

Ruby Pumps Swatch

I’ve got a little extra for you today. A tutorial video! Please be forgiving as I am a complete novice at these types of things. Mr. Nailinator deserves a huge round of applause for being such a darling, I would never have even tried this if  he hadn’t promised to help me figure out how to get it edited and uploaded on YouTube. I’ve received a lot of requests for tutorials so, I figured I’d give it a try. Let me know what you think.

1. Place striping tape over dry base color.
2. Use orange wood stick to secure tape to nail edge.
3. Apply white polish.
4. Quickly and carefully remove tape.
5. Allow to dry then apply topcoat.

What is your favorite holiday inspired nail art? I’m looking forward to something extra flashy for the New Year!

Have a great day!
Rachael

24 Oct

Eeeek! Inspired Glitter Placement Nail Art

Hello!

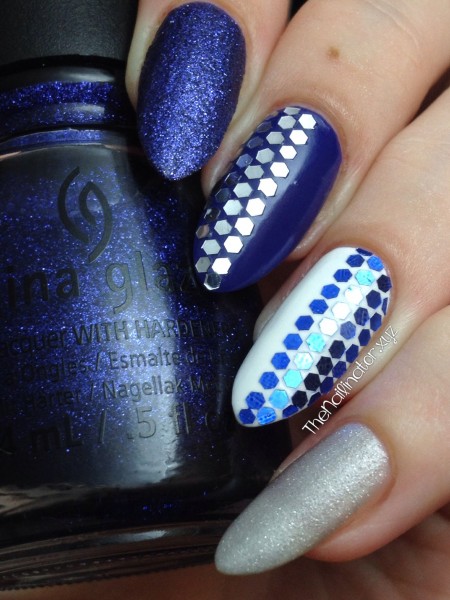
It’s a great day! It’s Friday and it just so happens to be the birthday of one of my all time favorite bloggers EVAR! Jemma of Eeeek! Nail Polish! has just completed another trip around the sun. To celebrate the occasion, several of us got together to honor her by recreating some of her fabulous nail art. I chose this glitter placement mani that she did recently. Check it out. Isn’t it just lovely? If you love nail art you NEED to follow her because she is a never-ending source of amazing inspiration!

Eeeek! Nail Polish tribute Glitter Placement mani

Happy birthday Jem! Thanks for being such a darling and an inspiration. I hope that you get spoiled and have a great day. Here is wishing you a great year ahead and many more fabulous manicures to come!

Hugs!
Rach

PS. Thanks Brijit for being a sweetheart and organizing all this.


18 Mar

Review of China Glaze Winter Holly – St. Patrick’s Day Worthy Shade

All products used were purchased by me. 
All opinions are mine. 🙂

Hi!
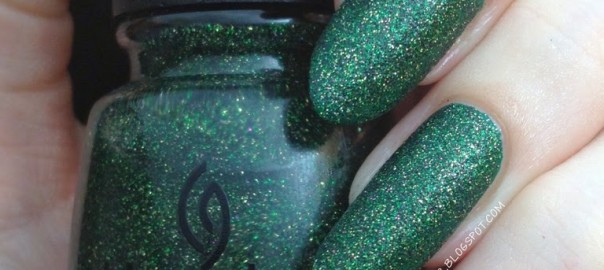
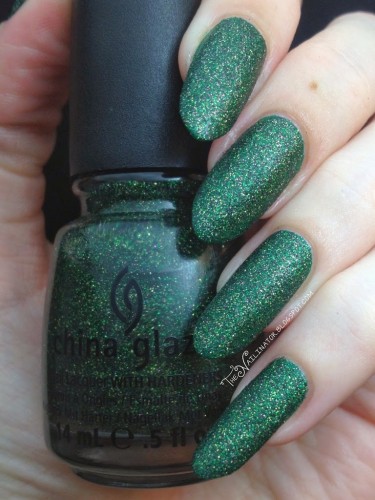
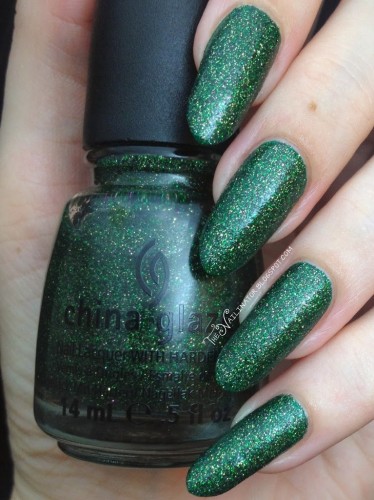
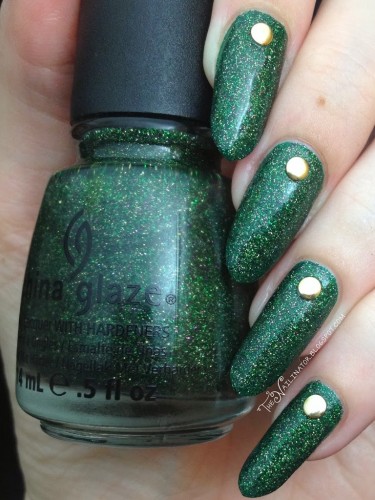
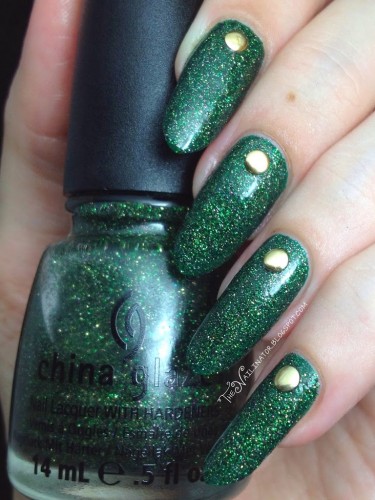
I don’t celebrate the holiday, but I’ve got a St. Patty’s Day worthy mani to share with you today. I started with one coat of Shisem F610 (Dark Forest Green) which I purchased at Blooming Nail Cebu. I then added 2 coats of China Glaze Winter Holly which my sweet hubby spoiled me with a couple of months go. It is a mixture of gold, green and purple glitter (with a bit of a holo sparkle) suspended in a clear base.

Without topcoat

On it’s own, Winter Holly dries the same way that CG I’m Not Lion does. It’s a grainy or sandy finish. I like polishes like this because you really get two finishes in one. You can choose between the grainy, somewhat matte finish on it’s own, and the super glittery and shiny finish after applying topcoat. I’ve included a few extra shots to show how it looks with top coat.

With one coat of top coat
With two coats of top coat
With 3 coats of top coat and in brighter light. You can see the depth.

I am really happy with this polish. It is so pretty. It was hard to remove in the manner that is typical for a glitter polish. I was kicking myself for not remembering to use my glue base for easy glitter removal. I won’t forget next time (fingers crossed). Also, as you can see, I added some gold studs which I also purchased from Blooming Nail Cebu.

Well, that’s all for me for tonight. I hope you have a great week!
Hugs,
Rach

26 Sep

Argyle Nail Art

Greetings!
I’ve got a short and sweet post for y’all today.

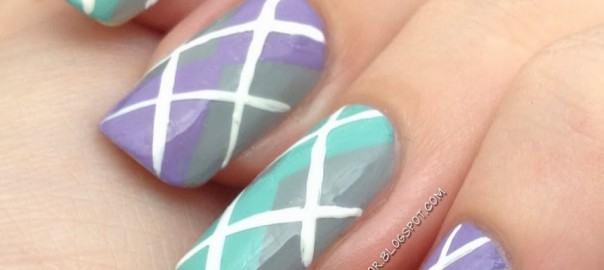
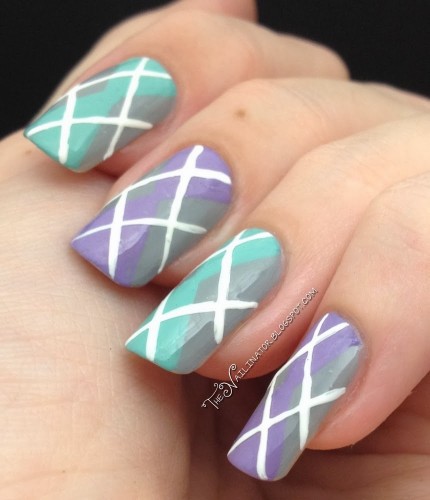
Day 26 of the 31 Day Challenge is “Inspired by a pattern”. I’ve chosen to go with an Argyle pattern. I saw a tutorial by Cute Polish for this nail art way back when I was just getting into nail art and I tried it out on a nail wheel right away and it looked very nice. So when I saw it on a nail wheel the other day I thought it was time to try it out on my nails. I learned that doing my nails while watching episodes of the Doris Day Show makes for some wobbly stripes. Definitely not my neatest work. :/ Whatever! I still think they turned out cute. Don’t you?

The colors I used are San San Cloudy Gray, Caronia First Crush (purple), China Glaze For Audrey (green) and Jocarste White.

If you are just starting out with nail art I strongly suggest you check out Cute Polish on You Tube. She has some pretty cute designs that are really easy to achieve. Have a great day!

Hugs!

07 Sep

I’m Not Lion! I’m in love!

Hi gals!
I hope you have enjoyed the guest posts this week on my blog. If you missed them then go check out the lovely looks created by Chit Chat Nails and by Craftynail. Thanks again to Marta and Jacqui for helping me out.
We have been having a wonderful visit with my husband’s mother. It’s always so nice when people fly halfway across the globe to come visit us. It was even nicer that she brought me my Color Club Halo Hues and China Glaze I’m Not Lion that I have been lemming for!
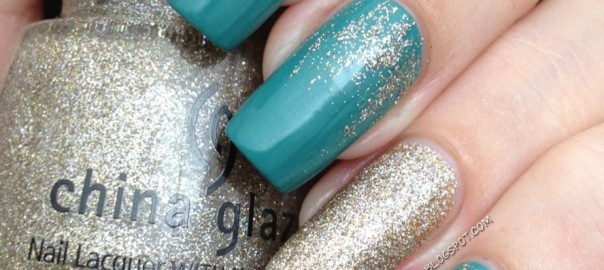
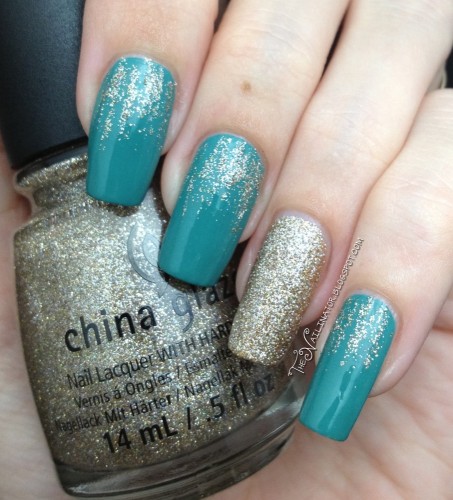
I’ve got a simple yet elegant look for you today. I couldn’t wait to try out I’m Not Lion for an accent nail. I was not expecting it to dry to such a coarse texture. Even with one thick coat of Oh My Golly colorless it was just as coarse as it was without it. Perhaps Seche would smooth it out? It’s a pretty color and I’m so glad I have it. I paired it with Caronia On The Go which is one of my favorites. I have 2 backup bottles… That’s how much I love it. To be honest, the formula of On The Go is the pits! It’s hard to apply evenly, does not self level at all and is really too thick even in a brand new bottle. But it looks way better after topcoat and the color is so great I am willing to endure the hardships that come along with the formula.
As you can see, I added a little sparkle at the base of my nails as well. I used I’m Not Lion and a striper brush and just applied it kind of randomly until I was happy with how it looked. I love it! Don’t you?
I hope everyone is having a great weekend!
%d bloggers like this: