20 Feb

Fun and Funky Pink and Black Skittles

Hello ladies!

I hope everyone is doing fine. I am just now entering my third trimester and the baby is doing great. I can complain of aches and pains but that sounds rather boring. Don’t you think? Instead, I just wanted to pop in with a quick post to share a quick skittle mani I came up with. I was in the mood for something a bit bold and funky and this is what I came up with. I have some swatch posts coming up but I wanted to share this fun nail art first.

Fun and Funky pink and black skittles

Fun and funky, right? I’ve used several different polishes including Medusa from Nails To Go on my ring finger and Decadent by Sinful Colors on my middle finger.  I also tried out the craft scissors and ziplock bag technique for the first time. I painted a couple of coats of black nail polish onto a clean ziplock bag. After the polish dried, I peeled it off the plastic and used some zigzag craft scissors and cut some strips. I polished my pinky nail with two coats of Rendezvous by Seche and, while it was still a little bit tacky, I carefully placed the black zigzags and applied topcoat to bring it all together.  The glitter bits on my pointer and middle fingers were added using a tiny dot of nail glue to keep them in place. I recommend using an orange wood stick to apply the glue in the exact place you want it. Then seal with top coat.

Well, that’s all for now. Like i said, I’ve got some swatches coming up next. I hope you enjoyed seeing these fun nails and that perhaps it inspires you to think out of the box a bit and have some fun with your next mani. I hope you have a wonderful week and that you get to make someone smile today.

Hugs,
Rach

16 May

Birthday Nail art with Girlstuff Chill

Hello lovely ladies!!

Today is my birthday! Woohoo! It’s been a great day too. My hubby surprised me with a music album of 40 songs by the very talented (and entertaining) Betty Hutton and later on, we are headed to my mother’s house for cupcakes and Oreo cheesecake! Yay!

I’ve been busy with several projects lately and my nails and blog have been on the back burner. I made sure to do my nails for a special occasion like my birthday and I’ve used a new polish sent to me by Girlstuff. They have recently launched their new Rave Neon collection and I chose Girlstuff Chill which is a fun blue shade. It is opaque in two easy coats and dries quickly.

Girlstuff Chill with stamping

I brushed a little glitter here and there and then stamped over it with my MJ XXVI stamping plate from MyOnline Shop. It’s simple but pretty. I’ve been wearing polish pretty consistently but haven’t taken the time to do any nail art. So I’m very happy to have a pretty design on my nails. Today.

I hope your day is as lovely as mine has been. Do something to make someone smile today!

Until next time,

Rach

13 Dec

Girlstuff Solique Gel Collection Swatches and Review

Hello girls!
Are you getting excited about the holidays? I know I am. I’m about to switch to cookie baking mode!

Boy, oh, boy am I excited to share this post with you today!
A couple months ago, Girlstuff released their new Solique line of Gel polishes. These “gel” polishes are meant to be used as a system with the nail color and top coat and they promise the durability and shine of gel polishes without the need of a UV lamp to dry them or special remover or soaking to take it off.  They are supposed to dry within minutes and give you high shine with extended wear. It all sounds too good to be true!

I don’t normally wear polishes for a whole week, but the timing of me receiving these pretties and testing them out was just right as we were neck deep in a MAJOR renovation of our office building. Since October, I have either been helping the hubs with the renovation or working extra hard at keeping things going smoothly at home so that he could focus on the renovation. I put these polishes through some serious testing! Let’s check out the color options before I get into the wordy bit.

Solique Gel Polish By Girlstuff Swatches

Solique Manila Girl Swatch

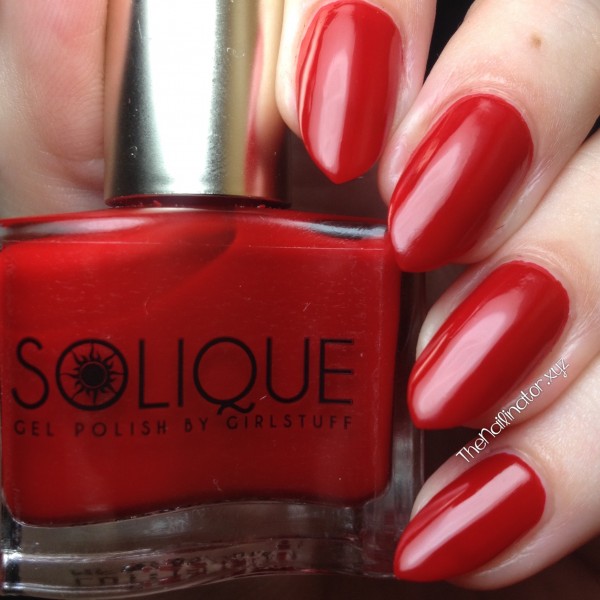
Manila Girl – is a fabulous red with a fabulous name (For those of you outside the Philippines, Manila is the country’s capital city.). This crelly is a two-coater and very squishy looking. I love a good red, and this did not disappoint! Easy cleanup and no staining! Yay!

Solique Just A Fantasy Swatch

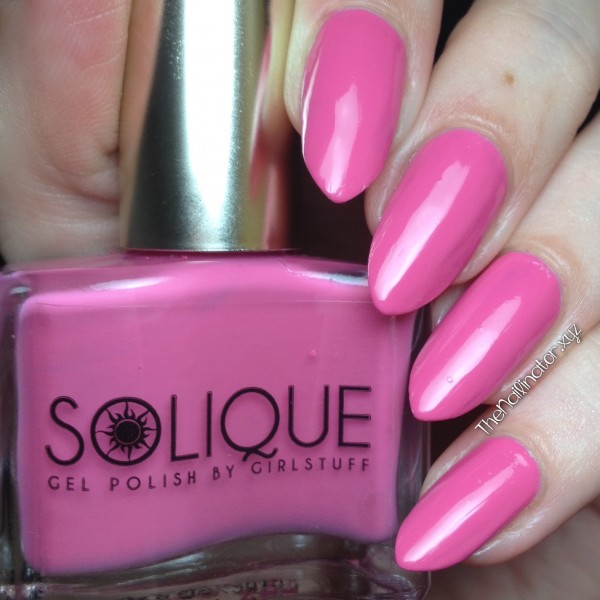
Such A Fantasy – is a girly, pink cream that needs two coats. I guess it is the crowd-pleaser of the lot because I got heaps of compliments while wearing this.

Solique Love Me Like You Do Swatch

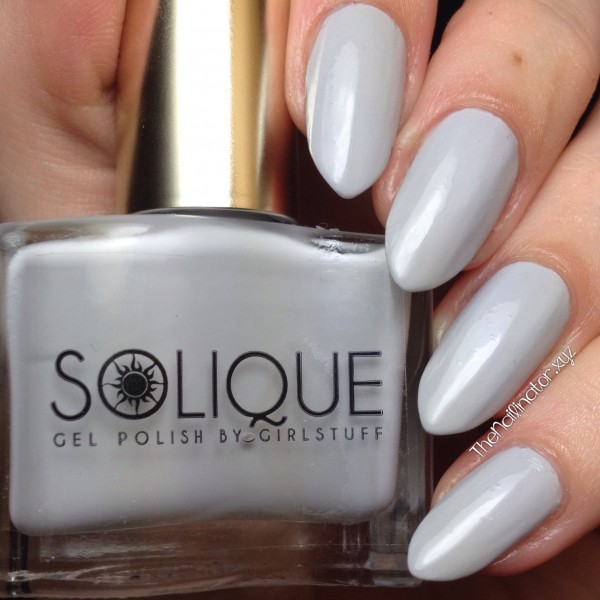
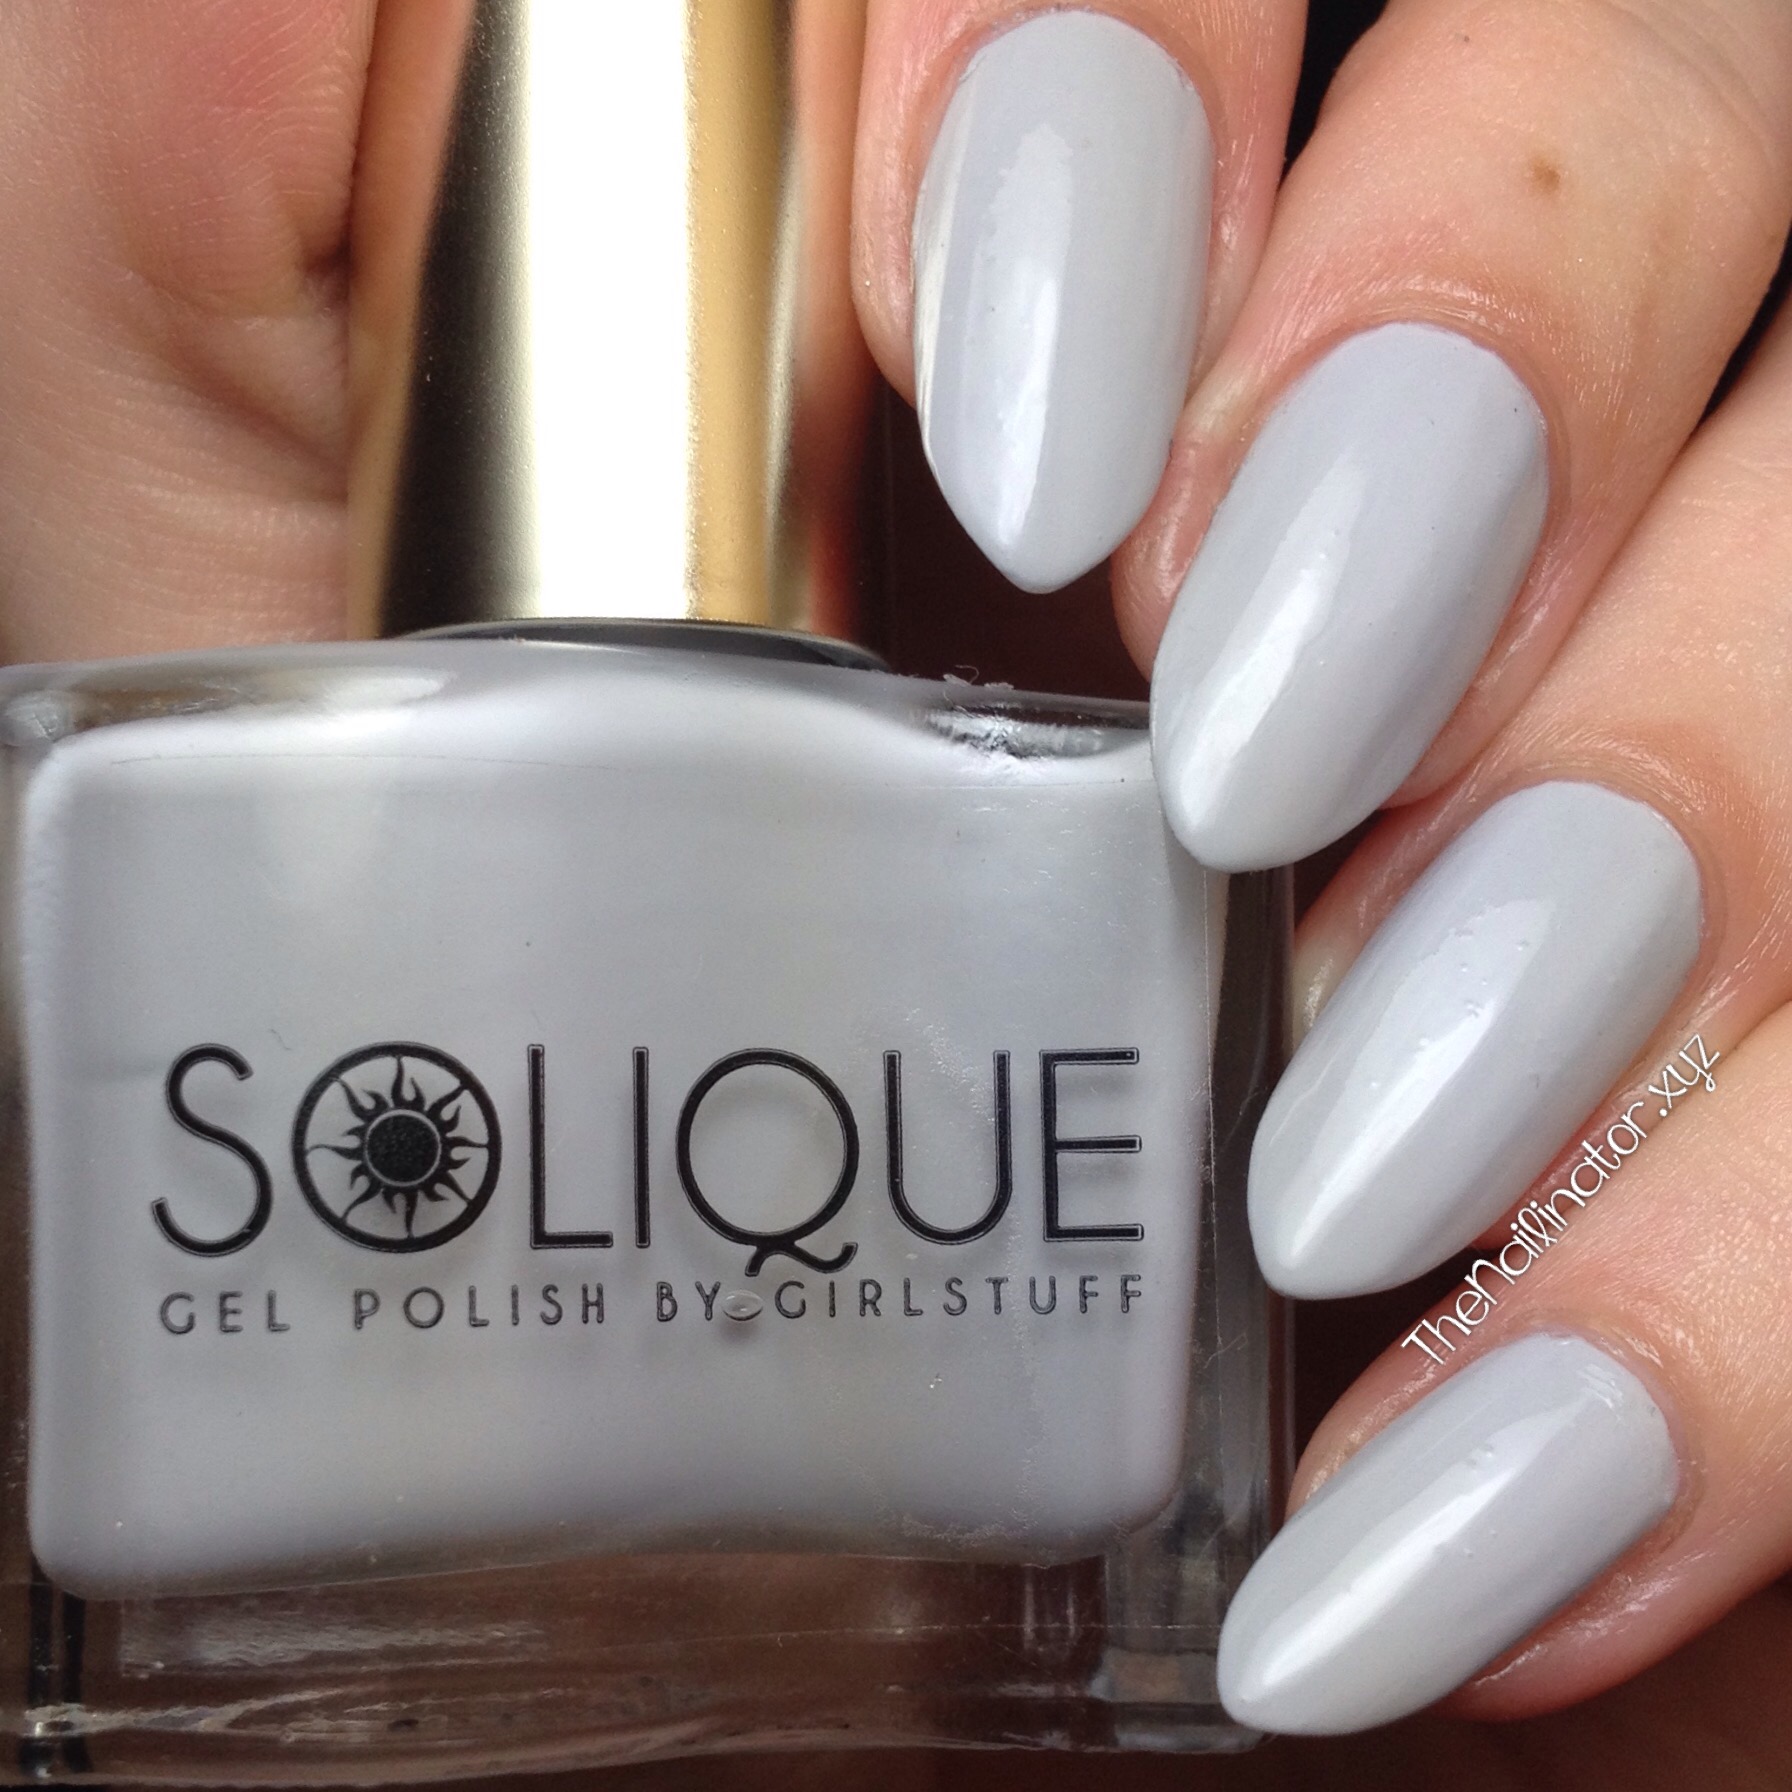
Love Me Like You Do – is very chic, light-gray creme that I think is a timeless, classy shade.  With a little care this is a two-coater. I say that because I was watching a movie while applying this one, and I messed up a couple of nails and had to put a third coat on. It still dried super fast!

Solique - Hush Swatch

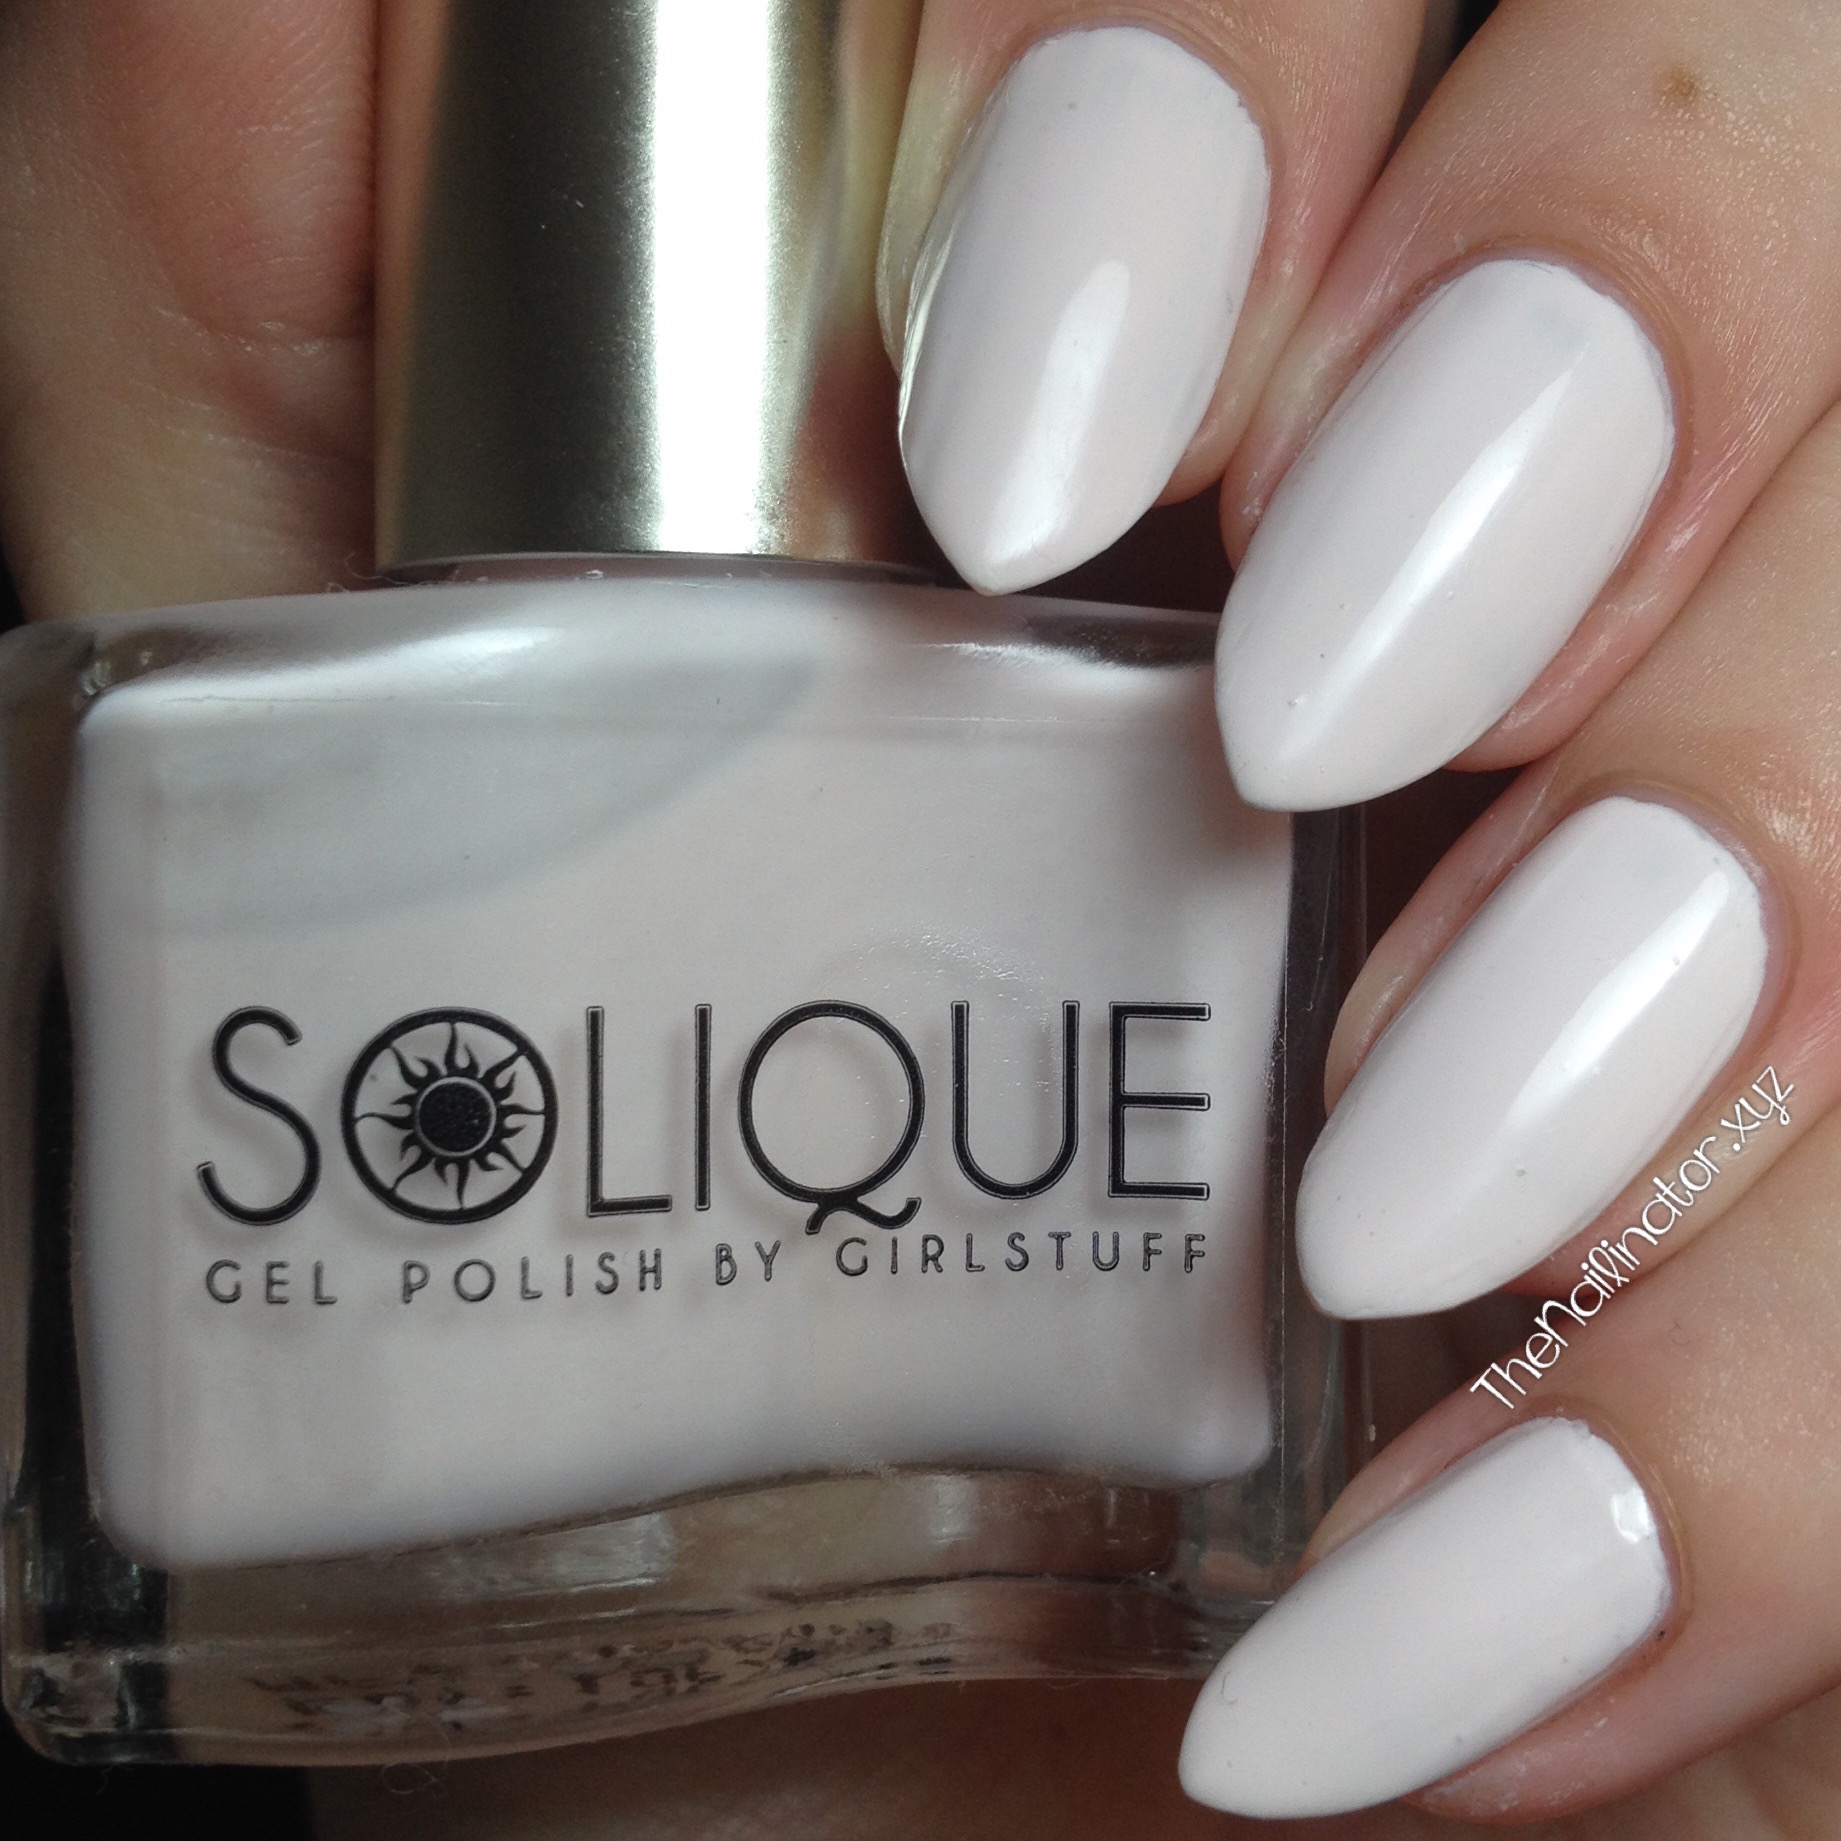
Hush – is a lovely, almost white creme that has just a whisper of pink to it. It’s perfect for people like me who like the crispness of white nails but don’t like it to look like I used correction fluid on my nail. Hush is a two-coater, which is hard to find with a polish of a delicate tint like this.

Solique Midnight Dreams Swatch

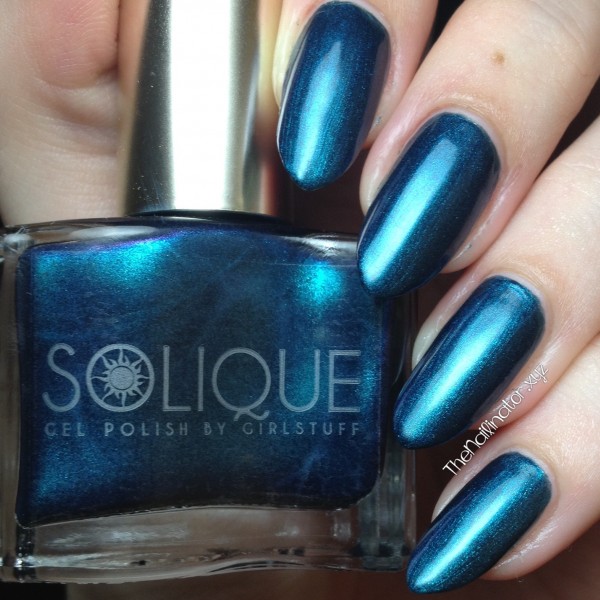
Midnight Dreams– is a dark blue crelly loaded with tiny, shimmery flecks. It has a purple luster that can be seen in certain lighting, but I wasn’t able to capture that, as you can see. It is a two-coater and the only dark shade of the collection.

Solique Baby Blues  Swatch

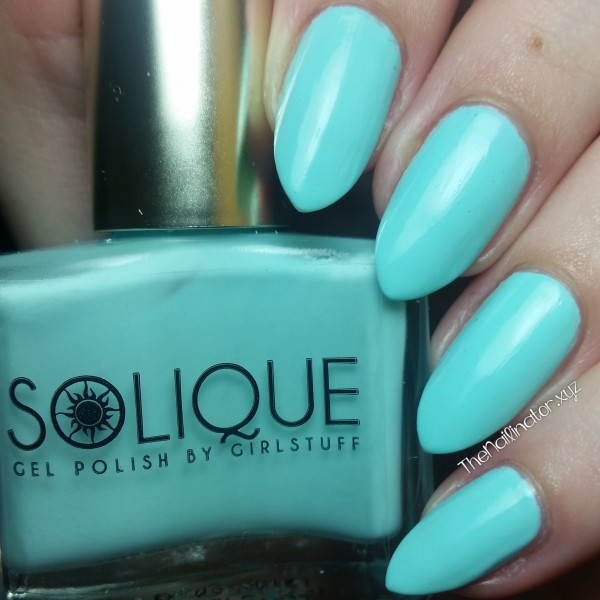
Baby Blues – is a pastel blue creme that stands out without being too in-your-face. With care, you can get away with two coats of this baby.

The Review

Wow! Wow! Wow! You guys, this system is AMAZING! First, let me remind you that these polishes are meant to be worn with the special Solique topcoat. Also, I have never used or worn regular gel polish myself, but I have heard the pros and cons of them.  I have also removed gel polish for a friend and know the difficulties of gel removal.

Application – The formula on these is a bit thicker than most regular polishes so you may need to take more time and care when applying. I found that using more product on the brush helps as well. Cleanup around the cuticles was no problem.

Drying time – This is a quick drying system, and including the three coats on a couple of nails that I messed up a bit, my nails were dry in a flash. No need for a UV lamp like regular gel polishes.

Removal – When I removed my friend’s gel manicure, it took ages. Lots of soaking (with pure acetone…boo!), waiting, and rubbing on the nail to get it all off. With Solique Gel, I used my favorite non-acetone polish remover on a cotton ball and it came right off.

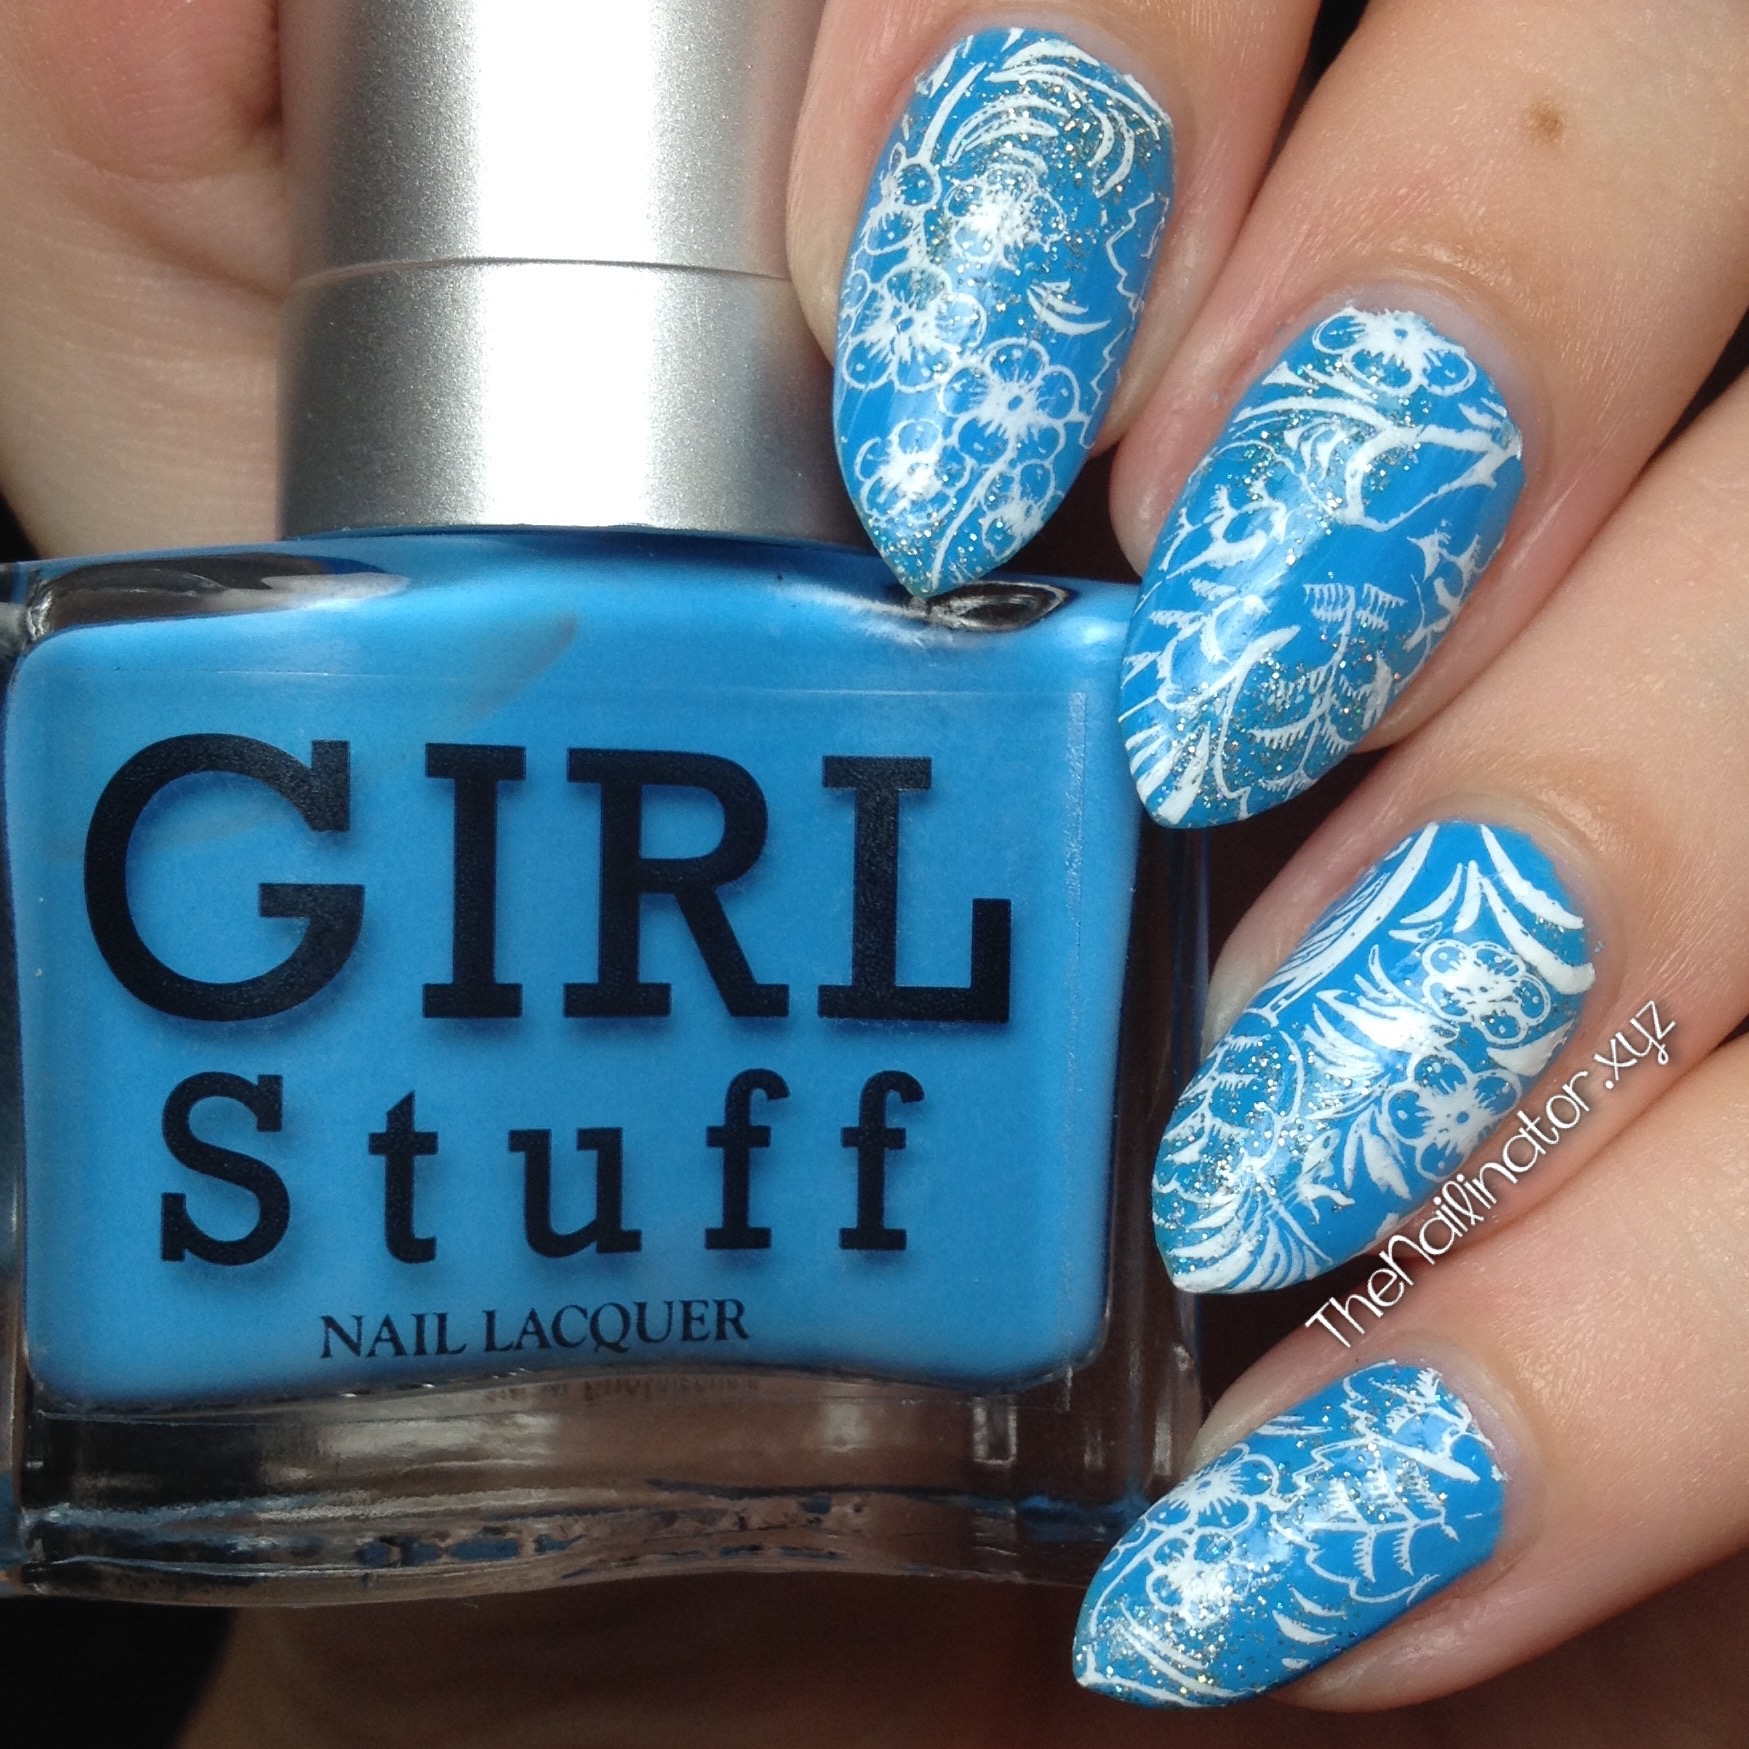
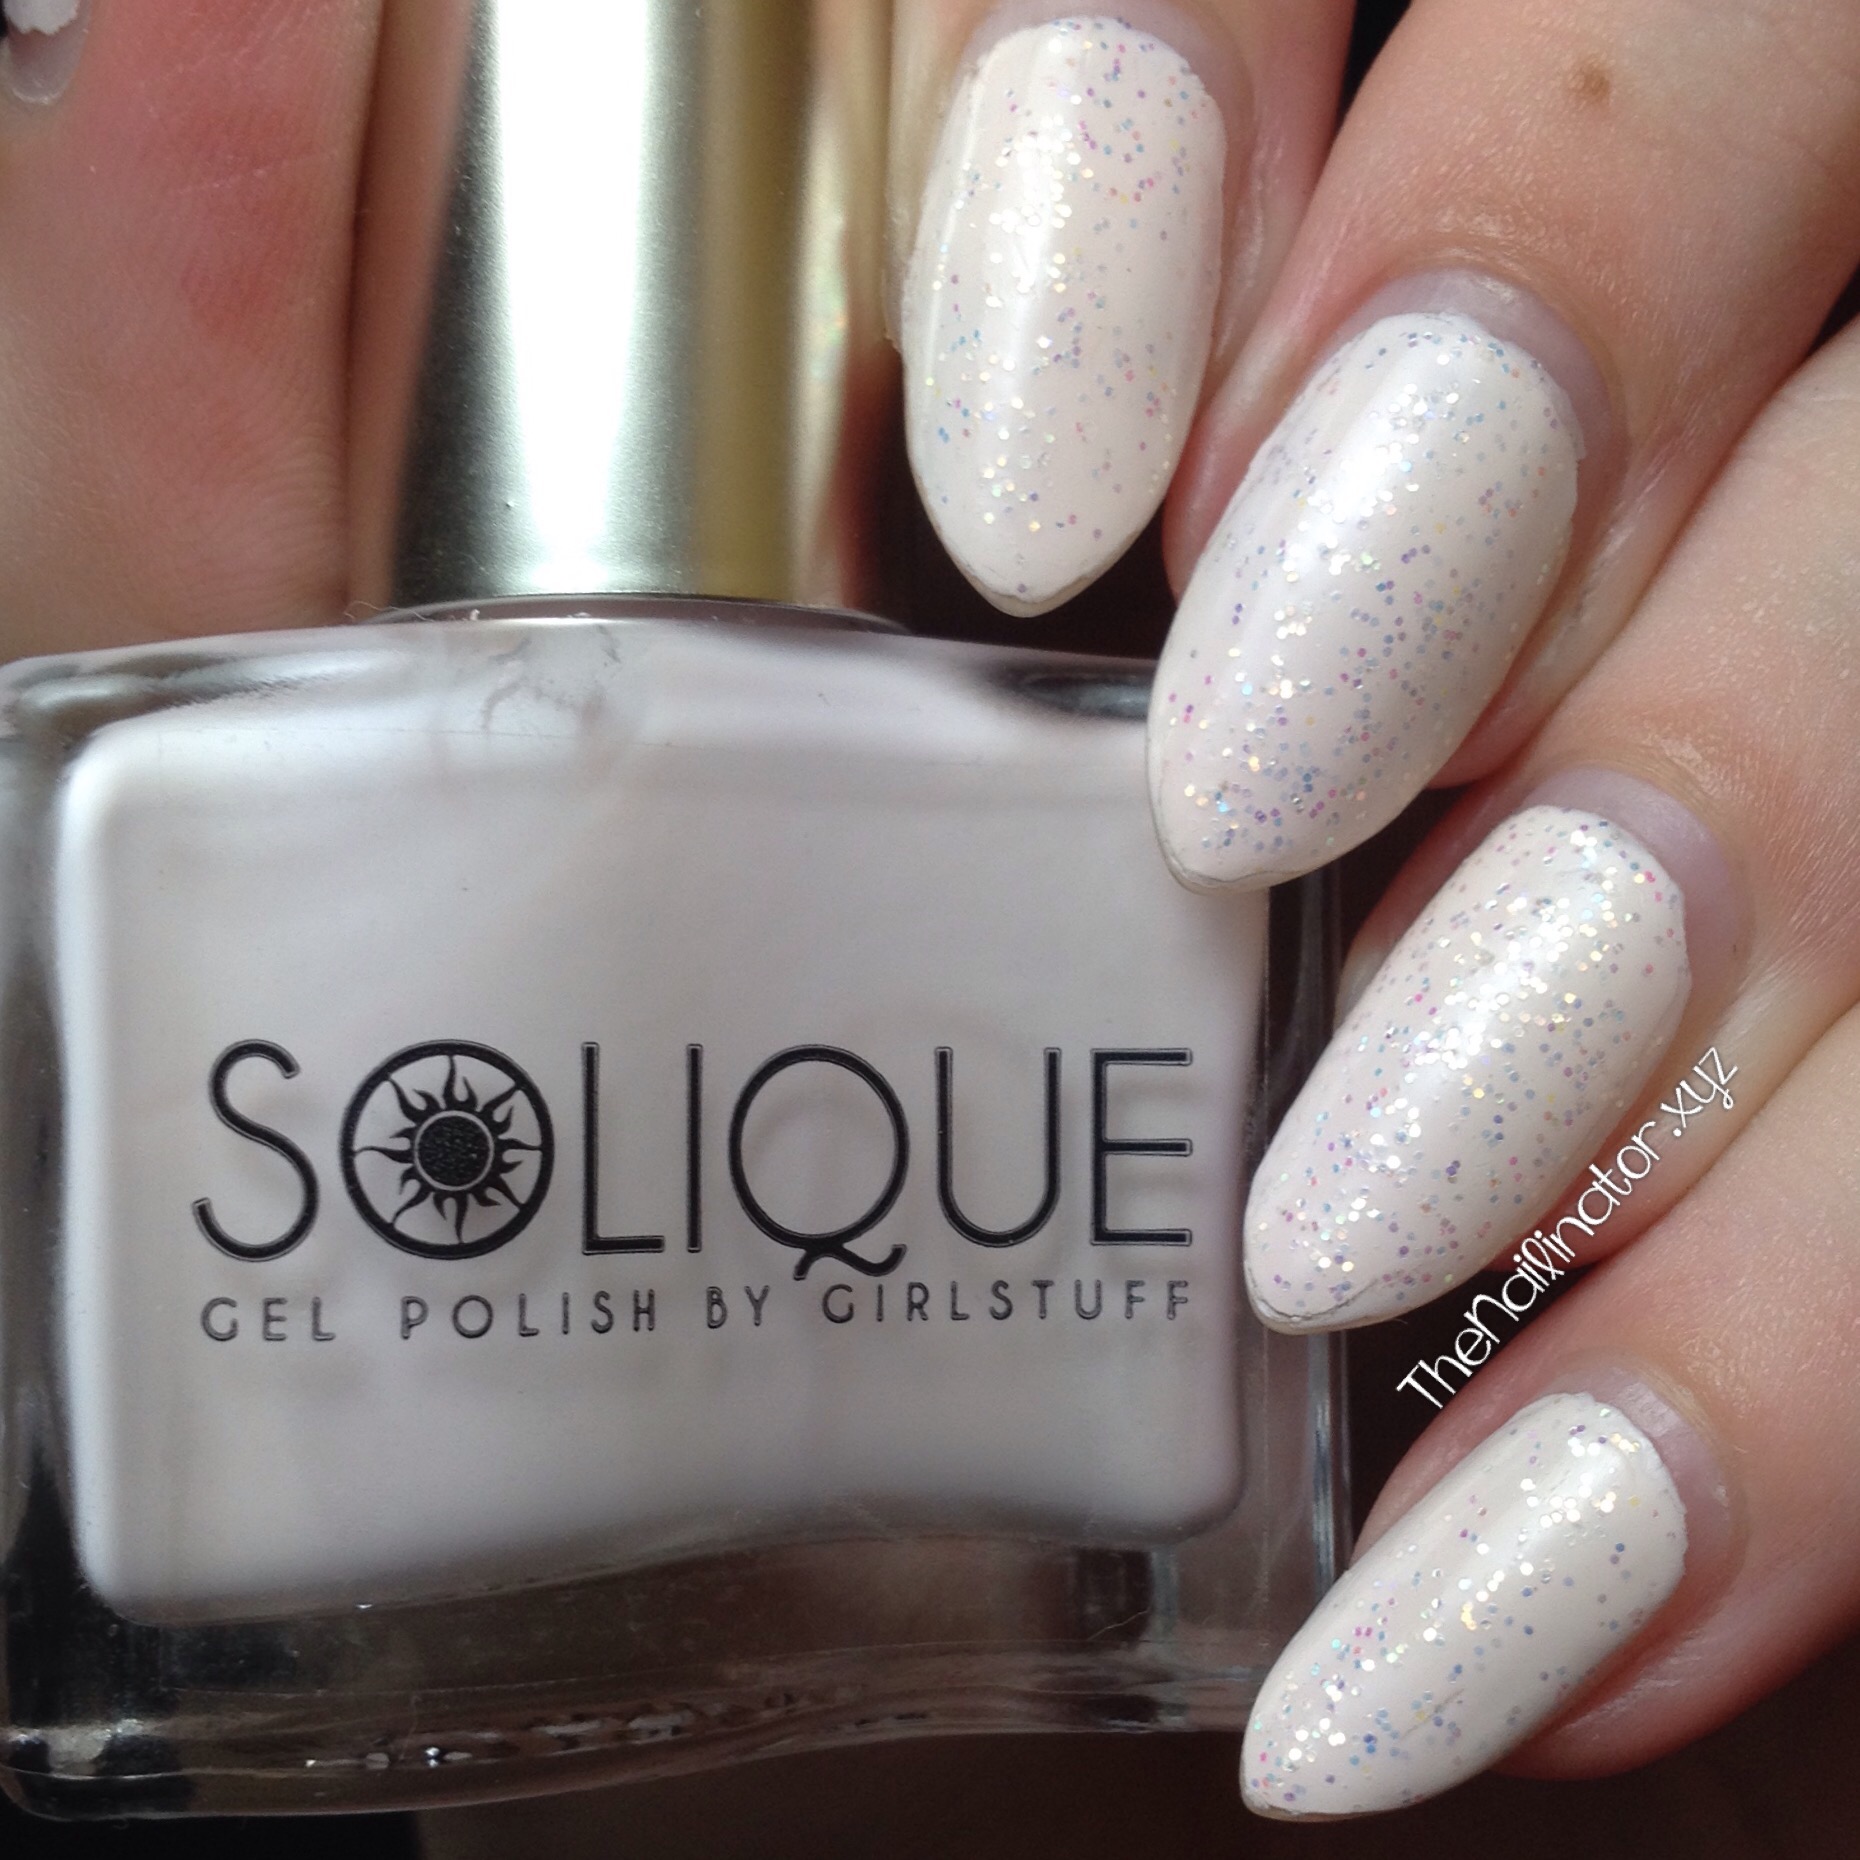
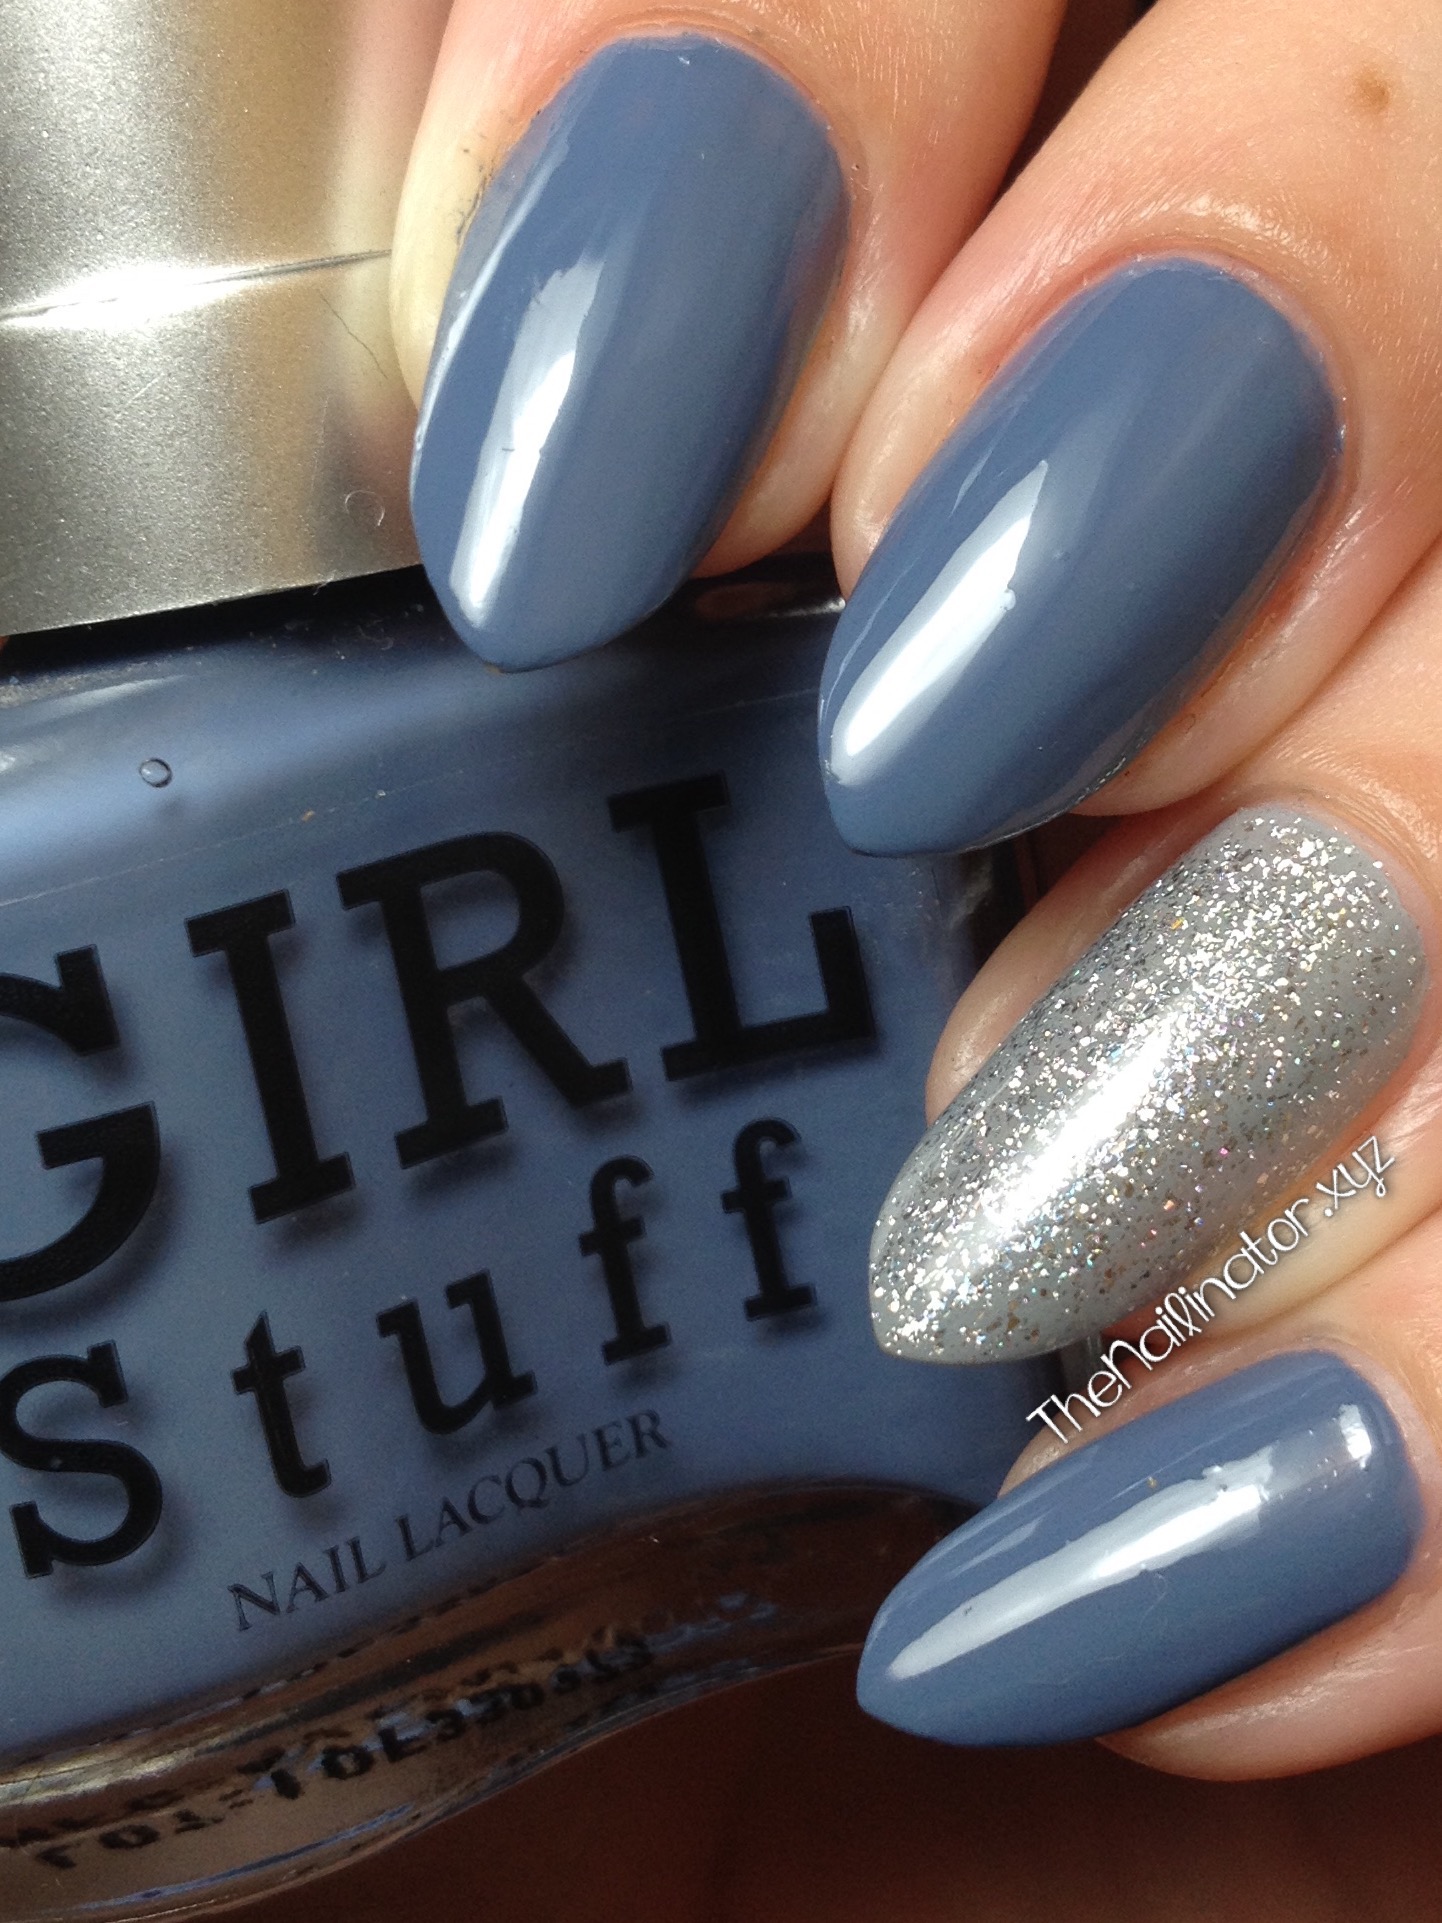
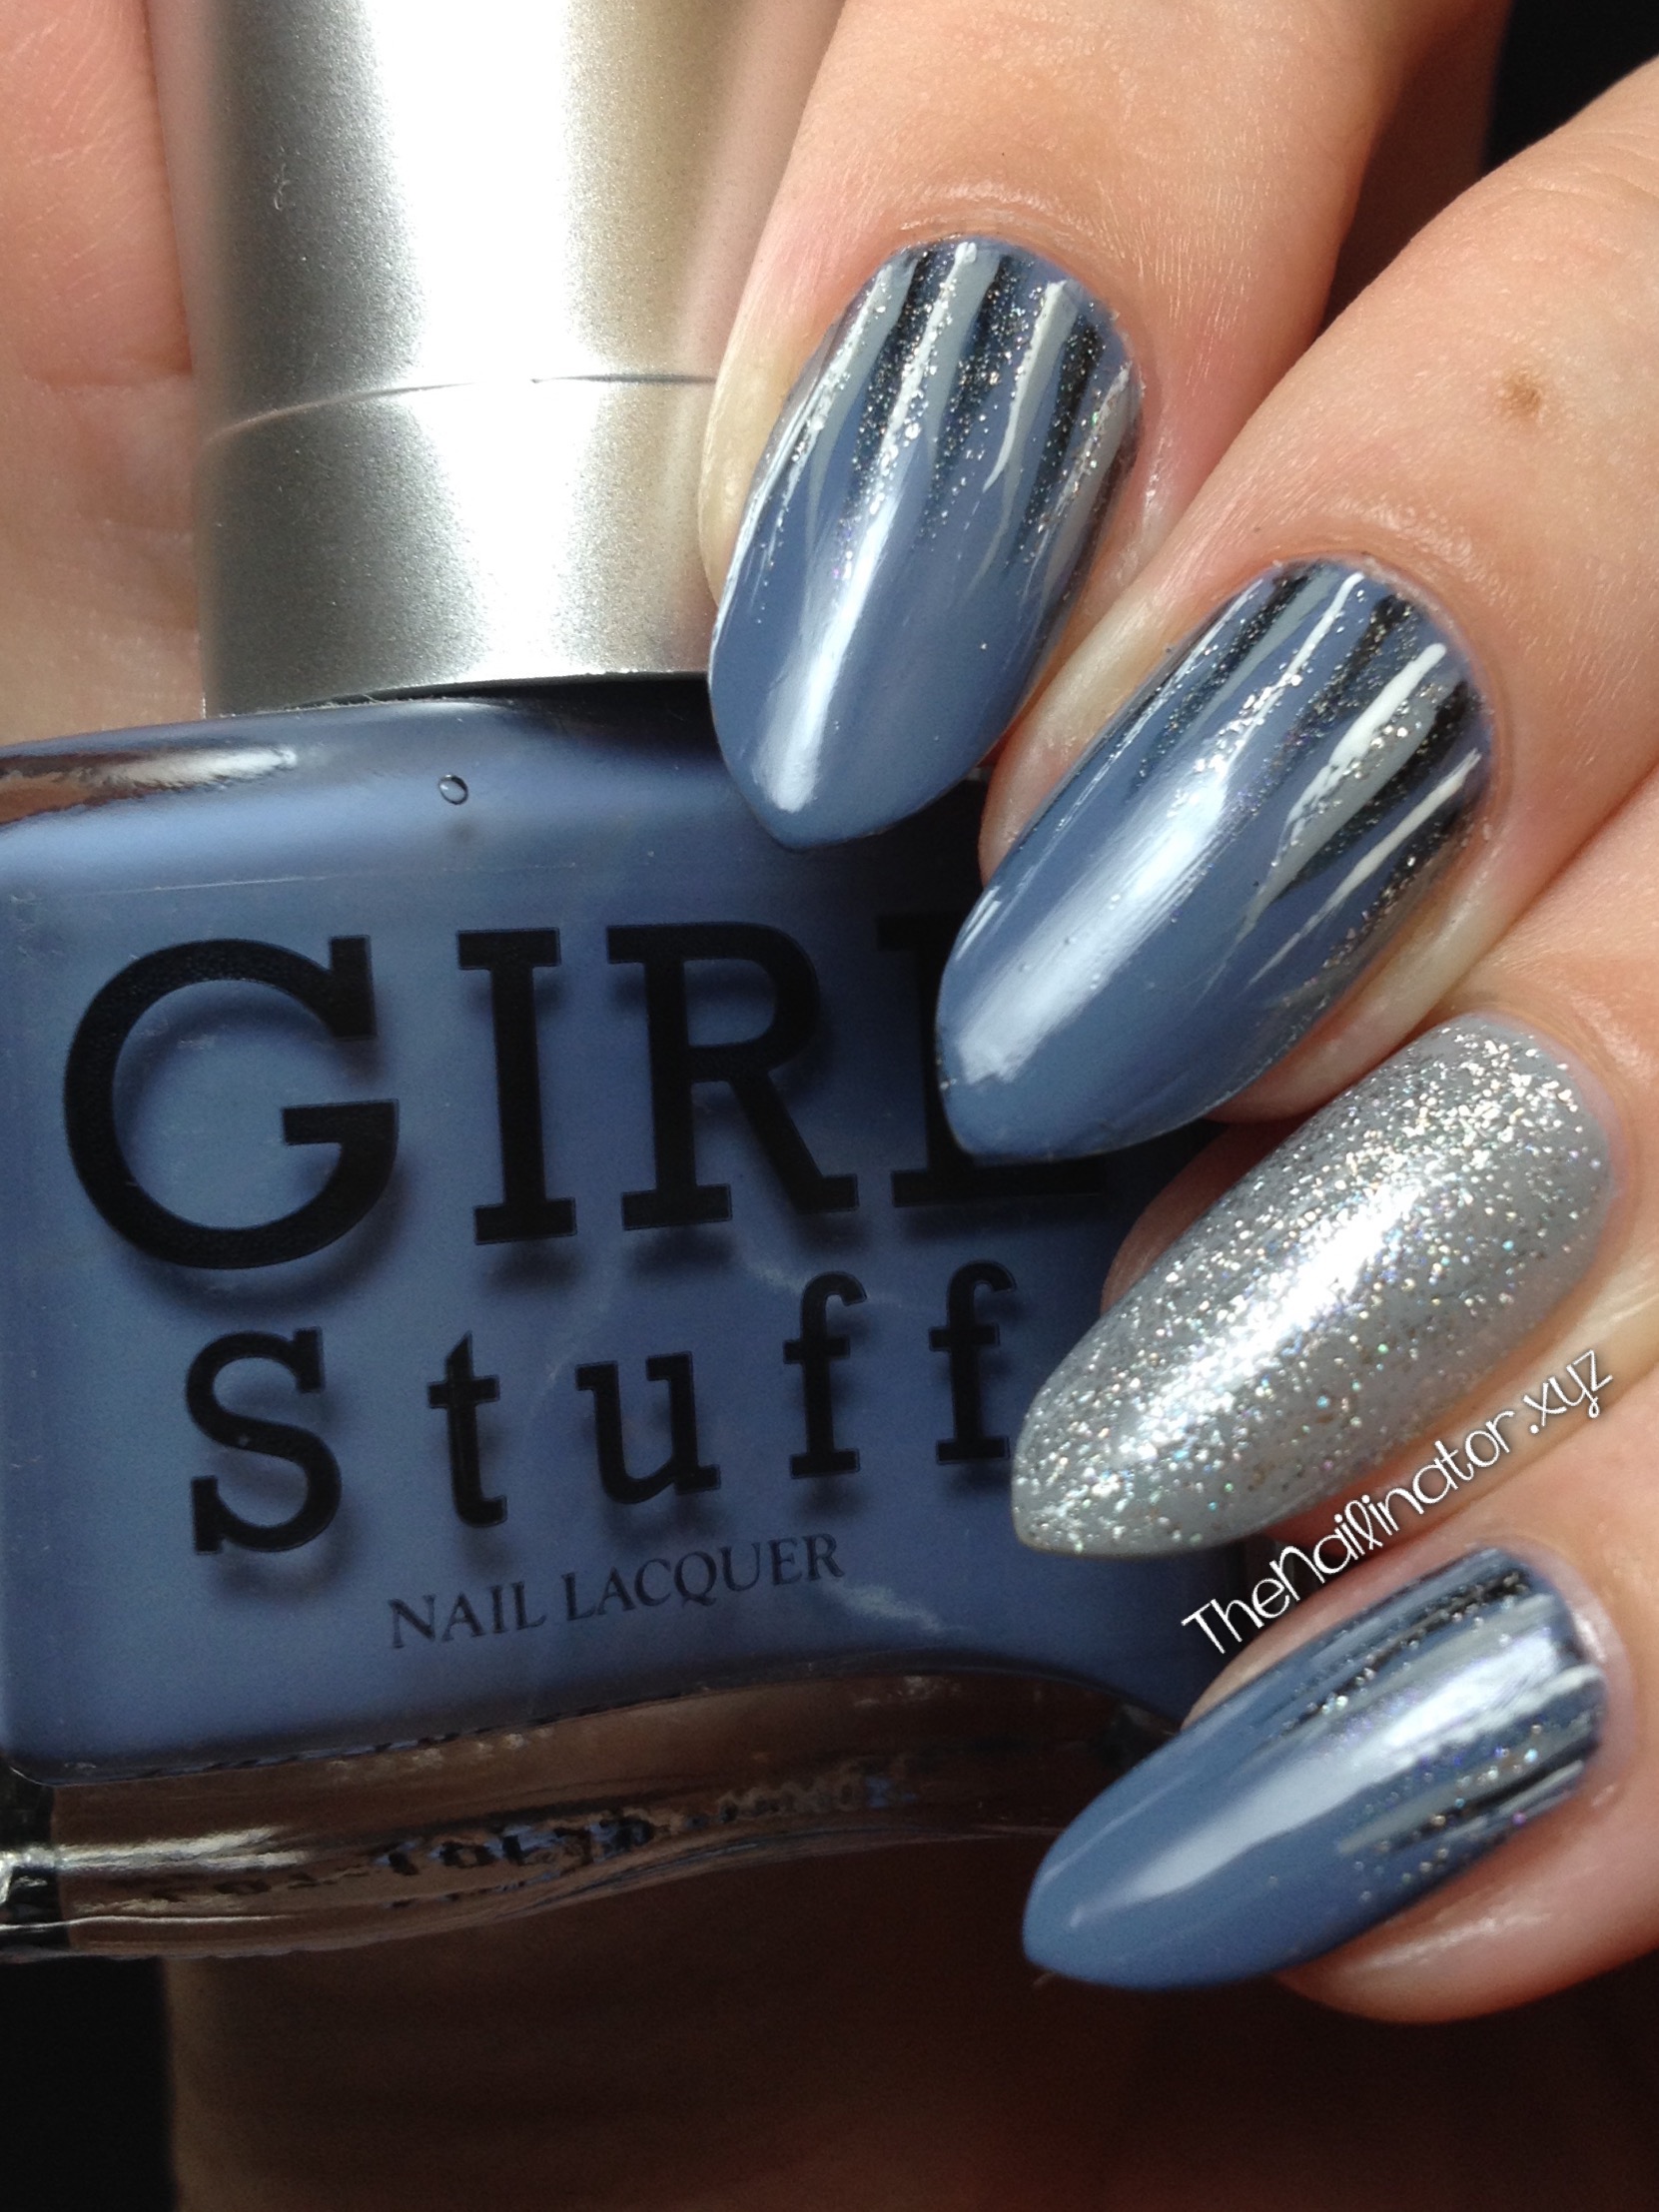
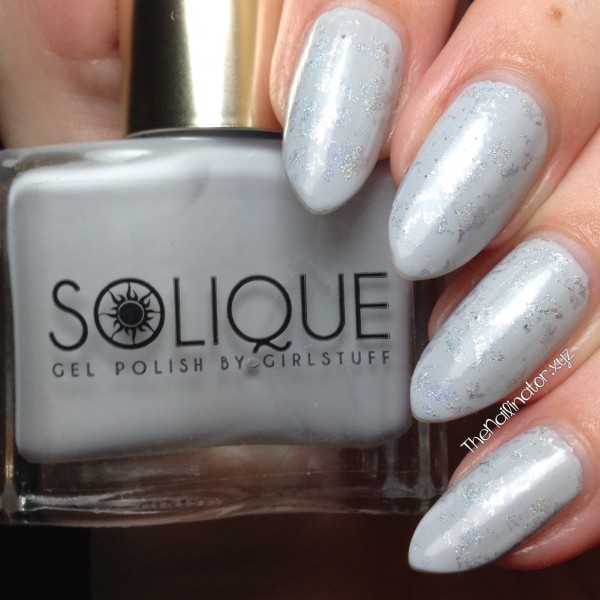
Wear time – Now to the part that I’m sure you are really curious about. How did Solique Gel Polish hold up over the test of time? Did I get the extended wear promised? Let me answer that by showing you a picture of my extended wear test results of Hush (with a bit of glitter). Keep in mind that this manicure endured a certain number of days of taping, floating, and sanding drywall, and sanding and staining wood panels – in addition to all my regular chores and work at home.

Hush 14-day wear test

How many days old would you guess this manicure is?

Five days old? Nope!

Seven days old? Not even close!

Ten days? Keep guessing!

This is actually FOURTEEN DAYS of wear and tear! Have your nails ever looked like this after wearing the same polish for 14 days? I know mine haven’t!

You can see a bit of wear on the tips but it’s still totally passable for a nice manicure. While I have heard of the amazing strength and wear of gel polishes, I never expected these results from a polish that applies, dries, and removes like a regular polish. The biggest issue I have after 14 days is the gap from the new growth of the nail since I applied the polish

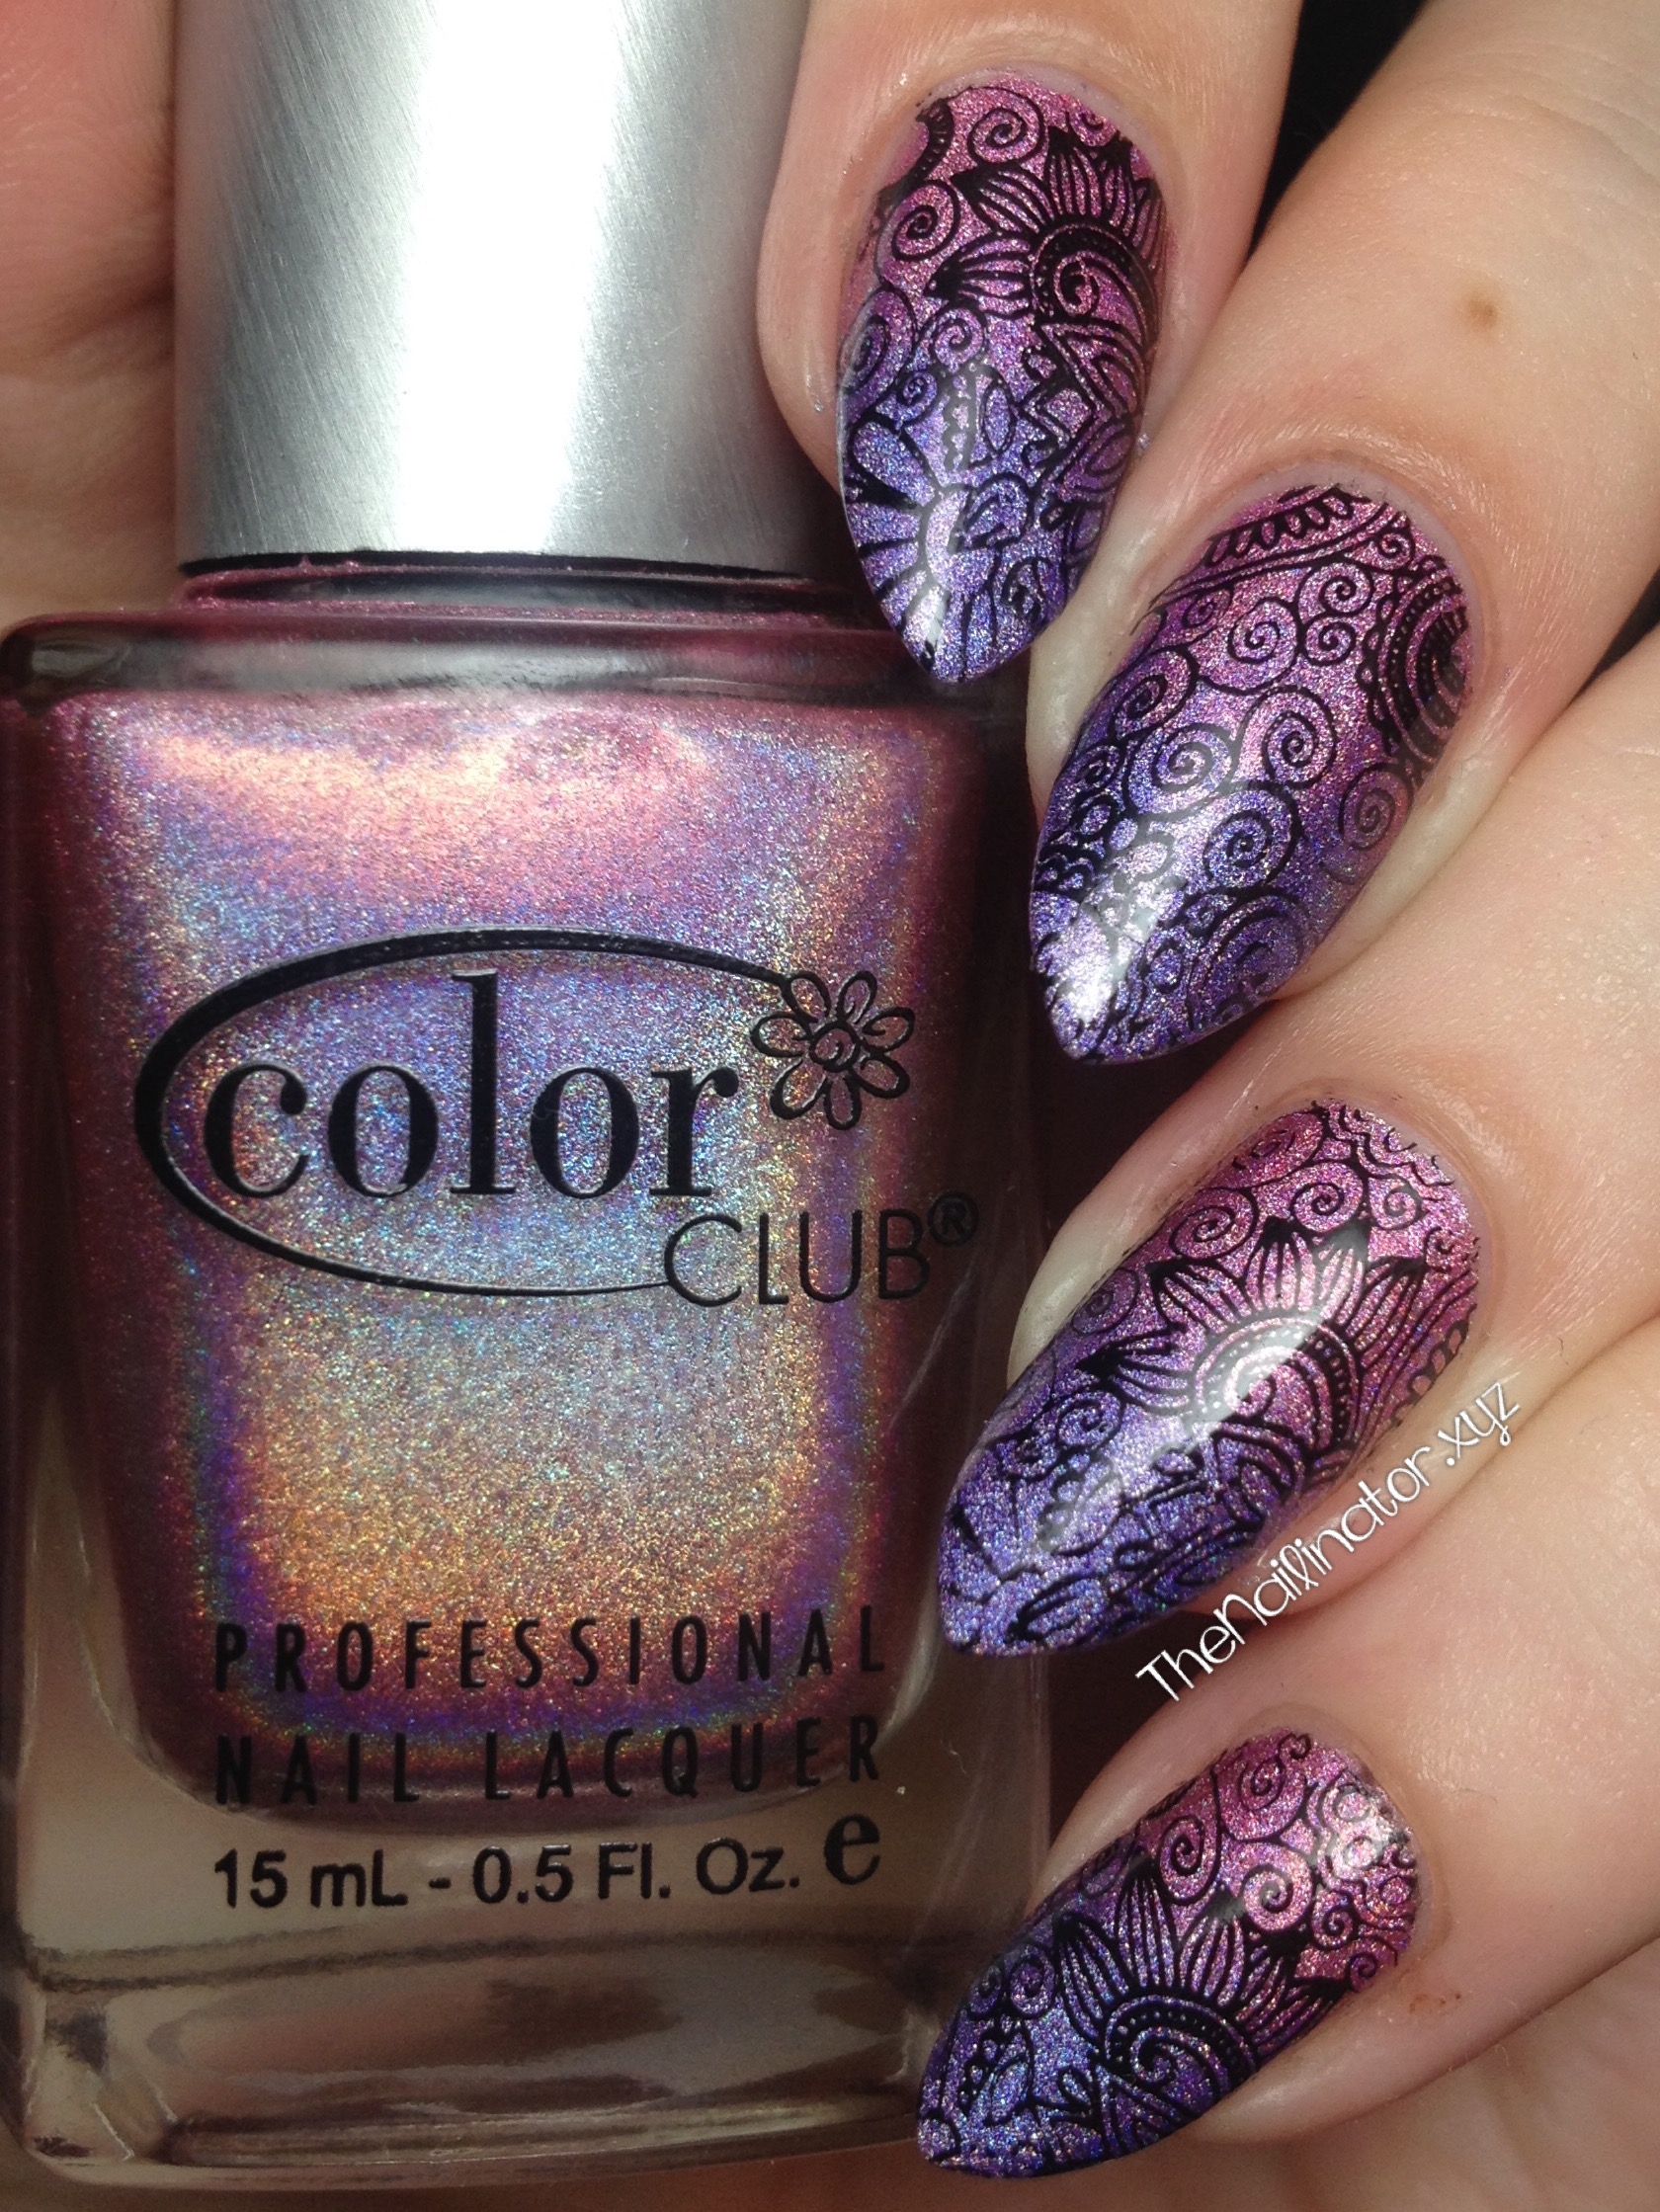
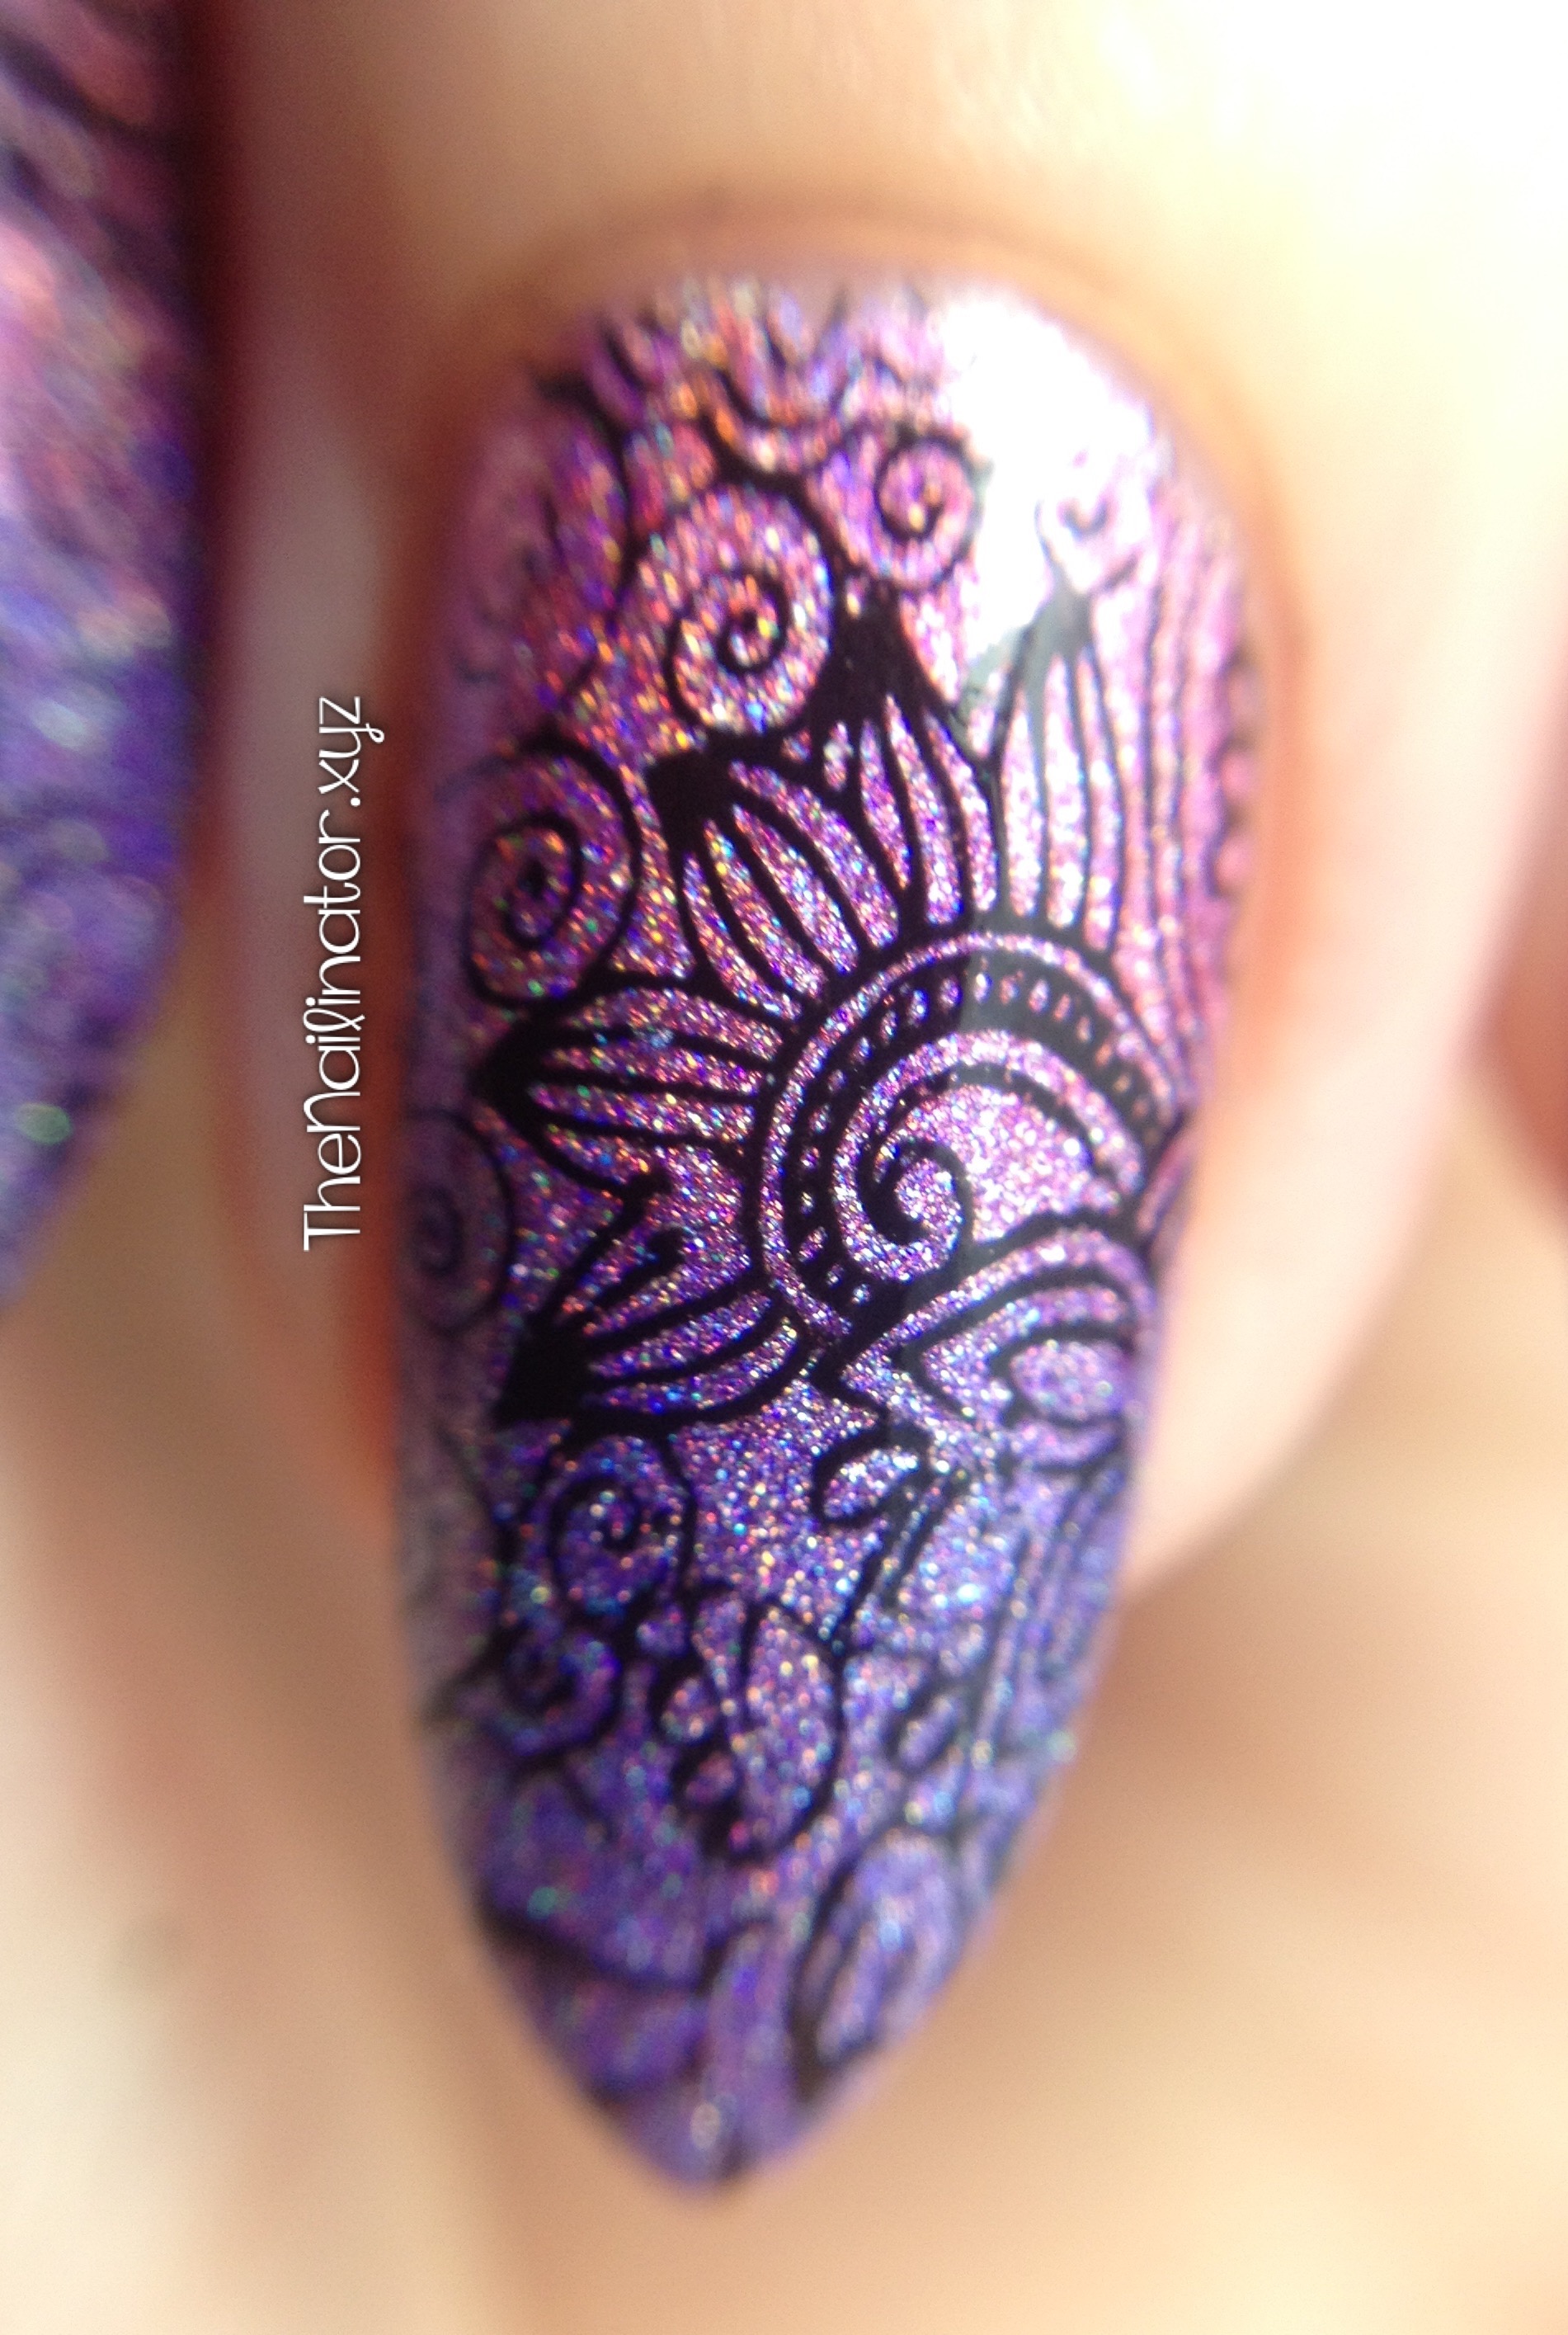
Still not convinced? How about this 10-day wear shot of Love Me Like You Do (with some subtle holo stamping).

Love Me Like You Do 10 Day wear test

Oh yeah! If you want to cut down on your salon visits or how often you do your nails at home, then you will love this new product.

The downside – Really, the only downside to this system is that the color selection is limited. But they just released a new shade so they are already adding to the line. Yay!

 Final thoughts

These would make a great gift for yourself or for a special someone in your life. Keep in mind that the Solique line is meant to be used as a two-part system. These amazing results cannot be guaranteed if you do not use the Solique topcoat.

Solique polishes cost 180Php per bottle and the Solique topcoat is 200Php per bottle. They can be purchased at any Girlstuff kiosk or directly from Girlstuff online. Their customer service is fantastic, so do not hesitate to contact them for any inquiries or shipping. You can also check out their website and contact them about having polishes shipped to you. Check them out on Facebook and follow them on Instagram @girlstufforever to keep up with their news and promotions.

I hope you found this review helpful. I love sharing great products with you and I try my best to be thorough and to include information that I personally find helpful when choosing products. Do let me know in the comments if you have any questions.

Enjoy the holiday rush but don’t forget to stop and smell the roses (or in my case stop and hug the kiddos). Have a lovely day and keep smiling!

Hugs,
Rach

23 Nov

Girly Halo Hues Gradient with MJ XXVI Stamping

Hello lovely friends!

I noticed that I have had a harder time keeping up with the blogging these past few months. I’ve got a good reason though. For the past three months we’ve had some visitors, I’ve been helping hubby with a huge renovation project, keeping up with school with the kids and had a few health issues to deal with. The good news is that the renovation is almost complete and I’m looking forward to things getting back to normal. I’ve still been doing my nails so I’ve got some fun looks lined up to share with you.  I am so excited to get to some Christmas nail art very soon!

Today I’ve got a pretty gradient and stamped mani to share with you. I started off with one coat of Miss Bliss. Then I taped off my cuticle area to minimize the clean up and sponged Eternal Beauty on the tips of my nails. Then I used my fabulous MJ XXVI stamping plate from My Online Shop. This plate is my FAVORITE floral plate. I can’t get enough of it.

Edited to add: I just noticed that My Online Shop is having a 10% off sale from November 24-30. Enter the code BLKFRIDAY2016 at checkout.

Color club Halo Hues Gradient With Stamping

Aren’t they magical? So girly and sparkly! I loved wearing these and I received lots of compliments on them. That’s always fun! Now for a mandatory macro shot….

Macro of Color Club Gradient with Stamping

Soooo pretty! This is one of my favorite designs I’ve worn so far this year. Gradient nails are so easy to do and the possibilities are endless. If you haven’t tried a gradient look, then grab a sponge and your favorite polishes and go ahead and give it a try! Maybe I should make a photo or video tutorial for you?

I’ve been testing out a new product that I’m so excited to share with you. Keep an eye out for my next post! Have a fantastic day!

Hugs,
Rach


12 Oct

Waterfall Nail Art Featuring Girlstuff Diana

Hey gals!

Yes, it is Monday! But my Monday is almost over, and it honestly hasn’t been too bad. I decided to turn the air conditioner on today and enjoyed a blissfully cool day at home with the kids making up goofy stories, working on cleaning their room, and doing school. We also enjoyed learning about iguanas and sea turtles!

Today I’m sharing a quick and easy nail art look that can take an already fine-looking manicure to the next level. If you follow me on Instagram, you have probably already seen the first picture below. (Keep scrolling for something new though!) I started with Girlstuff Diana which is a lovely dusty blue creme with a hint of purple to it. (Blurple! Yay!) For my accent nail, I chose L.A. Girl 3D Silver for some sparkle.

Girlstuff Diana with silver Accent nail

To add more pizzazz, I  used a thin striper brush and added some stripes at the base of my nails tapering off toward the tips. As you can see, I used gray, white, black, and silver polish for the stripes. Easy peasy! They call this “Waterfall” nail art.

Girlstuff Diana with nail art

I always love trying new, super-quick nail art looks. Don’t you? Please comment and share your favorite go-to nail art look for when you need something quick and easy.

I hope you are having a great day. Keep smiling!

Hugs,
Rach

%d bloggers like this: