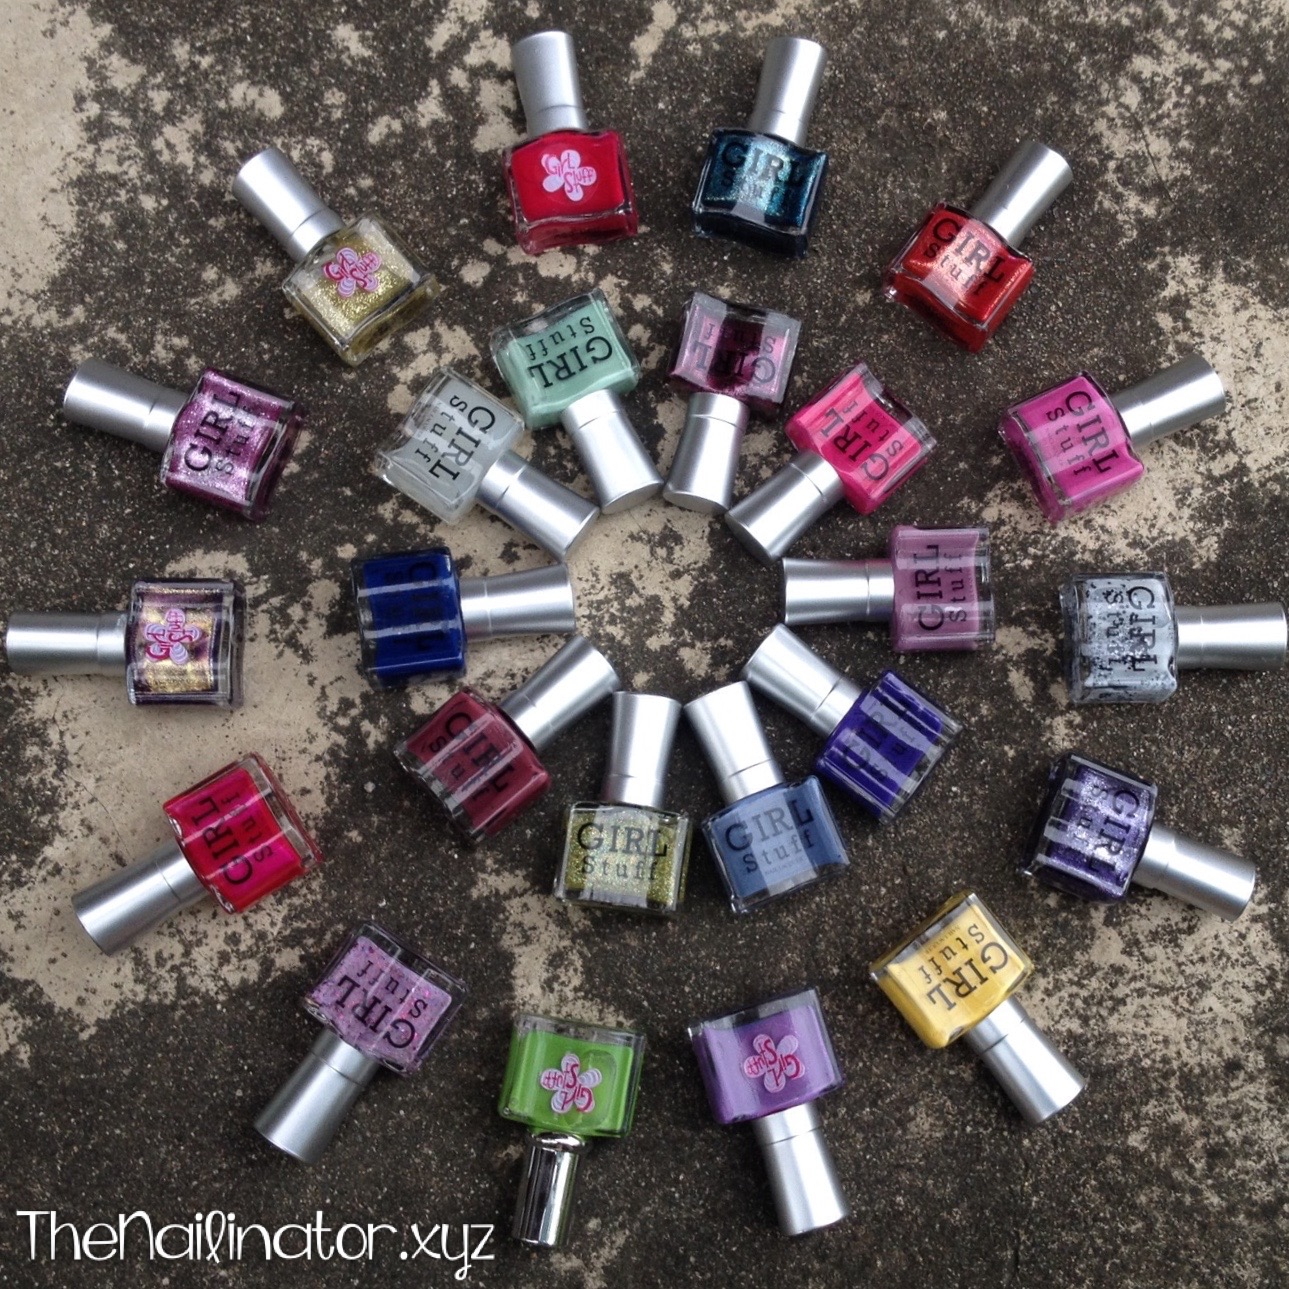
22 Nov

Two-for-one Sparkly Accent Nail

Hi lovelies!

I’ve got  two-looks-in-one for you this evening. First up, I’ve paired this lovely hot pink with a gold glitter accent nail. I like to use glitter as an accent nail when I don’t have the time or inspiration for nail art but I still want something flashy and interesting. Do you do this too? This pink is Pretty In Pink by Girlstuff Forever. It is a two-coater creme polish that dries fast and is so bright and fun to wear. It cleans up easily too.

GirlStuff Pretty In Pink with 24K sponged accent nail

For my accent nail, I chose 24K which is also by Girlstuff. The bottle is packed with remarkably sparkly holographic gold glitter suspended in a clear base. You could paint it onto your nail for the typical coverage of any glitter top coat. But, if you want the coverage I have, you will need to grab a makeup sponge. I put tape around my cuticle (to minimize glitter sticking to my finger) and put a drop of 24K on the sponge. Then I sponged that directly onto my nail and repeated the process until I was happy with the coverage. The great thing about this method of application is that you can get all the glitter on the nail and most of the clear base will be left behind in the sponge. So you can have full coverage without having to use 14 coats of glitter. 😉 Make sense? Finish it off with topcoat to seal your glitter and enjoy the sparklies! The accent nail took a bit of elbow grease to clean up, but that’s typical for glitter.

Girlstuff Blues with 24K sponged accent nail

After wearing Pretty In Pink for a few days, I decided to try out Blues, another one of my new beauties from Girlstuff. This navy blue creme is another two-coater that dries quickly with a great shiny finish and also cleans up easily. ♥

The more Girlstuff polishes I try, the more I love them. I’ve heard they are good for stamping too, so that is on my “things to try” list. I’ll let you know.

I hope you are having a great weekend. Make someone smile today!
Hugs,
Rachael

18 Nov

Girlstuff Forever is in Cebu!

Hello Ladies!

I’m thrilled that one of my favorite polish brands is now available here in Cebu City, Philippines.  Girlstuff Forever has just opened a kiosk at Ayala Center Cebu on the 2nd floor along Paseo Ciudad (near What A Girl Wants and Converse).

I was invited to attend the press event for the opening, and I wanted to share the nail art I wore for the event and to tell you more about Girlstuff and why I love it so much.

Girlstuff Wild Berries with Floral Accent Nail

Aren’t these adorable? I started with Girlstuff Wild Berries as my base and used striping tape to tape off the triangles and filled them in with Girlstuff Enchantè. I added the rhinestones with a dab of nail glue and finished off with topcoat. For the accent nail, I used my biggest dotting tool with Wild Berries to make the big blob parts of the rose. Then I used a tiny dotting tool and some light pink for the swirly parts of the flower. I used a small nail art brush for the leaves and the tiny polka dots.

Mommy & Me manicure featuring Girlstuff Forever polishes

My little one wanted her nails done “like mommy’s”. It was fun to have matching nails.

About Girlstuff Forever

Girlstuff is the first 5-free nail polish brand in the Philippines. The polish is actually made in France but only sold here. I love this brand because, in addition to being safe for my little girl to wear (which she does quite often), there is a wide selection of colors and finishes to choose from.

Girlstuff Forever kiosk at Ayala Center Cebu

The selection includes textured and magnetic polishes, cremes, jellies, metallics, shimmers, duochromes, glitters, and an awesome matte topcoat! They are also quick-dry, kid-safe, and affordable (100-150 per bottle). This is a cruelty-free brand which means that they don’t test their products on animals. Here is my personal collection so far. ♥  (Check out my Girlstuff tag archive to see other blog posts I’ve made featuring Girlstuff polish.)

My Girlstuff Forever polish collection

I’ve included a swatch shot of Red Velvet, which is part of their newest “Redilicious” fall collection. It’s so pretty and shimmery. I used 3 thin coats and no top coat for this shot. They will be releasing a Christmas collection soon so keep an eye out for that as well.

Girlstuff Forever Red Velvet swatch

Girlstuff also carries a variety of nail art tools and accessories like rhinestones, dotting tools, brushes, stickers, and the like.  They even have washable polishes which can be removed with soap and water. I will be getting my little girl some of those when she is a bit older and wants to do her own nails.

Photo of Girlstuff nail polish and nail art supplies on display

The owner and founder of the company, Janina, is a chemist-turned-SAHM. She started off making colognes and other products for little girls that are free of harmful chemicals. Eventually she started making nail polishes. Janina told me that each product is tested multiple times during production to ensure that the finished products are safe for us and especially for our little ones. Here’s a shot of me at the opening (on the right) with Janina (middle) and Ging, (on the left) who is the operator of the Cebu branch.

Ging, Janina, and I in front of Girlstuff Forever Ayala Cebu

If you want to get your hands on some of this lovely polish for you or for the little girls in your life, you can find them here in Cebu on the 2nd level of Ayala. The other branches are located at SM Mall Of Asia, SM North Edsa, SM Megamall and SM San Lazaro. You can also contact them directly and they can ship to you.

You can keep up with Girlstuff through Facebook, Instagram, or their brand new website.

I hope you have a great day!
Hugs,
Rachael

10 Nov

Born Pretty Store Hexagonal Glitter Review

Hi there!

I’ve got another product review to share with you. When Born Pretty Store contacted me a while back asking me to review some of their products, I knew immediately that I wanted to get my hands on their 12-Color Hexagon Glitter Set I’ve heard so much about. When I received the package, I immediately set about putting tons of glitter all over my nails! I was thinking of doing something pumpkin related with these. But after I finished with the orange glitter, I realized that they looked more like koi fish scales. They were so fantastically glittery, I decided to leave them as is. Aren’t they pretty?

Orange Hexagonal Glitter Placement mani

To achieve this flashy look, I started with two thin coats of a similar base color (Caronia Bourrée in this case). After my base color was dry, I applied a bit of clear polish down the center of my nail and, using a damp orange wood stick to pick them up, carefully placed the glitter piece by piece in a straight line down the middle of my nail. Then I worked out towards the sides of the nail, applying clear coat column by column to get the glitter to stick. Using my cuticle nippers, I cut some glitter in half for the edges of my nails. After the nail was covered to my liking, I applied a generous layer of clear coat to seal it all in.

Orange Hexagonal Glitter Placement mani 2

I can’t believe that it has been a year since I did a full glitter placement mani! They are so pretty and fun to wear.

Hexagonal Glitter Review

Let me tell you more about the 12-Color Hexagonal Glitter Set from BPS.  The pack comes with 12 different colors each packed nicely in a clear pot with a screw top lid. There is a ton of glitter in each pot and the colors are very pretty.

Born Pretty Store 12 Color Hexagonal Glitter set

I have to say that some of the hexes are cut very well , like these orange ones for instance. There may have been one or two oddly cut pieces that I found while I was placing these bits, but most of them were just right. The silver ones that I used for another look, on the other hand, were not so perfect. I had wonky hexes, half hexes, and wonky half hexes (you get the picture). If you plan to use these on a matching base then the wonky shapes won’t be such a concern. But if you look closely at my other mani, you can tell clearly that they are shaped a bit off—a contrasting color makes it a little more obvious. In reality though, I wore that design for several days and had many compliments on it with no one noticing anything amiss. Maybe it’s just my OC self making note of the shape issue, but the silver hexes are the oddest of the bunch. The rest are significantly better.

I decided to include a little gallery with a sample from each pot of glitter so that you can see for yourself the general quality of the glitter. The color is hard to make out on some of these, but the silhouettes show just how well-cut (or not) each color is. Just click/tap an image to enlarge it and then flip through them one-by-one.

Overall, I think this is a great product. This 12-color hexagon glitter set usually goes for $6.85 on Born Pretty Store. They are having a sale at the moment, and you can get this set for $5.48, but the sale ends in just a few hours. If you live in the Philippines, I want to remind you again that, though there are no shipping costs from Born Pretty Store, you WILL have to pay customs fees (about 150 pesos) on any package coming from outside the Philippines. Delivery is also slow if you choose their free shipping option. So don’t expect your package soon. If you plan on ordering something from Born Pretty Store, you can use the coupon code below to get 10% off your entire order.

Coupon

Glitter placement manis are sooo eye-catching and versatile. I need to try a gradient type one soon or try different colors on each nail.

Orange Hexagonal Glitter over Caronia Bourrée

Have you done any glitter placement nail art? I would love to see! Please feel free to share a  link below in the comments if you feel like it. 🙂

I’m off to play some video games with my boy! Have a lovely day and keep smiling!

Hugs,

Rach

06 Nov

CND Vinylux Weekly Polish Review

Hi, Dolls!

Today I’m going to share some swatches of (and my two cents about my first experience with) a couple of CND Vinylux Weekly Polishes that were sent to me a few weeks ago. This is going to be a wordy post, so please bear with me.

The CND Vinylux Weekly Polish is designed to be used as a two-step system. (1) Starting with clean nails, apply two coats of the Vinylux color of your choice, and (2) finish with one thin coat of Vinylux Weekly Topcoat. The pamphlet says you should not use a base coat as the polish has “adhesion promoters” to help the polish adhere to the nail and to prevent the pigments from coming into direct contact with the natural nail. Can it be? No staining? RAFO people! As for the top coat, it features CND’s “ProLight technology” which is designed to increase the durability of the top coat with exposure to natural light. Pretty cool huh? This top coat is supposed to prevent chipping, denting, scratching and dulling for up to a week of wear. I gather that this is something in between regular polish and gel polish.

CND Vinylux Weekly Polish – Swatches

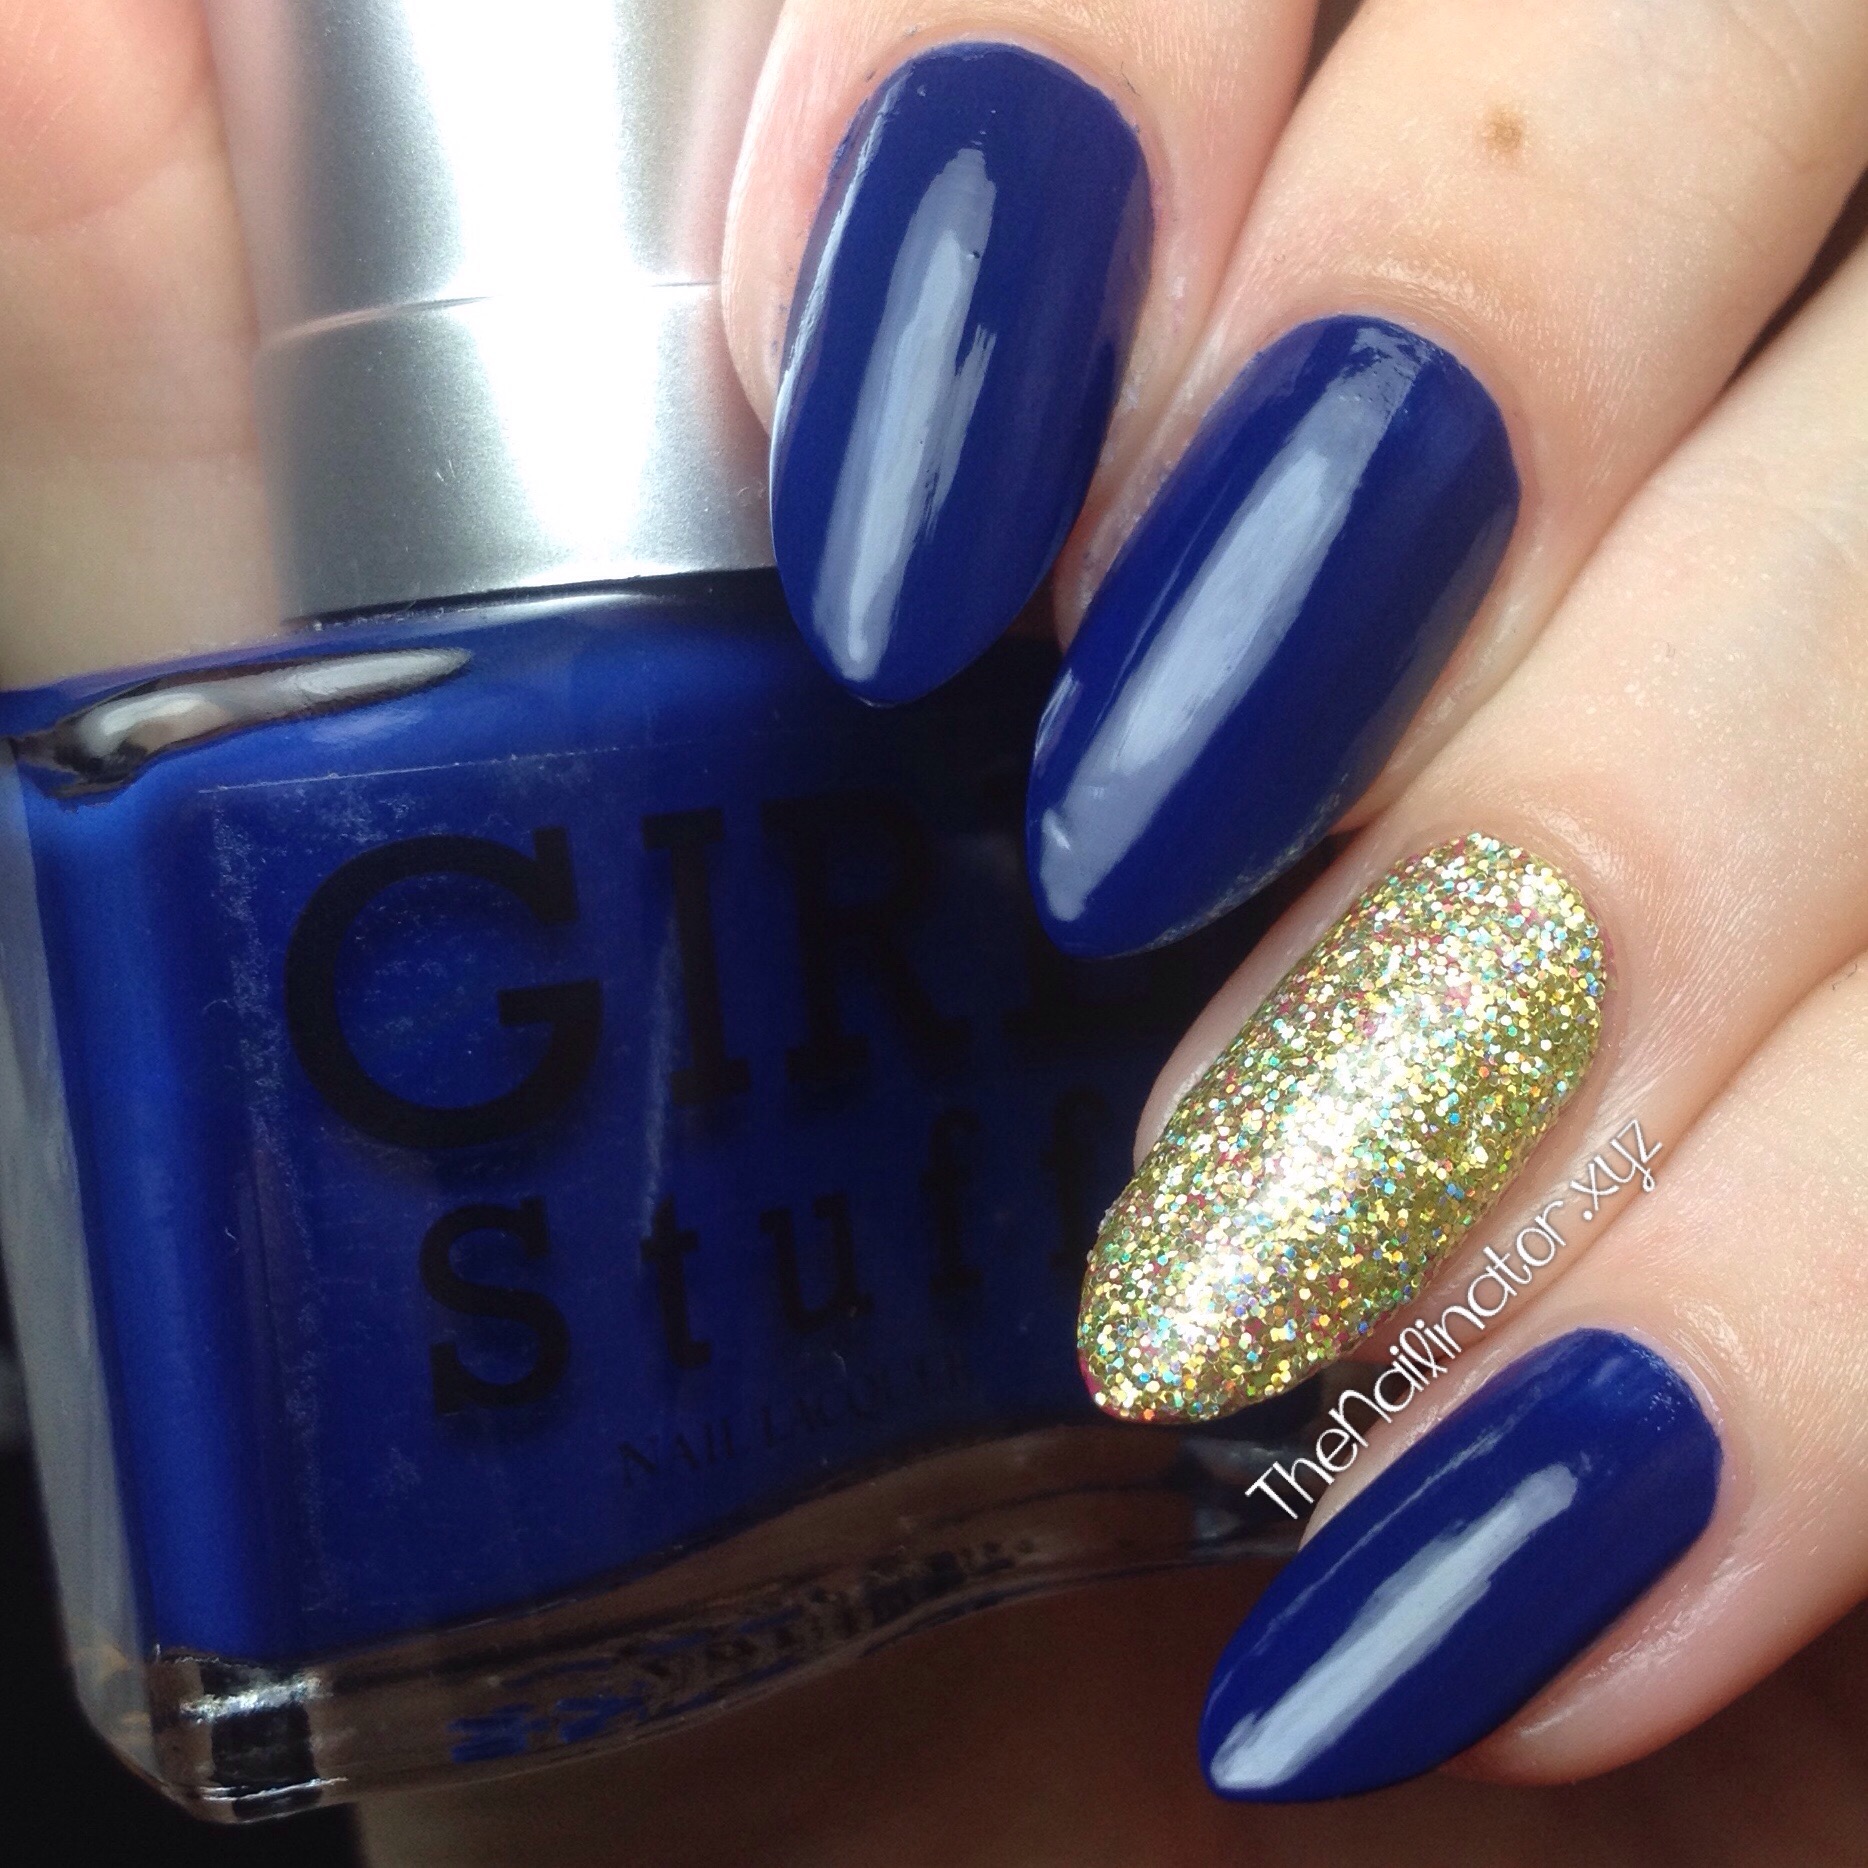
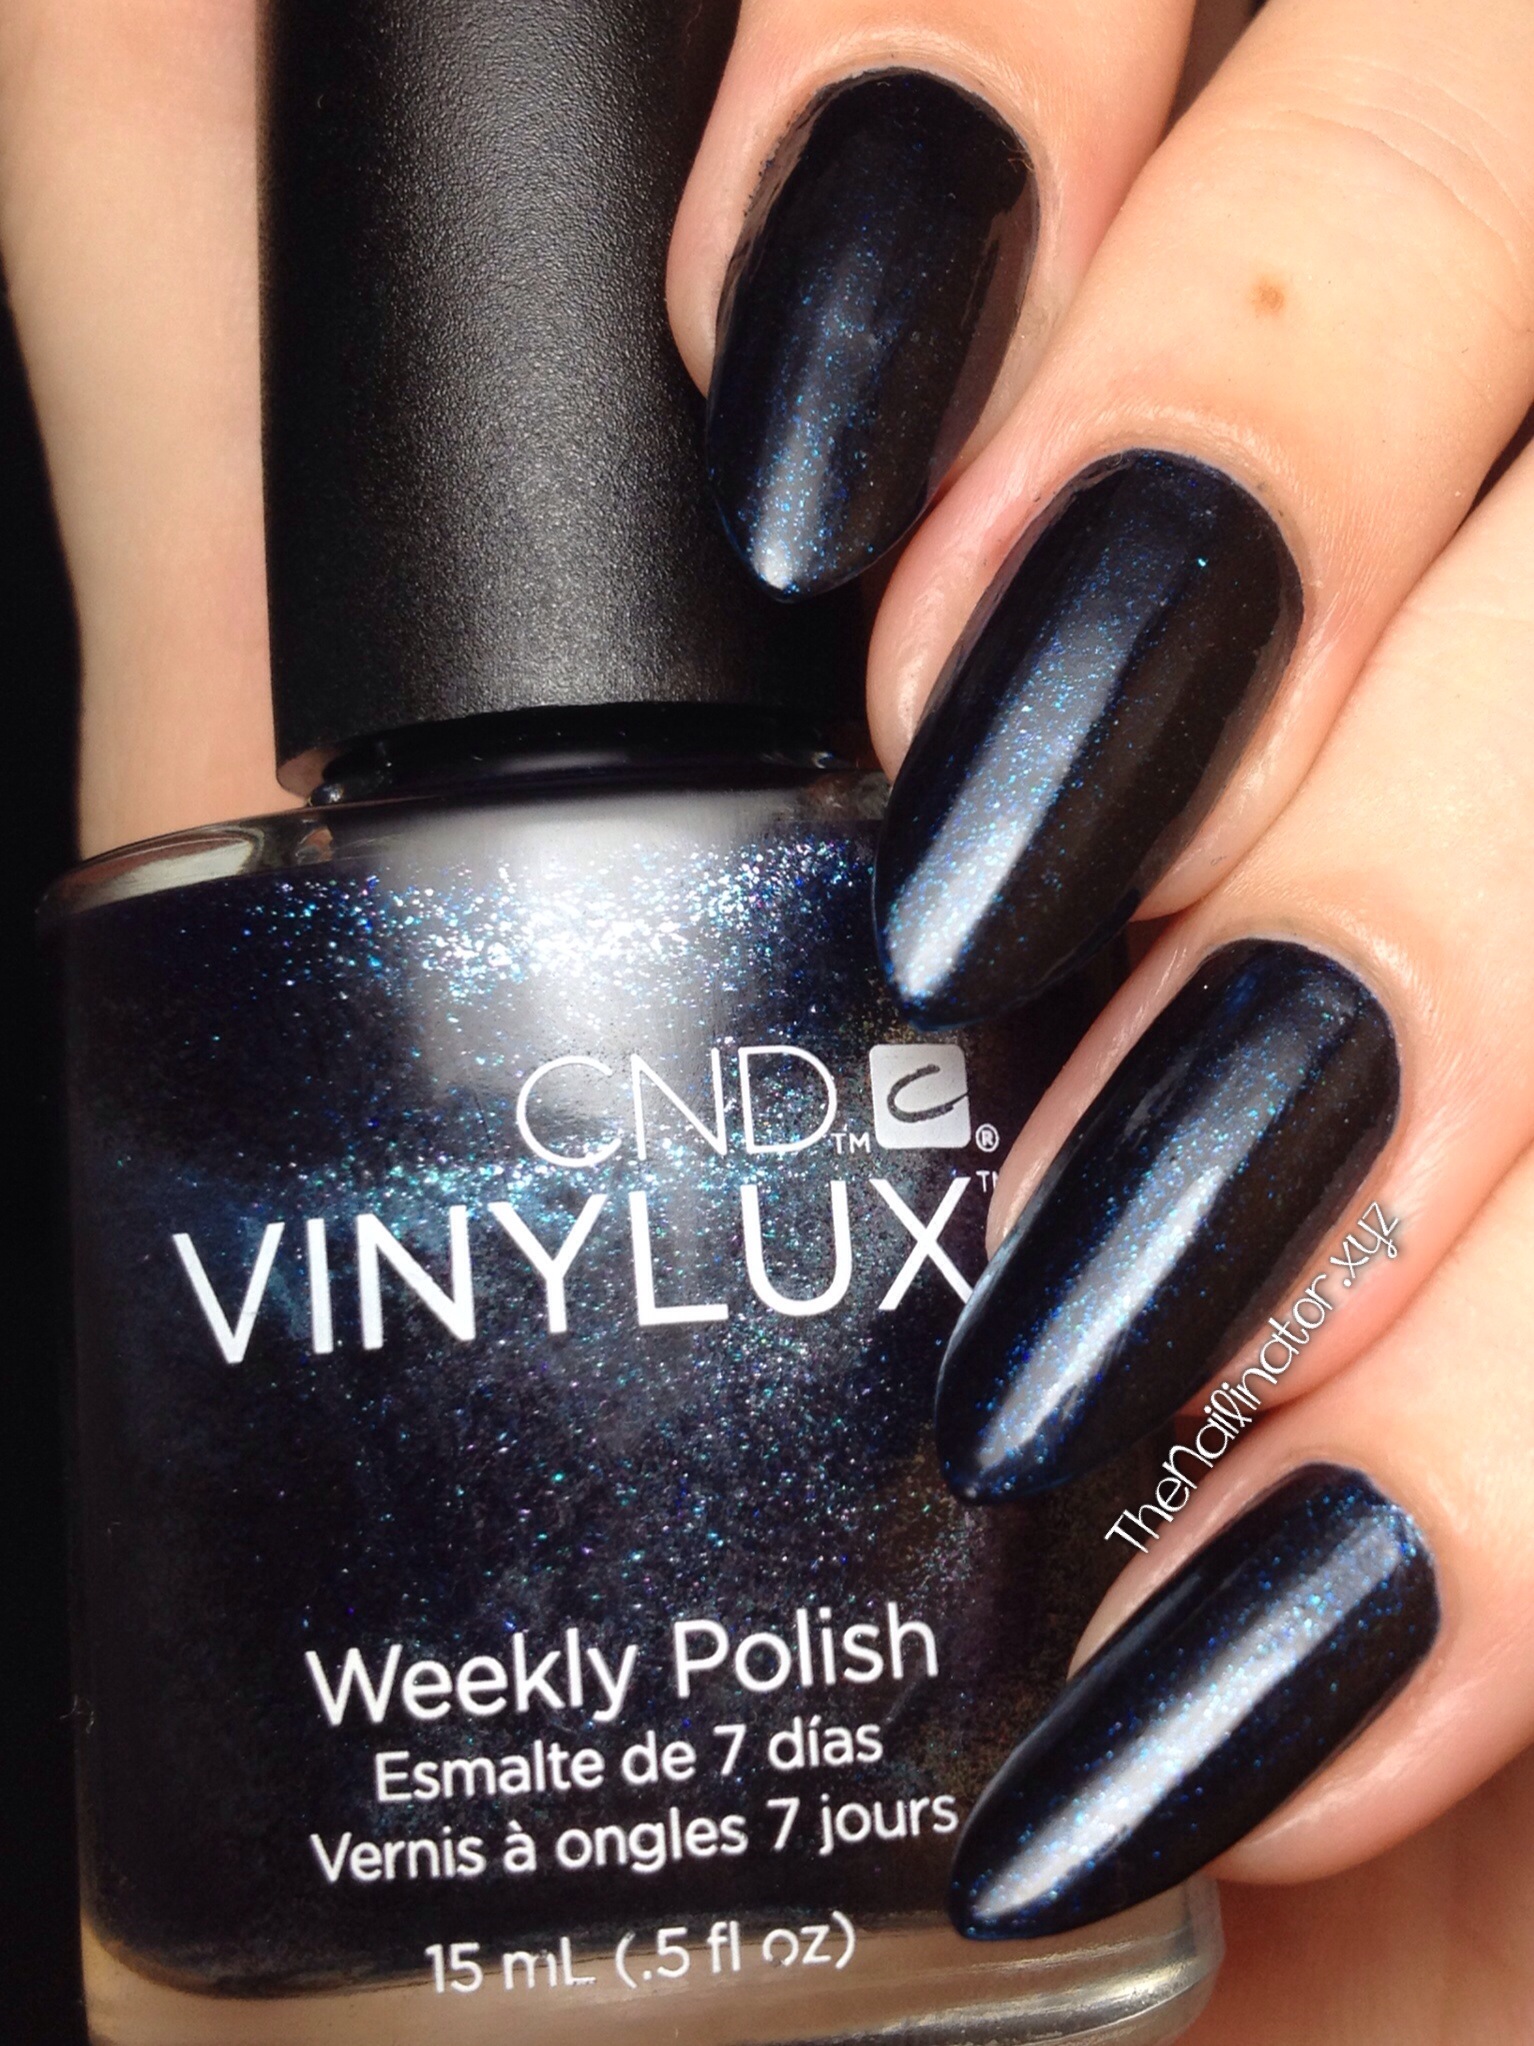
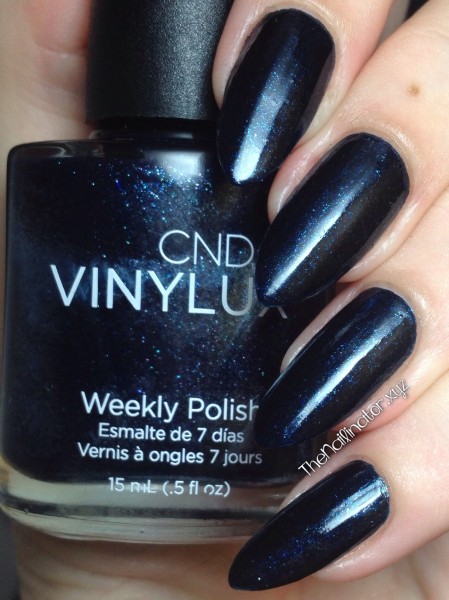
Which polishes did I get, and what did think of them? First up is Midnight Swim (#131). It’s an extremely dark blue filled with shimmery particles of magic fairy dust that look just gorgeous when the light hits them. I WILL be using this polish for Nebula Nail Art very soon!

CND Vinylux Weekly Polish Midnight Swim swatch

The picture above is from my lightbox. The one below is the same polish under direct light. You can see the subtle shift in color from the change of lighting.

CND Vinylux Weekly Polish Midnight Swim

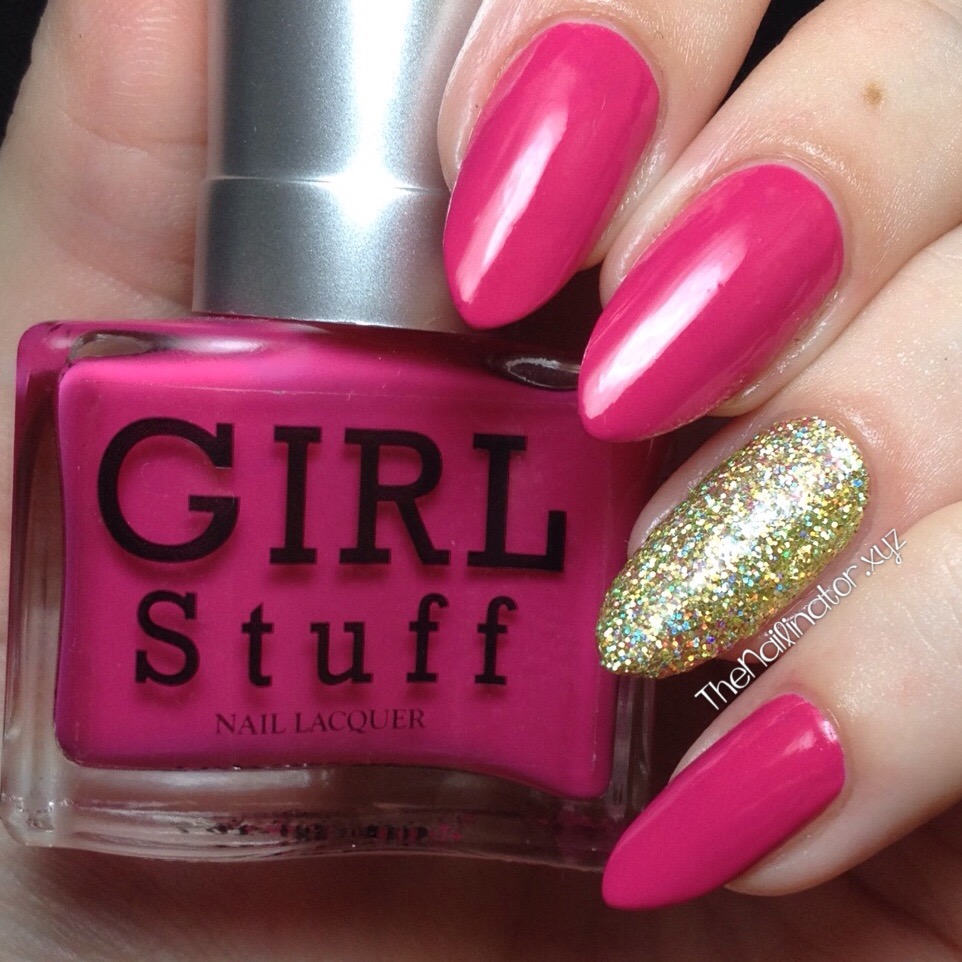
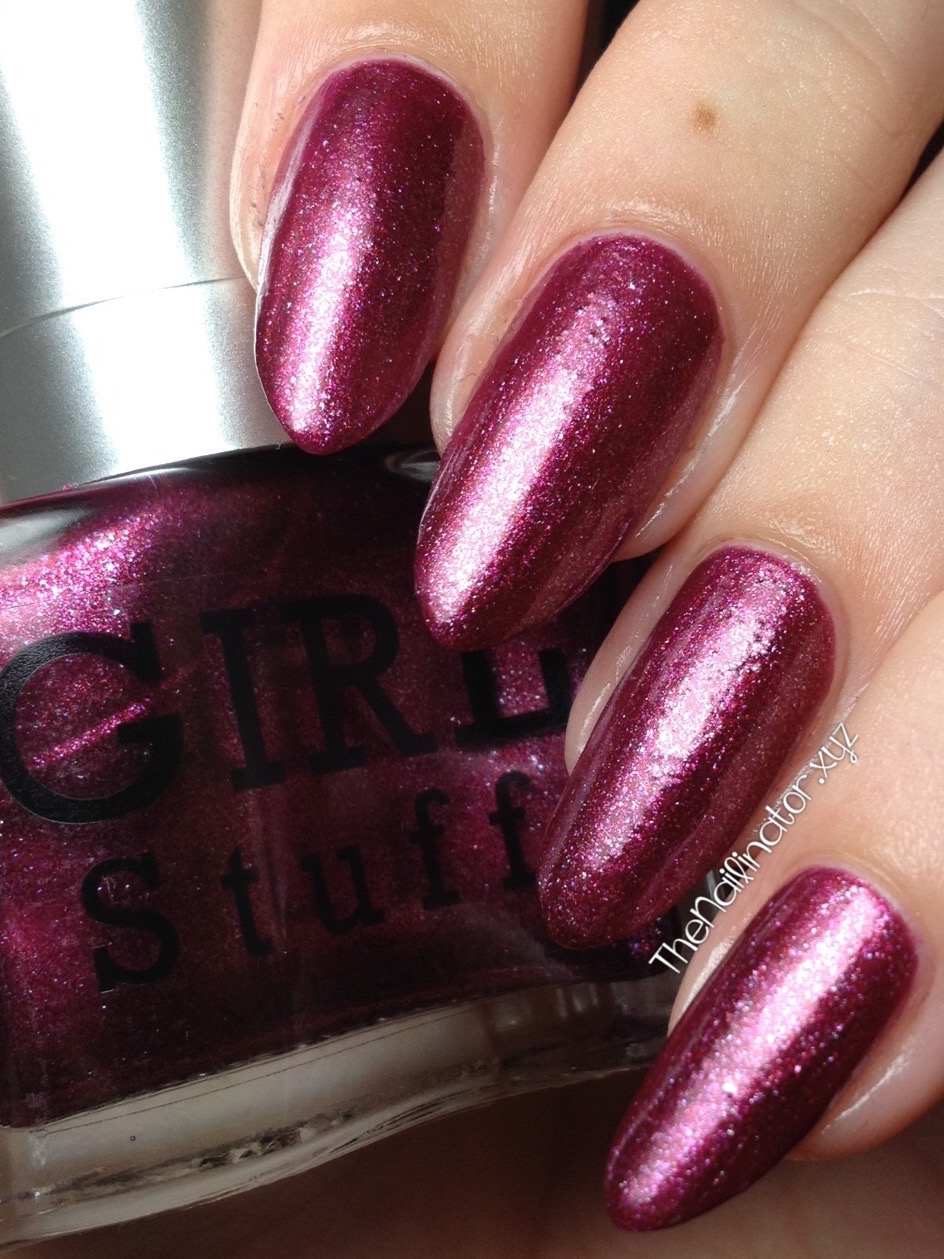
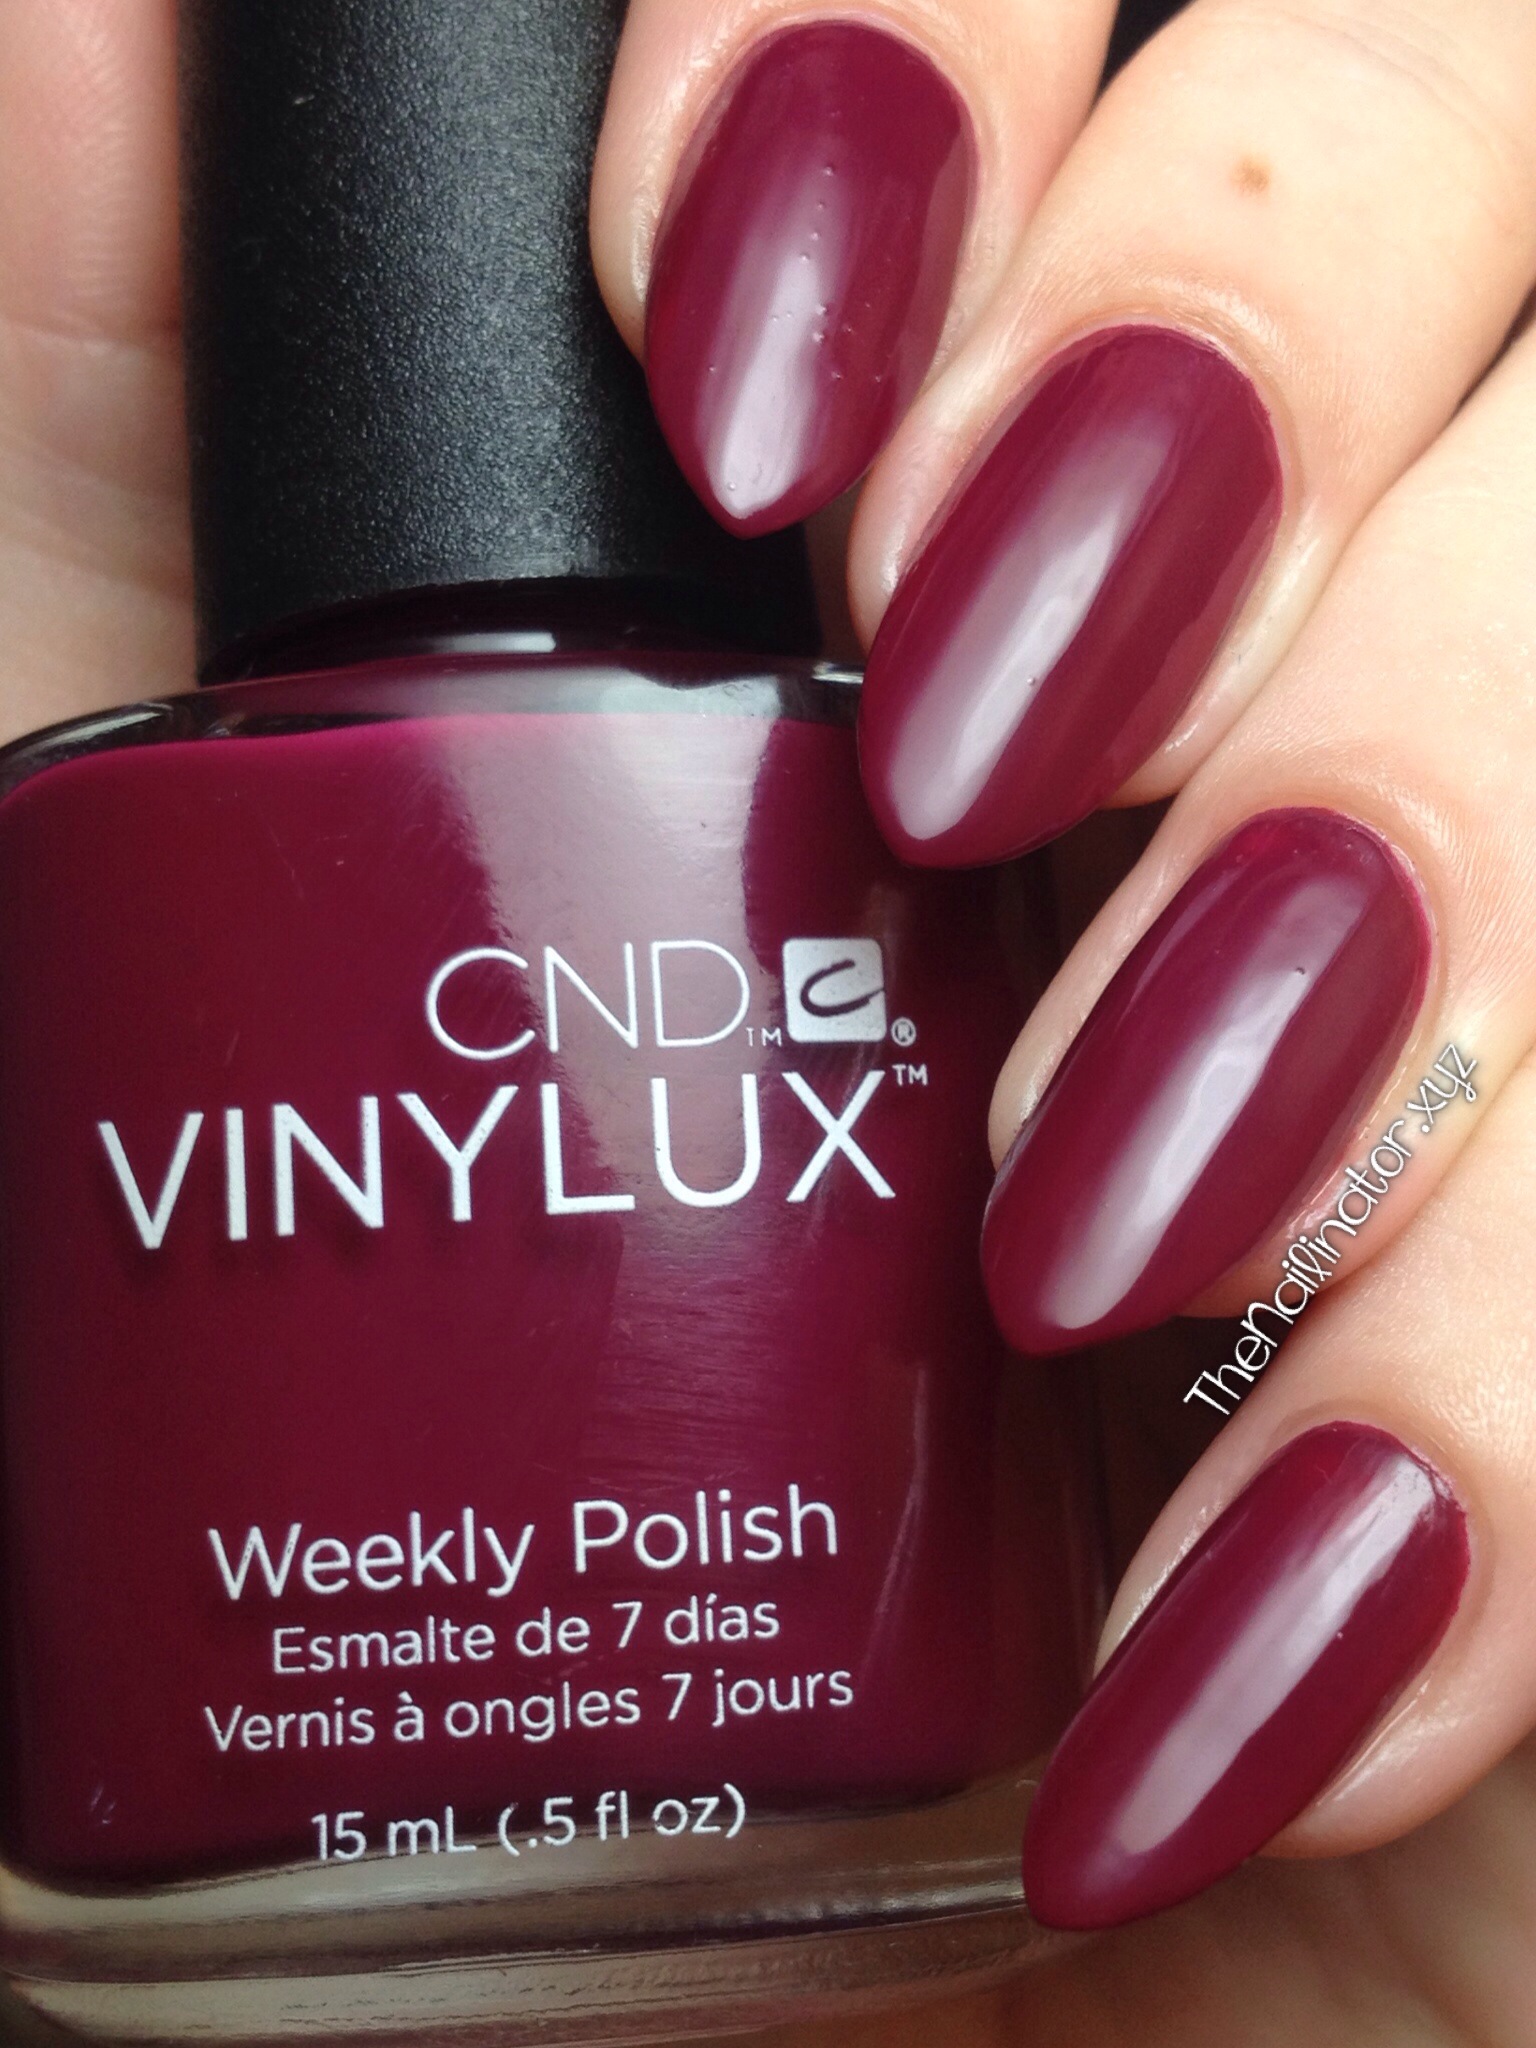
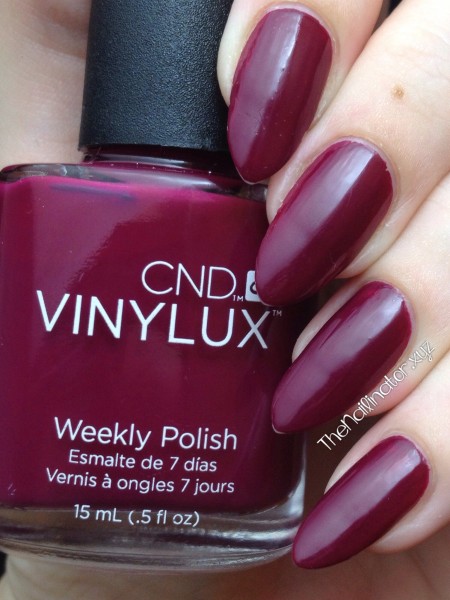
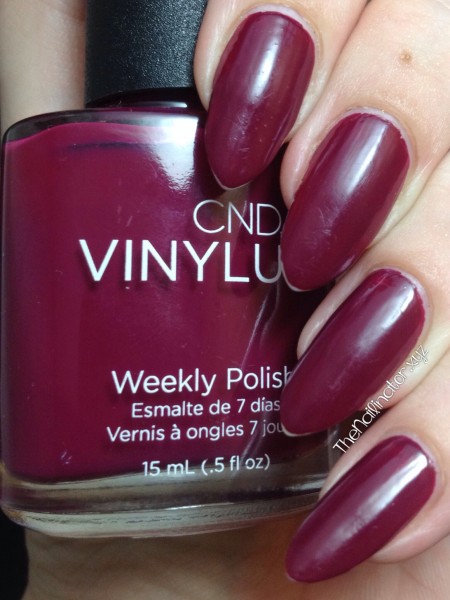
Next we have Tinted Love (#153), which is a lovely deep berry shade. It’s reddish and purplish at the same time! I love it! Please pardon the bubbles on my index finger. Totally a user error. I’m a goof and caught the brush on the edge of the bottle and was too busy chatting with Mr. Nailinator to notice the bubbles.

CND Vinylux Weekly Polish Tinted Love swatch

The Review

The formula on these two are amazing! They were so easy to apply—quite possibly the easiest polish application ever. The brush is  wider than the standard polish brush. The bigger size might be a problem for some people, but I personally love the extra width. A wider brush means fewer strokes to apply polish evenly on my nails. As promised in the pamphlet, both polishes were opaque in two coats. They dried quickly as well. I noticed the top coat has a stronger smell than most polishes I have used, so be sure to work in a well-ventilated area.

So how did the polish hold up over the test of time? These polishes did not last the whole 7 days for me. I wore them for 7 days without chipping, but I did start to see tip wear after about 4 days. I didn’t really expect them to stay pristine with my oh-so-pointy nail tips (and the fact that I keep house and am pretty hard on my nails). To test them out on some shorter nails, I got a helping hand or two from my mother—henceforth to be known here as The Queen Mother . While it didn’t last a full 7 days for her either, she was really happy with the polish and was impressed with the wear time and how it held up under all the tasks she regularly does at work and at home. Here is how my nails looked on day 5.

CND Vinylux Weekly Polish Tinted Love after 5 days

Not too bad, eh? I think they look pretty good for 5 days wear and tear. I’m gonna be honest and say that I really don’t like having pictures of my nails looking like this on the interwebz. See how dedicated I am to a thorough review? Now lets see how Tinted Love fared after 7 days!

CND Vinylux Weekly Polish Tinted Love after 7 days

Please don’t share this picture! Haha! It’s a far cry from my usual well-manicured look. The scratches are not so visible in person, but as you can see, there is quite a bit of tip-wear and scuffing on the once-shiny surface. These CND polishes did hold up better than most of the dark colors I have used. I have to compare them to other dark colors because, as you probably know, dark colors tend to show tip wear earlier because of the contrast to the light-colored natural nail. Upon removal, I’m happy to report that neither polish left any staining on my nails. Again, dark polishes (especially blue ones) tend to stain but these did not. Win!

Final Thoughts

It’s possible that since I did both of my swatches at night and rainy weather kept me indoors most of the testing period that I didn’t get the full benefit of the ProLight technology. I am curious to see if my results would be different if I had a few sunny days or a UV light to help strengthen the polish. CND Philippines told me that using their Scrub Fresh preparation could also help as it is formulated to help the polish adhere to the nail better. I’ll be testing that out soon, hopefully, and will let you know.

At PHP499 ($11) per bottle,  the price is what I would expect with an imported brand like this which makes it a luxury item for most. But CND polishes aren’t your average polishes, and they are marketed primarily for salons and beauty professionals. If you are interested in investing in your own CND Vinylux Weekly Polish or trying them out on your next mani/pedi day, you can get in touch with CND Philippines @cnd_ph on Instagram and Twitter or at CDNPhilippines on Facebook to order or to find a salon near you. I did a little looking online and found the following salons that apparently have CND products available for their services:

I’ve been told CND Philippines is working on setting up a website so keep an eye out for that as well.

If you read this whole post, you get a virtual cookie! 🙂 Thanks for sticking with it. I hope this information was helpful. Have you ever tried CND Vinylux or Shellac polishes? I have never tried gel polish before, but I have heard such good things about their Shellac treatment and would be interested to try it.

I’m off to go play with my little ones. I hope you have a joyful day and that you make someone smile today!
Hugs
Rachael

%d bloggers like this: